S
sjacobsAug 10, 2025
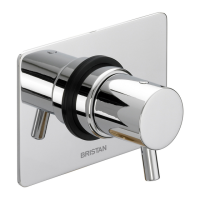
Why is the water temperature too cold in my Bristan Opac?
- WWilliam GutierrezAug 10, 2025
If the water temperature from your Bristan Plumbing Product is too cold, consider the following: * If using a stored system, the hot water temperature may be less than 10°C above the required blend temperature. Adjust the hot water temperature or wait for the water to reheat. * If using an instantaneous water heater, it might not be igniting due to low water flow rate. Increase the water flow rate through the system, and check the cartridge inlet filters, cleaning or replacing them as needed. You may need to contact the boiler manufacturer. * If using an instantaneous water heater, it might not be igniting due to low water pressure. Increase water pressure through the system. You may need to contact the boiler manufacturer.