36
4
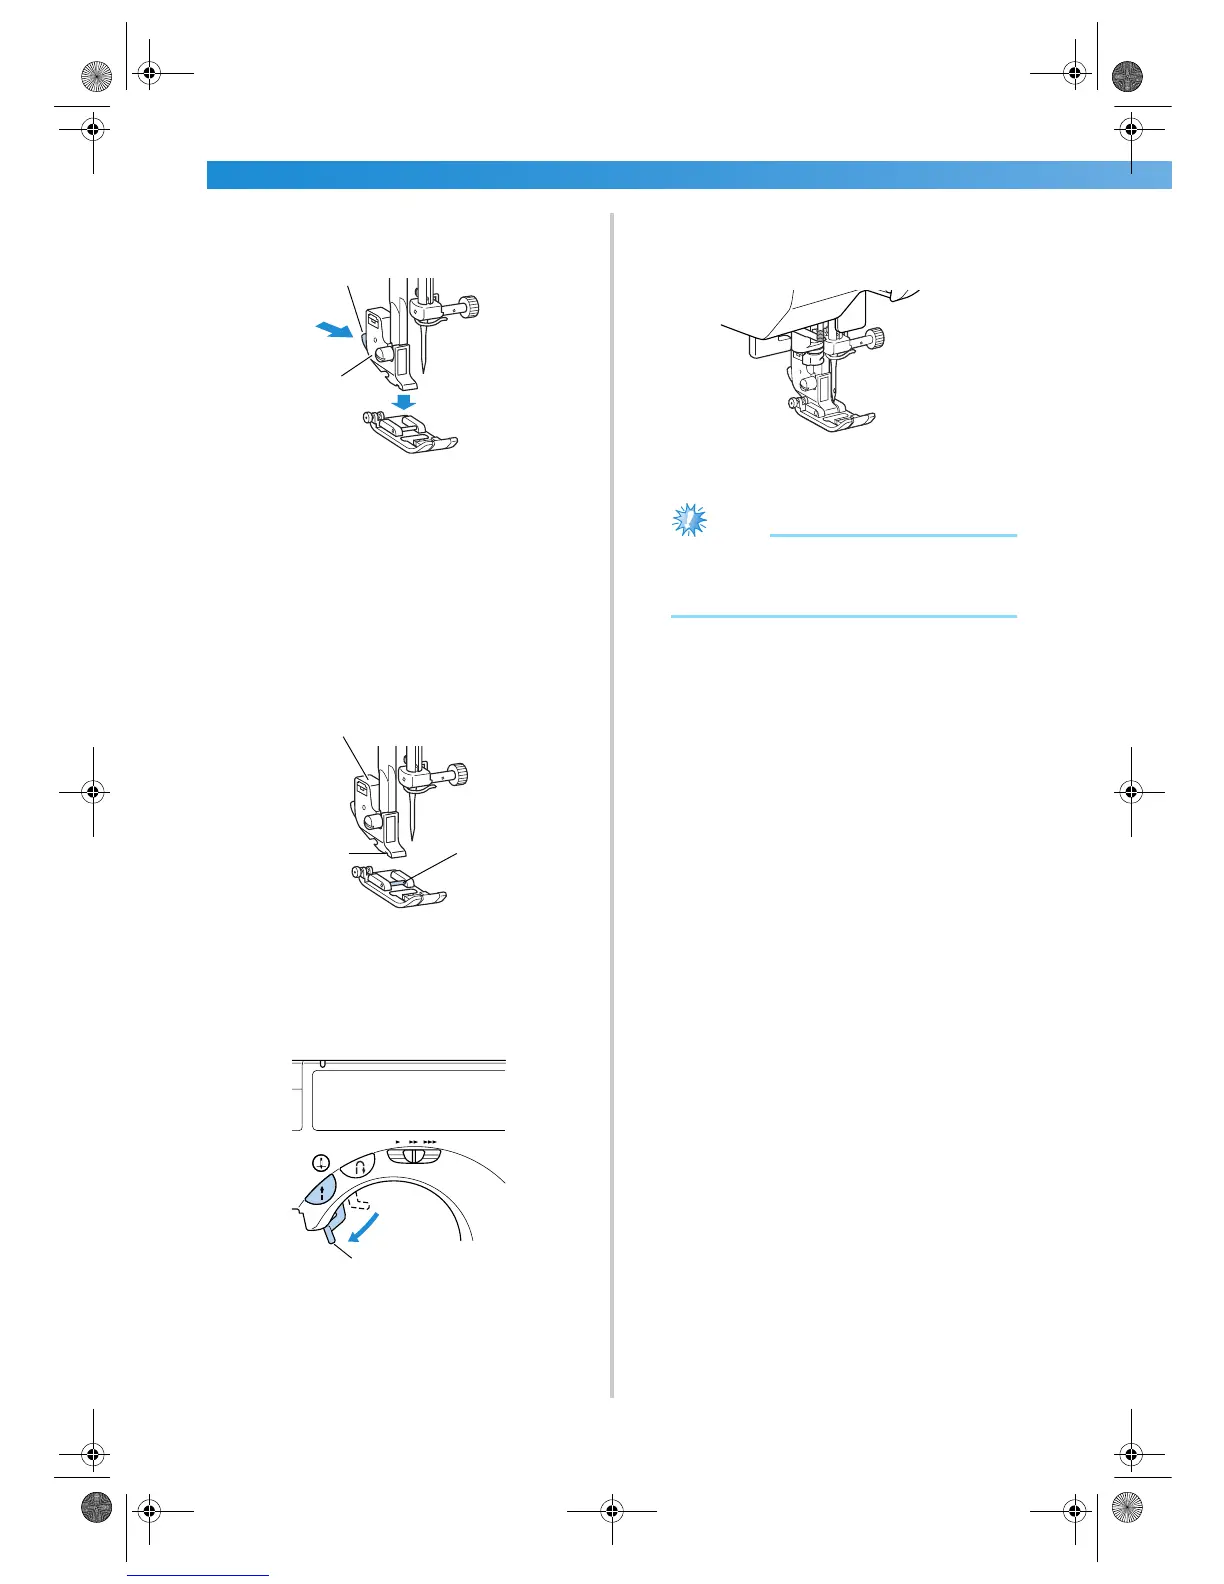
Press the black button at the back of the
presser foot holder.
1 Black button
2 Presser foot holder
X The presser foot holder releases the presser
foot.
5
Place a different presser foot below the holder
so that the presser foot pin is aligned with the
notch in the holder.
Position the presser foot so the letter indicating
the presser foot type (A, G, I, J, M, N or R) is
positioned to be read.
1 Presser foot holder
2 Notch
3 Pin
6
Slowly lower the presser foot lever so that the
presser foot pin snaps into the notch in the
presser foot holder.
1 Presser foot lever
X The presser foot is attached.
7
Raise the presser foot lever to check that the
presser foot is securely attached.
Note
● For details on the presser foot that should be
used with the selected stitch, refer to “ Stitch
Settings” (page 96).
1
2
1
2
3
1
S2_brotherE.book Page 36 Thursday, February 13, 2003 11:03 AM

 Loading...