14
Installing the Driver & Software
0
Lift the scanner cover to release the lock.
Gently push the scanner cover support
down and close the scanner cover.
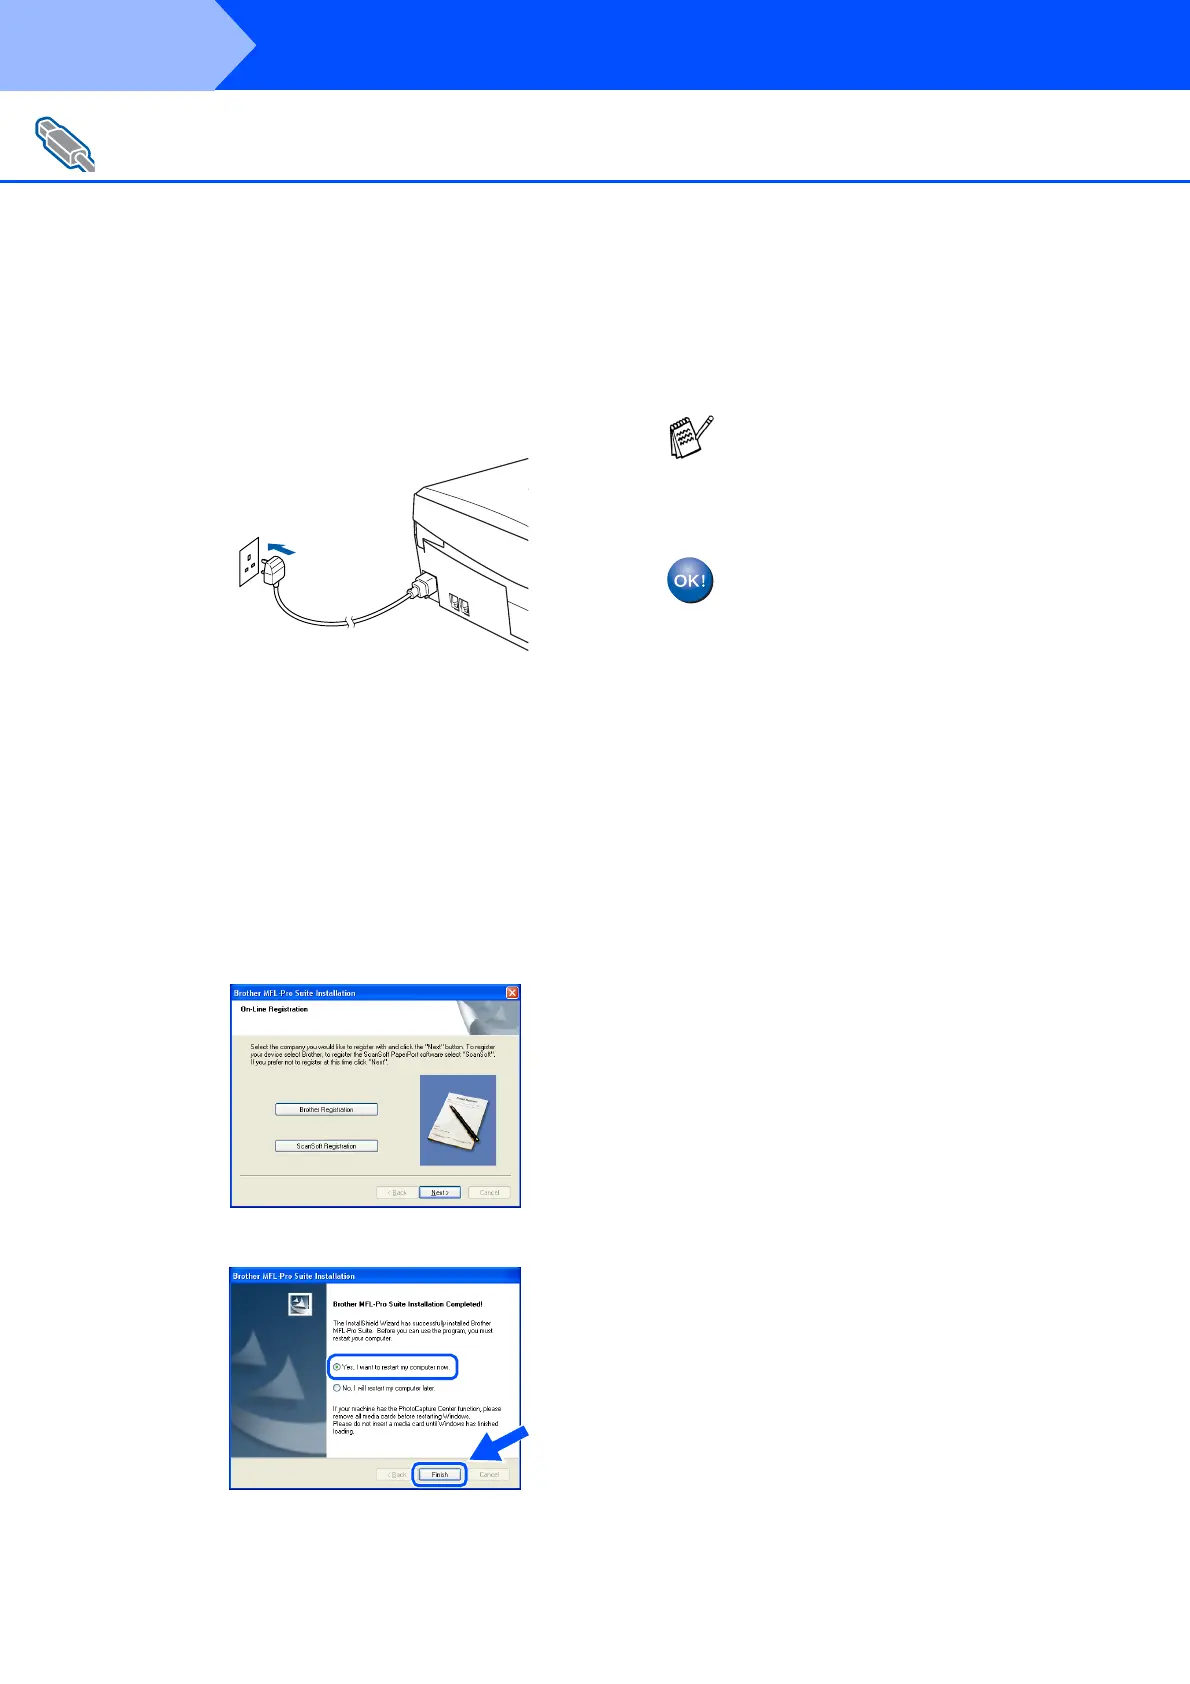
A
Turn on the machine by plugging in the
power cord.
It will take a few seconds for the installation
screen to appear.
The installation of the Brother drivers will
automatically start. The installation screens
appear one after another, please wait for a
while.
B
When the Brother and ScanSoft on-line
Registration screen is displayed, make your
selection and follow the on-screen
instructions.
C
Click Finish to restart your computer.
D
After restarting the computer, the
Installation Diagnostics will run
automatically and the installation results
window will be shown.
The MFL-Pro Suite, Brother Printer
driver and Scanner driver have been
installed and the installation is now
complete.
For USB Interface Cable Users
(For Windows
®
98/98SE/Me/2000 Professional/XP)
(Example for the U.K.)
If the installation is unsuccessful try installing
again using the Repair MFL-Pro Suite
option from the main menu. Select Repair
MFL-Pro Suite and follow the instructions
on the screen.
Step 2
 Loading...