26
Installing the Driver & Software
3. Carefully guide the network cable into the
trench as shown below, following the
trench round and toward the back of the
machine.
Warning
Ensure that the cable does not restrict the cover from
closing, or an error may occur.
8
Lift the scanner cover to release the lock.
Gently push the scanner cover support
down and close the scanner cover.
9
Turn on the machine by plugging in the
power cord.
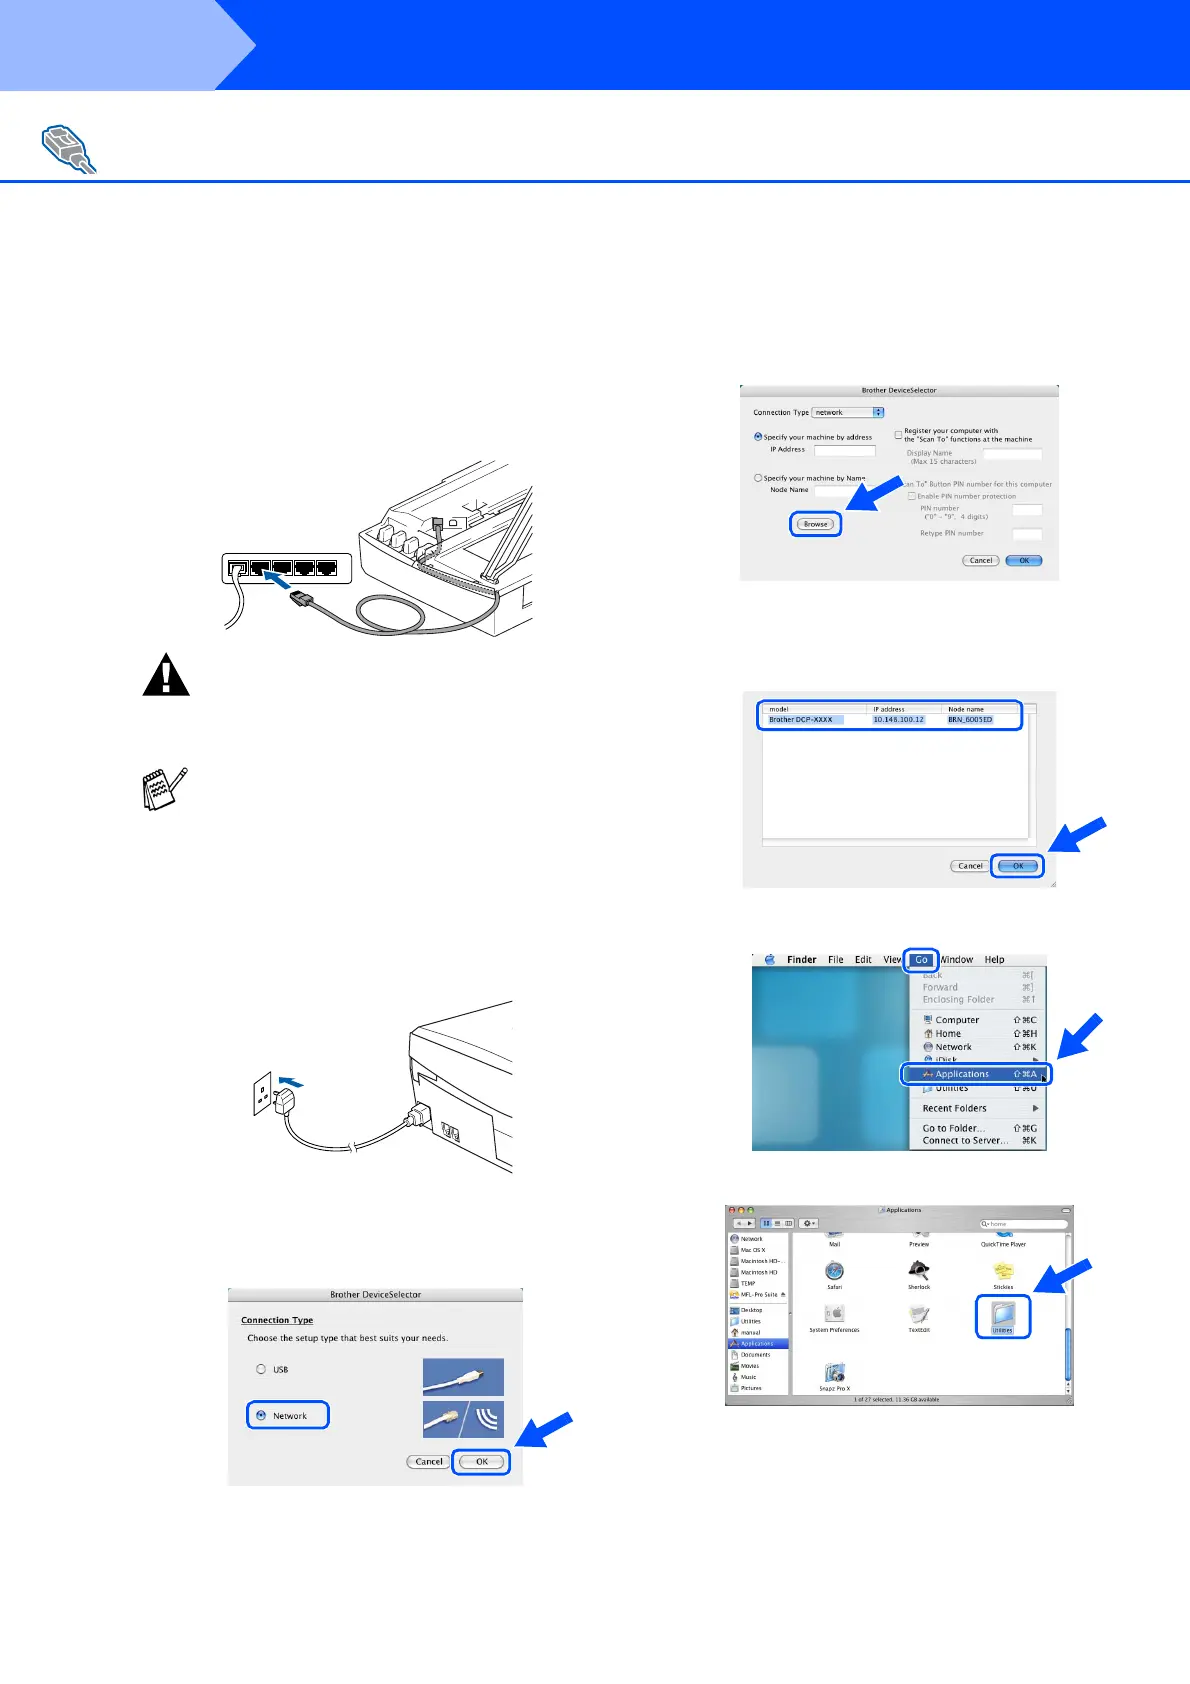
0
If the DeviceSelector window is open,
select Network, and then click OK.
A
Click Browse.
B
Select your model name, and then click OK.
Then click OK again to close the
DeviceSelector.
C
Select Applications from the Go menu.
D
Open the Utilities folder.
For Network Interface Cable Users (DCP-310CN only)
In case of using both USB and LAN cables,
guide both cables through the trench.
(Example for the U.K.)
Step 2
 Loading...