6
Setting Up the Machine
4
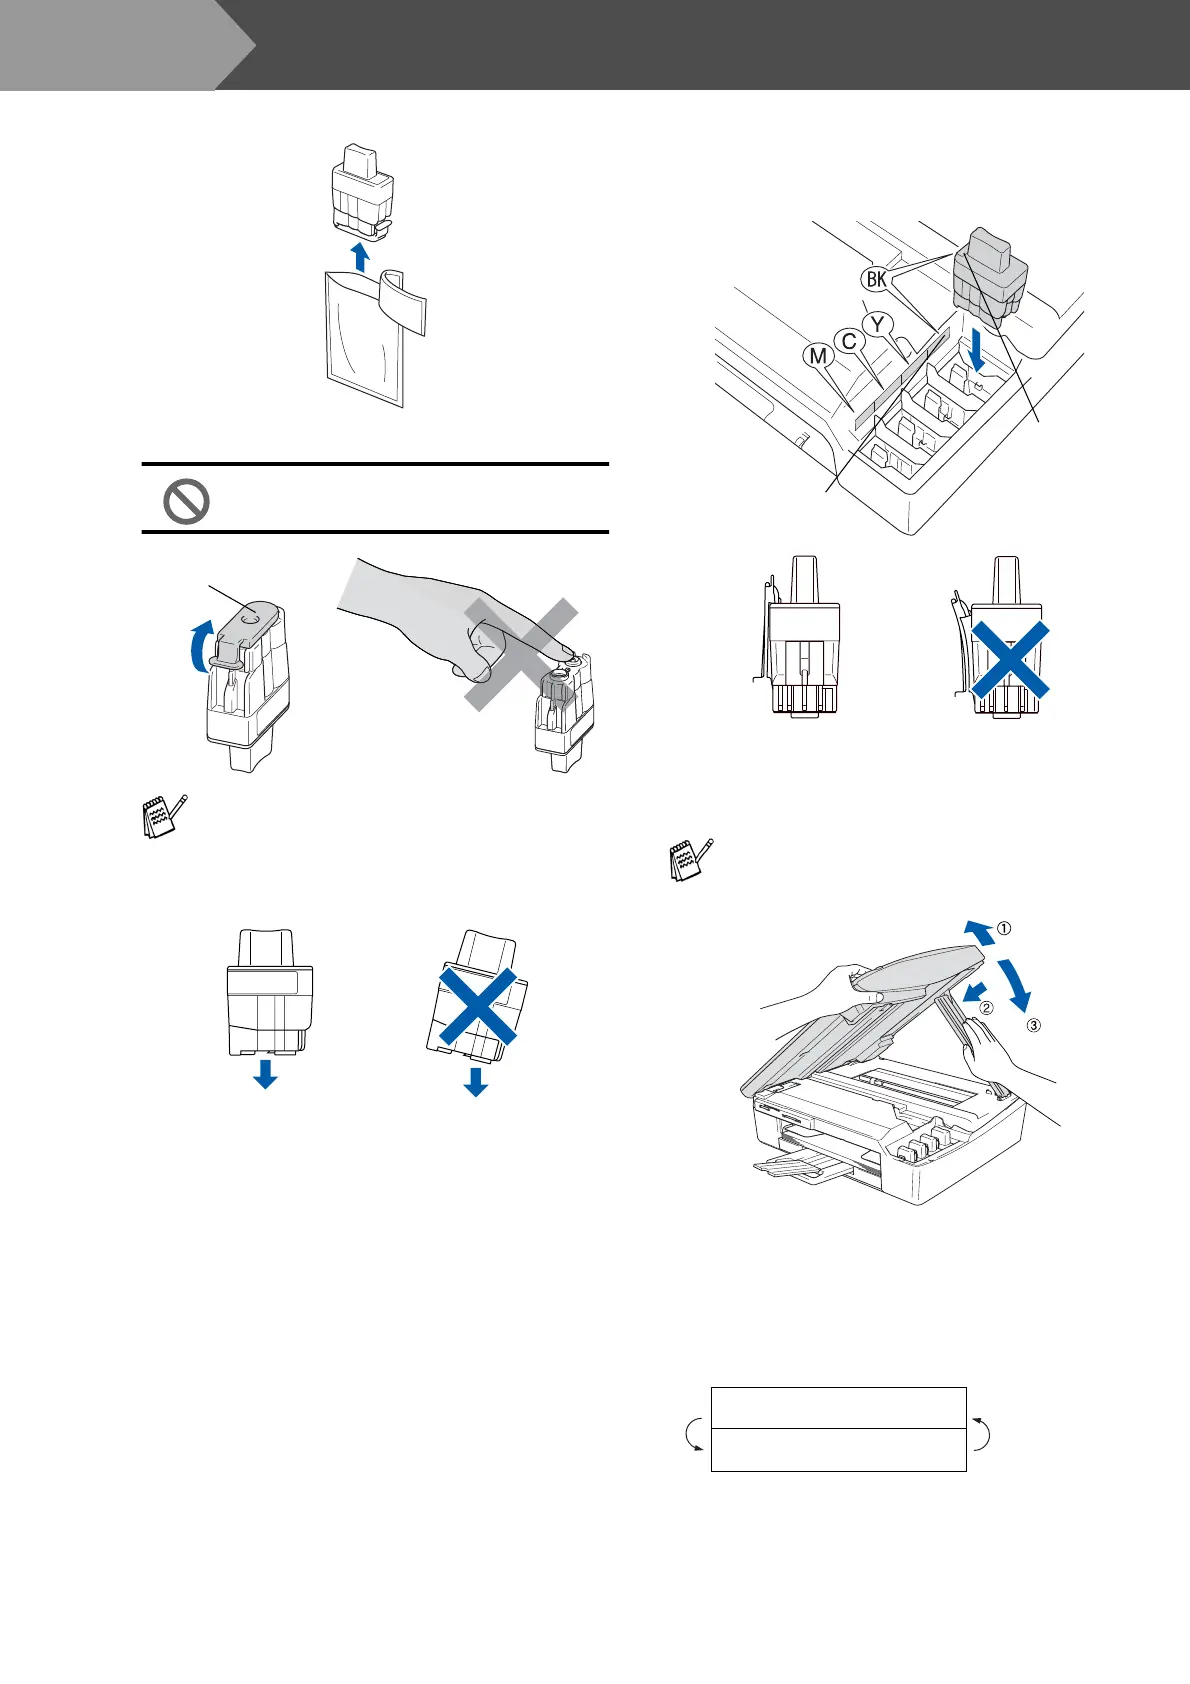
Take out the ink cartridge.
5
Carefully remove the buttom cap.
DO NOT touch the area shown in the
illustration below.
Keep the ink cartridge in an upright position
when you insert it into the slot.
6
Press firmly down on the ink cartridge until
the hook snaps over it, taking care to match
the slot colour (A) with the cartridge colour
(B), as shown in the diagram below.
7
Lift the scanner cover to release the lock.
Gently push the scanner cover support
down and close the scanner cover.
The machine will clean the ink tube system
for use for the first time. This process will
occur only once, the first time ink cartridges
are installed. The cleaning process will last
approximately four minutes.
The LCD shows:
If the cartridge cover comes off when you
open the bag the cartridge will not be
damaged.
Opening
OK
OK
If Install shows on the LCD after you
install the ink cartridges, check to make sure
the ink cartridges are installed correctly.
Preparing System
Approx 4 Minutes
(B)
(A)
OK
OK
Step 1
 Loading...