T
Tammy VelezSep 16, 2025
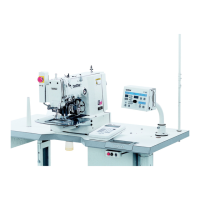
What to do if the Brother KE-435C Sewing Machine work clamp does not rise?
- NNicole BatesSep 16, 2025
If the work clamp or button clamp does not rise, it could be due to: * Sluggish work clamp operation; grease the sliding part of the work clamp. * The work clamp (Button clamp) lift amount being too great; adjust the work clamp (button clamp) lift amount. * Too much friction between the work clamp plate and work clamp arm lever plate; grease them. * The work clamp contacting the thread wiper; adjust the position of the thread wiper.