Level 1 Level 2 Level 3 Descriptions
to SharePoint
(Select Profile name)
Save as
Shortcut
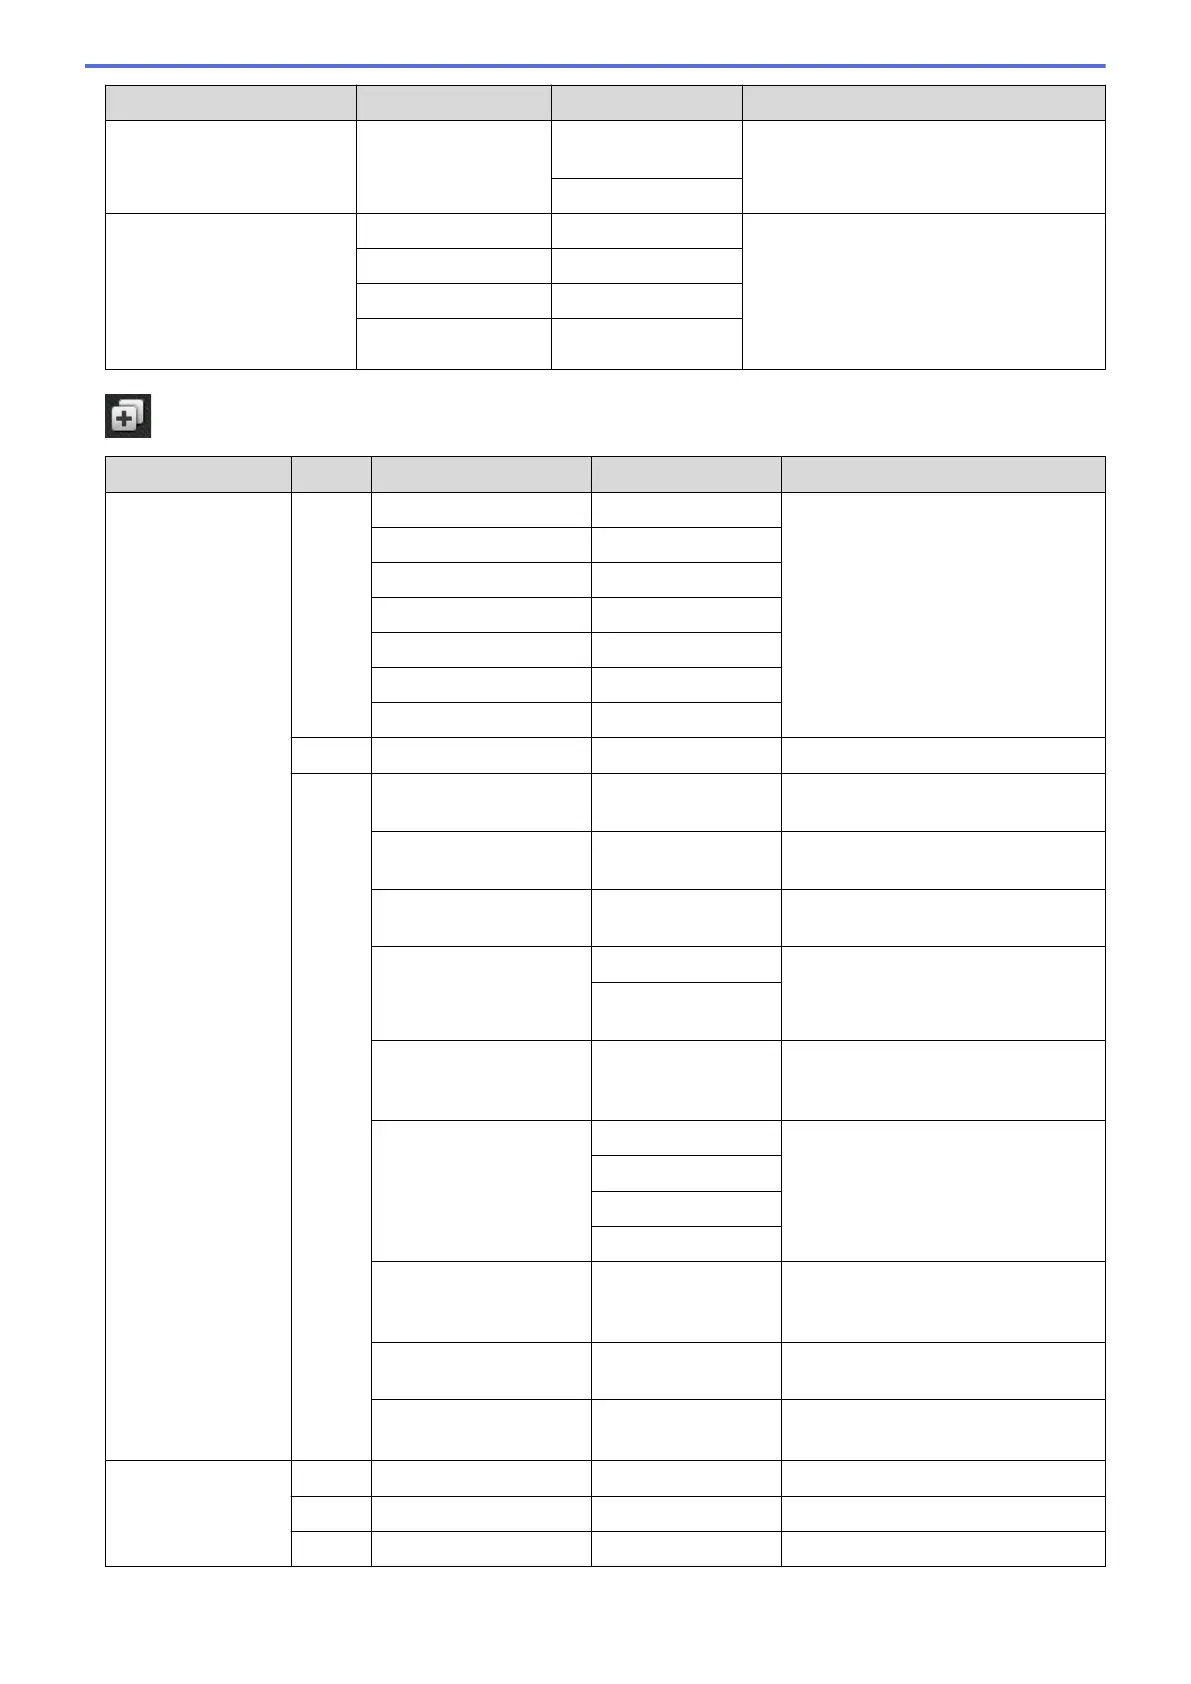
Send scanned data via a SharePoint
®
server.
Start
WS Scan
(Appears when you install a
Web Services Scanner,
which is displayed in your
computer's Network
explorer.)
Scan
- Scan data using the Web Service
protocol.
Scan for E-mail
-
Scan for Fax
-
Scan for Print
-
[Shortcuts]
Level 1
Level 2 Level 3 Level 4 Descriptions
Add Shortcut Copy Receipt
- Select the settings you want.
Normal
-
2in1(ID)
-
2in1
-
2-sided(1⇒2)
-
2-sided(2⇒2)
-
Paper Save
-
Fax
- - Select the settings you want.
Scan to File
(Select PC) Scan a monochrome or a colour
document to your computer.
to OCR
(Select PC) Convert your scanned document to
an editable text file.
to Image
(Select PC) Scan a colour picture into your
graphics application.
to USB Options
Scan documents to a USB Flash
memory drive.
Save as
Shortcut
to E-mail
(Select PC) Scan a monochrome or a colour
document into your email
application.
to E-mail Server
(Available after Scan to
Email Server is
downloaded)
Address Book
Scan a monochrome or a colour
document to your email server.
Manual
Destinations
Next
to Network
(Select Profile
name)
Send scanned data to a CIFS server
on your local network or on the
Internet.
to FTP/SFTP
(Select Profile
name)
Send scanned data via FTP/SFTP.
to SharePoint
(Select Profile
name)
Send scanned data via a
SharePoint
®
server.
These lists appears
when each Shortcut
name is pressed for
two seconds.
Rename
- - Change the shortcut name.
Edit
- - Change the shortcut settings.
Delete
- - Delete the shortcut.
558
 Loading...