7
5
Check the print quality
a When the preparation process has finished, the
Touchscreen shows Set Paper and Press
Start.
Press Start.
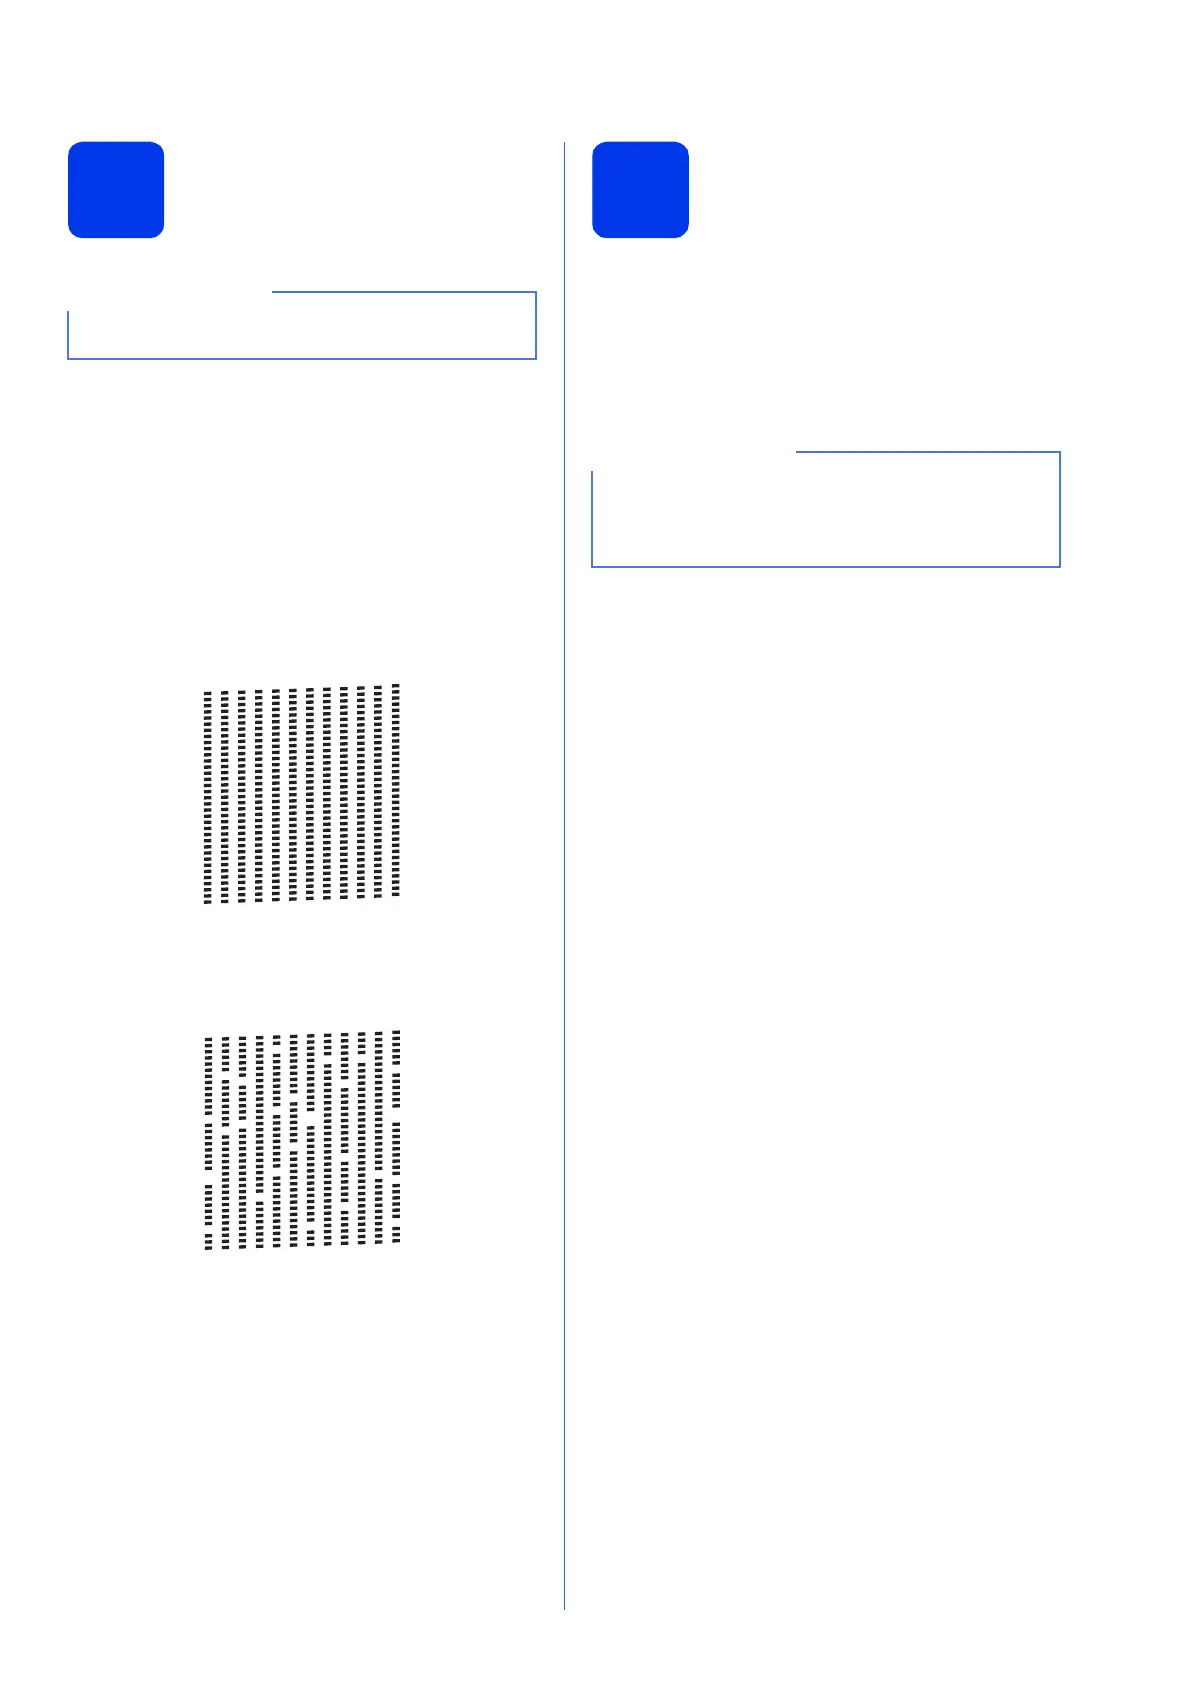
b Check the quality of the four colour blocks on
the sheet. (black/yellow/cyan/magenta)
c If all lines are clear and visible, press Yes to
finish the quality check and go to the next step.
If you can see missing short lines, press No and
follow the steps on the Touchscreen.
6
Set the paper settings
(MFC-J4610DW)
For your machine to produce the best print quality and
to feed the correct paper size, the paper type and size
must be set to match the paper in the tray.
For details on the types and sizes of paper supported,
see Paper Size and Type in chapter 2 of the Basic
User’s Guide.
a When Tray Setting appears on the
Touchscreen, press Tray Setting to set the
paper size and paper type.
b Press Tray #1 to set paper size and paper
type for tray #1, or press Tray #2 to set paper
size for tray #2.
c Press the size and type of paper you are using.
d Press OK.
Make sure you put paper in the paper tray (for
MFC-J4610DW, tray #1) for the initial setup.
OK
Poor
You can change the default tray that the machine
will use for printing copies or received faxes. (See
Tray use in Copy mode or Tray use in Fax mode
in chapter 2 of the Basic User’s Guide.)
 Loading...