EasyManua.ls Logo

Brother P-touch PT-E105 User Manual

Brother P-touch PT-E105
15 pages
To Next Page IconTo Next Page
Page #1 background imageLoading...
Page #1 background image
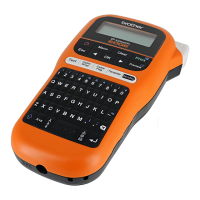
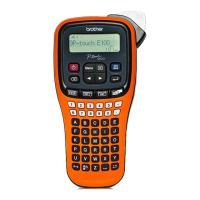
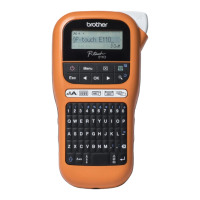
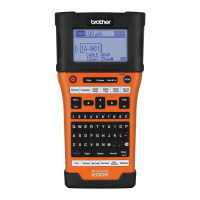
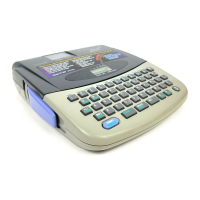
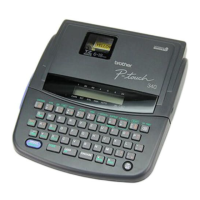
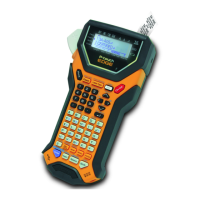
ELECTRONIC LABELING SYSTEM
01
GETTING STARTED
Installing Power Supply and Tape Cassette
With the LCD facing down, open the Cassette
Cover by pressing the grooved tab and
pushing in the direction of the arrow, as
illustrated.
When replacing batteries or tape cassettes,
make sure the power is turned off.
This P-touch labeling system requires six (6)
AAA alkaline batteries or six (6) fully-charged
Ni-MH batteries, not included.
NOTE
This P-touch labeling system requires one of the
following (not included):
- six (6) AAA alkaline batteries,
- six (6) fully-charged Ni-MH batteries,
- AC Adapter (AD24).
1
Print Head
Tape Cutter LeverCassette Cover
1
2
Thank you for purchasing a Brother P-touch labeling system!
Use your new Brother P-touch labeling system to create a wide variety of custom, self-adhesive labels.
This P-touch labeling system uses Brother TZe tapes. TZe tape cassettes are available in many colors and sizes. For a complete list of
tapes compatible with your P-touch labeling system, visit us at: www.brother.com
.
Please read this guide, and the included Product Safety Guide, before using this P-touch labeling system. After reading this guide, keep
it in a safe place.
English
User’s Guide
E105

Questions and Answers:

Brother P-touch PT-E105 Specifications

General IconGeneral
Device CategoryLabel Maker
DisplayLCD
Print MethodThermal transfer
Print Resolution180 dpi
Print Speed20 mm/sec
Maximum Label Width12mm
Tape TypeTZe tape
CutterManual
Number of Fonts1
Multi-Block PrintingNo
Mirror PrintingYes
Vertical PrintingYes
Auto NumberingYes
BarcodesYes
Label Width3.5, 6, 9, 12mm
Max. Label Length1 m
Tape Sizes6mm, 9mm, 12mm
Power Source6 x AAA batteries or AC adapter
Font StylesNormal, Bold, Italic, Outline, Shadow
Number of Symbols200

Summary

Getting Started

Installing Power Supply and Tape Cassette

Guide to installing power sources and tape cassettes into the device.

LCD Overview

Keyboard Layout

Initial Settings

Adjusting LCD Contrast

Instructions for setting the LCD brightness levels.

Supplies and Accessories

Replacing the Cutter Unit

Procedure for replacing the cutter unit on the device.

Specifications

Basic Usage

Entering Text

How to input text characters and spaces for labels.

Switching Case

Toggle between uppercase and lowercase text input.

Creating Two-Line Tapes

Guidance on formatting labels for multiple lines of text.

Using Tabs

How to insert and manage tabulations within labels.

Changing Tab Length

Adjusting the length of tab stops for label formatting.

Navigating with Cursor Keys

Moving the cursor to the beginning or end of text.

Entering Accented Characters

Inserting special characters and accents into labels.

Changing Label Length

Modifying the output length of the printed label.

Clearing Text and Settings

Methods for deleting entered text or resetting all settings.

Saving Label Files

Instructions on how to save and reuse label data.

Saving a New File

Procedure for saving current label content as a new file.

Printing Saved Files

Steps to print labels from previously saved files.

Opening Saved Files

How to access and load saved label files for editing or printing.

Text Key Functions

Changing Text Settings

Adjusting text size, style, and width for labels.

Underline and Frame Options

Symbols Key

Entering Symbols

Guide to inserting punctuation, currency, and other symbols.

Printing Labels

Previewing Labels

How to view a draft of the label before printing.

Tape Feeding

Function to feed blank tape for printing or alignment.

Printing Labels

Basic procedure to print the text displayed on the LCD.

Printing Multiple Copies

How to print multiple identical labels.

Setting Margins

Label Application Keys

Cable Wrap Feature

Creating labels that wrap around cables or wires.

Cable Flag Feature

Making flag-style labels for cables and wires.

Faceplate Labels

Generating evenly spaced labels for components or panels.

Serializing Labels

Creating sequential numbered or lettered labels.

Helpful Hints

Keyboard Shortcuts

Quick access keys for various functions and settings.

Resetting the Device

Procedure to reinitialize settings and clear stored data.

Symbols

Accented Characters

List and insertion of accented characters for labels.

Troubleshooting

Error Messages and Solutions

Common error messages and their corresponding remedies.

Problem Resolution Guide

Related product manuals