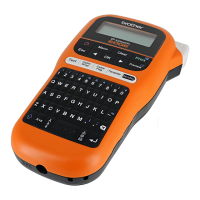
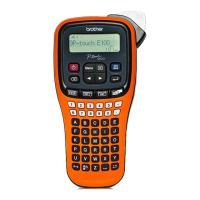
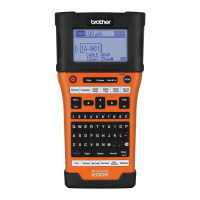
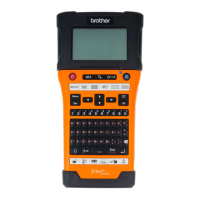
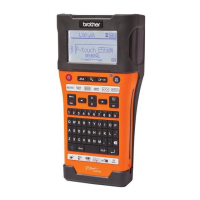
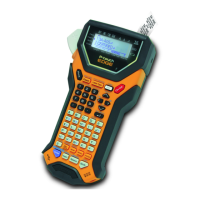
The Brother P-touch PT-E110 is an electronic labeling system designed for creating custom, self-adhesive labels. It uses Brother TZe or HGe tapes, which are available in various colors and sizes, making it versatile for different labeling needs. This device is particularly useful for organizing and identifying items in a professional or personal setting.
Function Description
The primary function of the PT-E110 is to generate text-based labels with a variety of formatting options. Users can input text up to 80 characters long, although the LCD displays only 15 characters at a time. The device supports both upper and lower case letters, and offers a range of text sizes (Large, Medium, Small) and styles (Normal, Bold, Outline, Shadow, Italic, I+Bold, I+Outline, I+Shadow, Vertical, V+Bold). Additionally, users can adjust the text width to Normal, ×2, or ×1/2.
Beyond basic text, the PT-E110 includes a comprehensive set of symbols, accessible via the Symbols Key. These symbols are categorized into Punctuation, Brackets, Bullets, Super/Subscript, Mathematics, Arrows, Currency, Greek, Electrical, Datacom, AV/Security, and Safety. A history feature allows quick access to up to seven recently used symbols, and shortcut keys are also available for direct symbol insertion. The device also supports accented characters, with the order of these characters varying based on the selected language.
For enhanced label presentation, the PT-E110 offers underline and frame functions. Users can choose from various frame types to emphasize text.
A key feature of the PT-E110 is its ability to create specialized labels for specific applications:
- Cable Wrap: This function generates labels that can be wrapped around cables or wires. It includes a "Text Repeat" function to print text repeatedly along the label's length, ensuring readability from any angle. Users can specify the cable diameter, with a default of 6 mm, ranging from 3 mm to 90 mm.
- Cable Flag: This function creates labels with ends that can be applied together to form a flag, ideal for identifying cables or wires where a wrap-around label might not be suitable. Users can set the flag length from 10 mm to 200 mm, or choose an "Auto" setting that adjusts the length based on text. This function is recommended for objects with a diameter greater than 3 mm.
- Faceplate: Designed for identifying components or panels, this function ensures that text blocks are evenly spaced on a single label. Users can set the faceplate length from 30 mm to 300 mm, with a default of 50 mm.
- Serialise: This feature allows for the creation of multiple labels with automatically incremented numbers or letters. It can be used in conjunction with Cable Wrap, Cable Flag, or Faceplate templates, saving time when printing a series of labels. Numbers can be serialized from 01 to 50.
The PT-E110 also includes label saving capabilities, allowing users to store up to nine different label texts and settings. Each saved file can hold up to 80 characters (including spaces) and can be reused, edited, or overwritten.
Usage Features
The device is designed for ease of use, starting with its initial setup.
- Power Supply: It operates on six AAA alkaline batteries or six fully-charged Ni-MH batteries (not included). An optional AC Adapter (AD-24ESA) can also be used.
- Tape Cassette Installation: The tape cassette is inserted into a dedicated slot, guided by internal markings, and gently pressed until it locks into place. Only Brother TZe or HGe tapes are compatible.
- Language and Unit Settings: Upon first use, users can set the display language (default is English) and the unit of measurement (default is mm).
- LCD Contrast: The LCD brightness can be adjusted to five levels, from -2 (darkest) to +2 (brightest), with a default of 0.
Text input and editing are straightforward:
- The keyboard includes character keys, a Shift key for upper/lower case, a Caps key for all caps, and an Accent key for special characters.
- Cursor keys allow navigation through the text, with shortcuts to move to the beginning or end of the text.
- The Backspace key deletes individual characters, while the Clear key offers options to delete only text or both text and settings.
- The Enter key allows for two-line printing, which requires 9 mm or 12 mm tape.
Printing features include:
- Preview: A preview function allows users to see how the label will look before printing. Hidden text can be viewed by scrolling.
- Feeding (Tape Feed): This function feeds approximately 25 mm of blank tape. It's important not to pull uncut tape from the cassette to avoid damage.
- Multiple Copies: Up to nine copies of each label can be printed.
- Setting Margins: Users can customize margin lengths (Full, Half, Narrow) before and after the text. The "Chain Print" option allows printing multiple different labels with narrow margins, saving tape.
- Tape Cutting: After printing, the Tape Cutter lever is pushed to cut the label. It's crucial not to touch the lever while "Please Wait" is displayed.
The device has an auto-off feature, turning off automatically after five minutes of inactivity to conserve power. The Escape key can cancel any operation, and the Space key returns settings to their default values.
Maintenance Features
The PT-E110 requires minimal maintenance to ensure optimal performance:
- Battery Management: If using batteries, it's important to replace all six AAA alkaline batteries simultaneously when they are weak or exhausted. If using Ni-MH batteries, they should be fully charged. Mixing old and new batteries, or different battery types (e.g., alkaline with Ni-MH), can lead to an explosion and should be avoided. When storing or discarding batteries, they should be wrapped with cellophane tape to prevent short-circuiting.
- Cutter Unit Replacement: Over time, the cutter blade may become blunt. The cutter board can be rotated to expose a sharper edge. If the tape still cannot be cut cleanly, the cutter unit (stock no. TC-4) can be replaced. The old unit is removed by pulling two sections in the direction of arrows, and the new unit is pushed in until it locks. Users are warned not to touch the cutter blade directly with their fingers.
- Print Head Cleaning: If a blank horizontal line appears through the printed tape, it may indicate dust on the Print Head. The cassette should be removed, and the Print Head gently wiped with a dry cotton swab in an up-and-down motion. The manual provides an illustration of the Print Head location.
- Troubleshooting: The device provides error messages on the LCD for common issues such as "Battery Low!", "Battery Empty!", "Text Full!", "Text Limit! Change Length", "Invalid!", "No Text!", "Feed OK?", "Wrong Tape! Use TZe tape", "2 Line Limit!/1 Line Limit!", and "No Cassette!". These messages guide users to the appropriate cause and remedy, often involving battery replacement, tape cassette re-insertion, or text adjustments.
- Resetting the System: In cases where the device is not working correctly or settings need to be initialized, the P-touch labeling system can be reset. This clears all text, settings, and stored files. The reset procedure involves turning off the device, holding down the power button and the 'R' key, then releasing the power button and the 'R' key.
The PT-E110 is a robust and user-friendly labeling solution, designed for efficiency and versatility in various labeling tasks.