1
KNOWING YOUR SEWING MACHINE
CONNAITRE SA MACHINE A COUDRE
CONOZCA SU M
ÁQUINA DE COSER
5 2
1
A
34
:
9
6
8
7
D
E
F
H
C
I
G
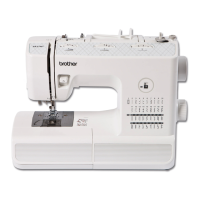
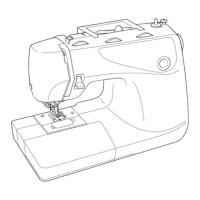
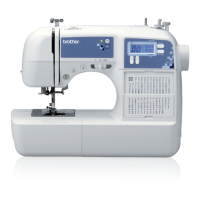
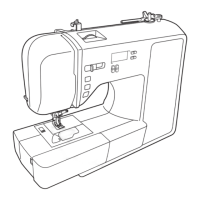
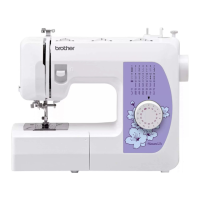
PRINCIPAL PARTS
1 BOBBIN WINDER (Page 26)
Winds the thread onto the bobbin to be used for the lower thread.
2 STITCH LENGTH DIAL (Page 13, 21)
Controls the length of the stitches.
3 SPOOL PIN AND SPOOL CAP (Page 26, 31)
4 STITCH WIDTH DIAL (Page 23)
Controls the stitch width.
5 UPPER TENSION CONTROL DIAL (Page 38)
Controls the tension of the upper thread.
6 BUTTONHOLE LEVER (Page 55)
7 NEEDLE THREADER (Page 33)
8 FLAT BED ATTACHMENT WITH ACCESSORY COMPART-
MENT (Page 12, 25)
9 ZIGZAG PRESSER FOOT (Page 3, 11)
: REVERSE SEWING LEVER (Page 24)
Push for stitching in the reverse direction.
A PATTERN INDICATION WINDOW (Page 13)
Shows the stitch number to be performed.
B HOLE FOR VERTICAL SPOOL PIN (Page 37)
Used to hold a second spool of thread for twin needle sewing.
C BALANCE WHEEL
D PATTERN SELECTION DIAL (Page 13)
Turn in either direction to select the desired stitch.
E MAIN POWER/SEWING LIGHT SWITCH (Page 7)
Turn on/off the main power/sewing light switch.
F FOOT CONTROLLER JACK (Page 5)
Insert the foot controller plug for operation and connect the
machine to the power supply.
G BUTTONHOLE FINE ADJUSTMENT SCREW (Page 59)
H PRESSER FOOT LEVER (Page 31)
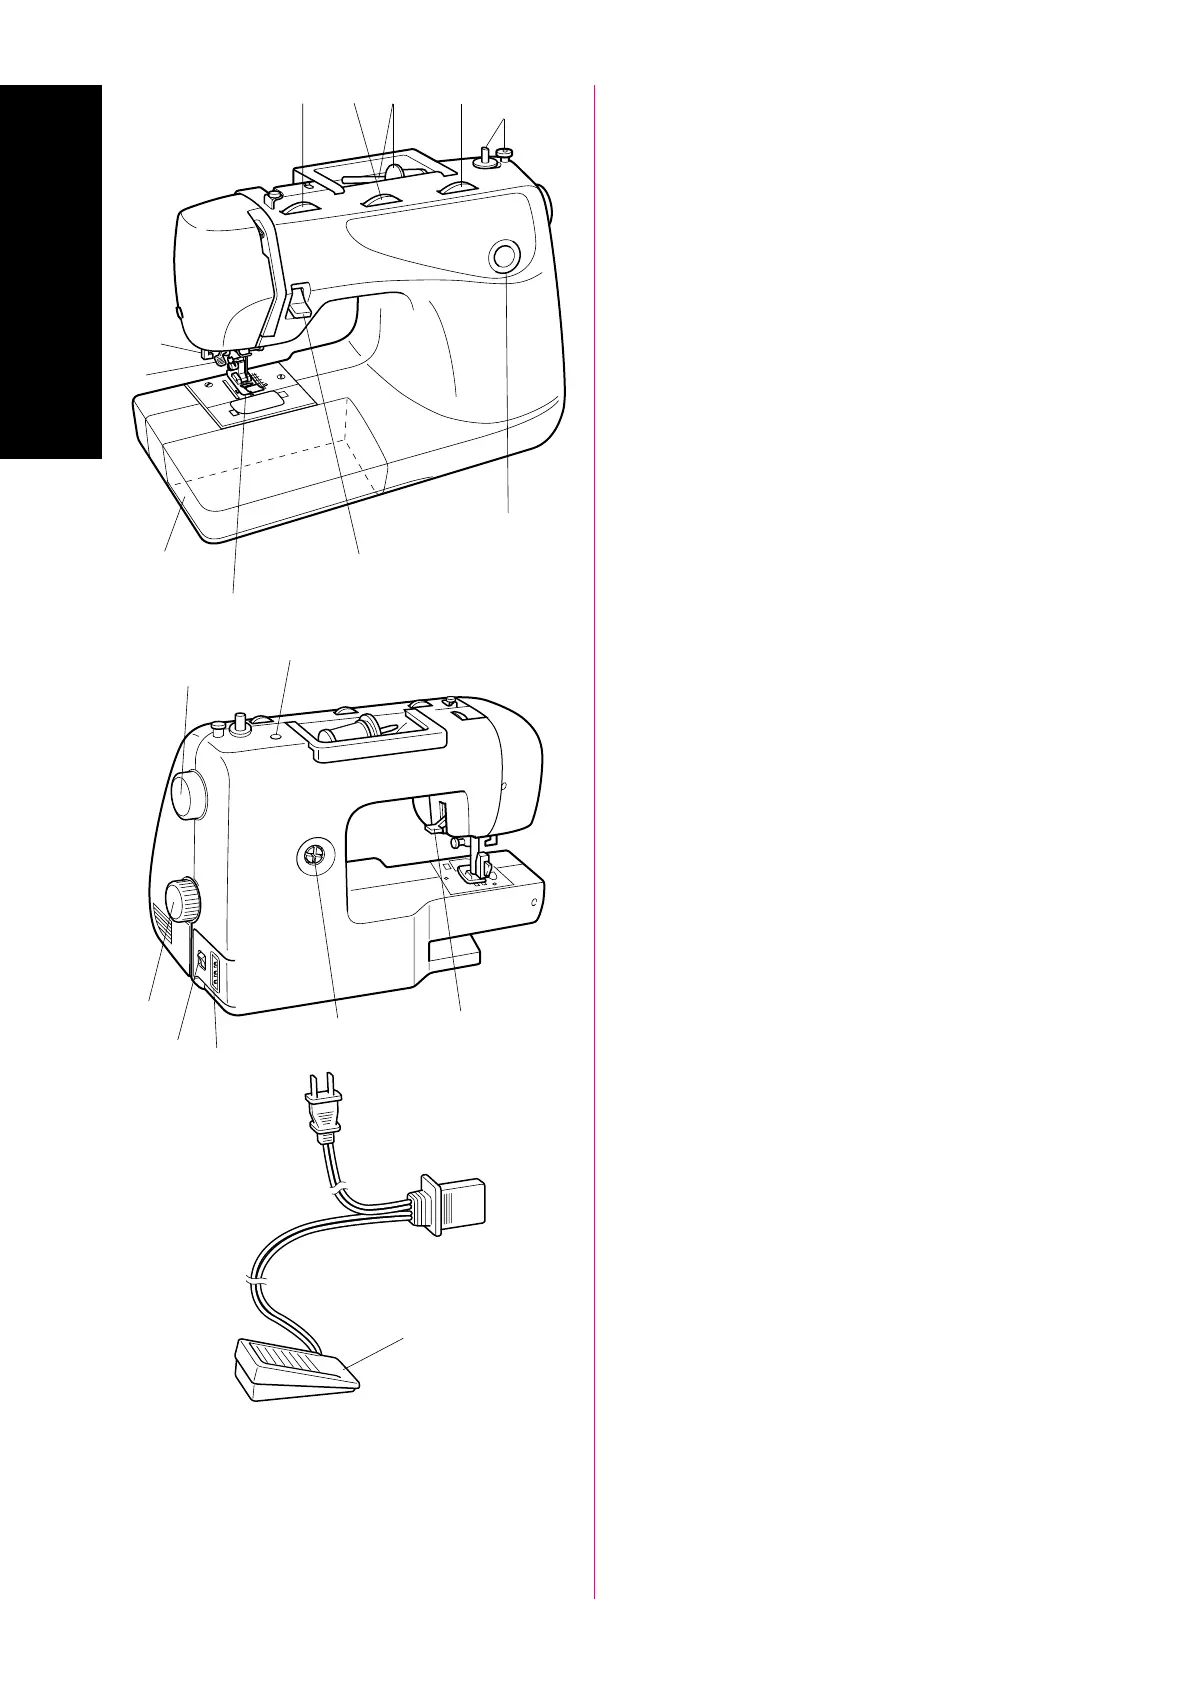
I FOOT CONTROLLER (Page 8)
Used to control sewing speed/start and stop.
 Loading...