BRUNSWICK INSTALLATION MANUAL PAGE 11
BLACK WOLF
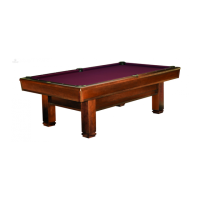
APRON ASSEMBLY (CONTINUED)
FIGURE FOUR
Step #4: Position a dome lockwasher onto the stud, then
thread a 3/8-16 hex nut onto the stud .
Step #5: Repeat this step for all 18 stud locations.
Step #6: Fasten the rails tightly at the ends first. Then
while making sure that the side rails form a straight line,
fasten the side rails securely to the slate.
FIGURE FOUR
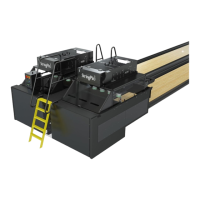
FIGURE FIVE
Step #7: Position the 6 pockets in their respective
locations.
Step #8: Mark each side of the top of the pocket at the
back of the cloth and trim excess lip of pocket so that it
fits behind the back of the rail cloth. This will assure
that the ends of the pocket will not interfere with the ball
entering the pocket
FIGURE FIVE
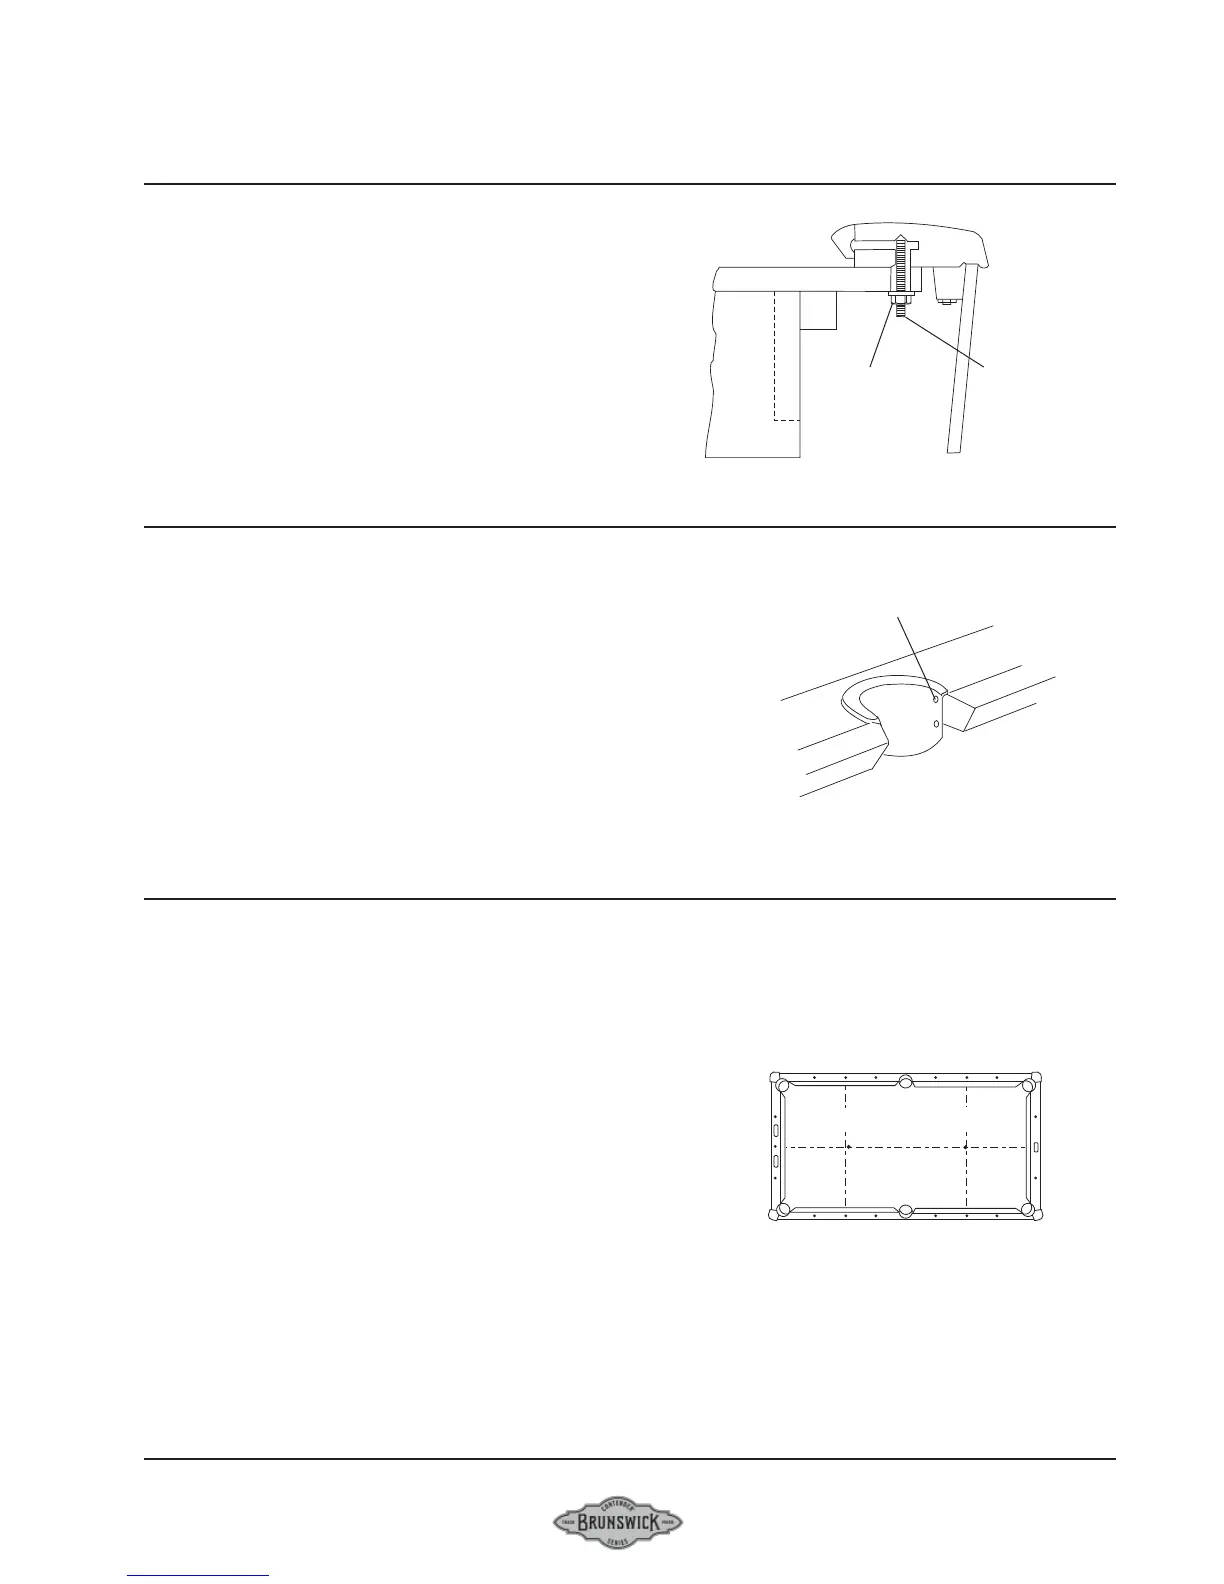
FIGURE SIX
Step #6: Thoroughly brush the area on which the bed
spots are to be applied. Position the bed spot and firmly
roll a ball over the spot to achieve good adhesion.
NOTE:
Bed spots are self adhesive.
FIGURE SIX
3/8-16 x 2-3/4”
STUD
3/8-16
FLANGE NUT
NAIL
Foot
Spot
Head
Spot

 Loading...