2004 Buell P3: Electrical 7-69
HOME
MAIN WIRING HARNESS 7.29
GENERAL
The main wiring harness runs from the front of the motorcycle
(behind dash) to the rear of the frame tray under the seat
where it connects to the tail lamp/turn signal mini-harness.
REMOVAL
1. Remove seat. See 2.28 SEAT.
11WARNING1WARNING
To protect against shock and accidental start-up of vehi-
cle, disconnect the negative battery cable before proced-
ing. Inadequate safety precautions could result in death
or serious injury.
11WARNING1WARNING
Always disconnect the negative cable first. If the positive
cable should contact ground with the negative cable
installed, the resulting sparks may cause a battery explo-
sion which could result in death or serious injury.
2. Disconnect battery cables, negative cable first.
3. Remove battery. See 7.16 BATTERY.
4. Remove fuel tank. See 4.2 FUEL TANK COVER/FUEL
TANK.
5. Remove windscreen. See 2.26 WINDSCREEN.
6. Remove headlamp housing and disconnect connector
[38]. See 7.17 HEADLAMP.
7. Note location of cable straps and cut three cable straps
on frame backbone that secure main wiring harness to
frame. Disconnect harness from T-studs.
8. Disconnect speedometer connector [39].
9. Disconnect right and left handlebar switch connectors
[22] and [24], front brake switch blade connectors [170]
and clutch switch connector [95].
10. Tag and disconnect right and left front turn signal bullet
connectors.
11. Disconnect ignition switch connector [33].
12. Note location of cable strap and cut cable strap on horn
wire and remove two blade connectors [122] from horn.
13. See Figure 7-92. Unhook connector [10] from the T-stud
on the left side of the frame backbone.
14. Note location of cable strap and cut cable strap on igni-
tion coil and TP sensor/auto-enrichener and ignition
module harness.
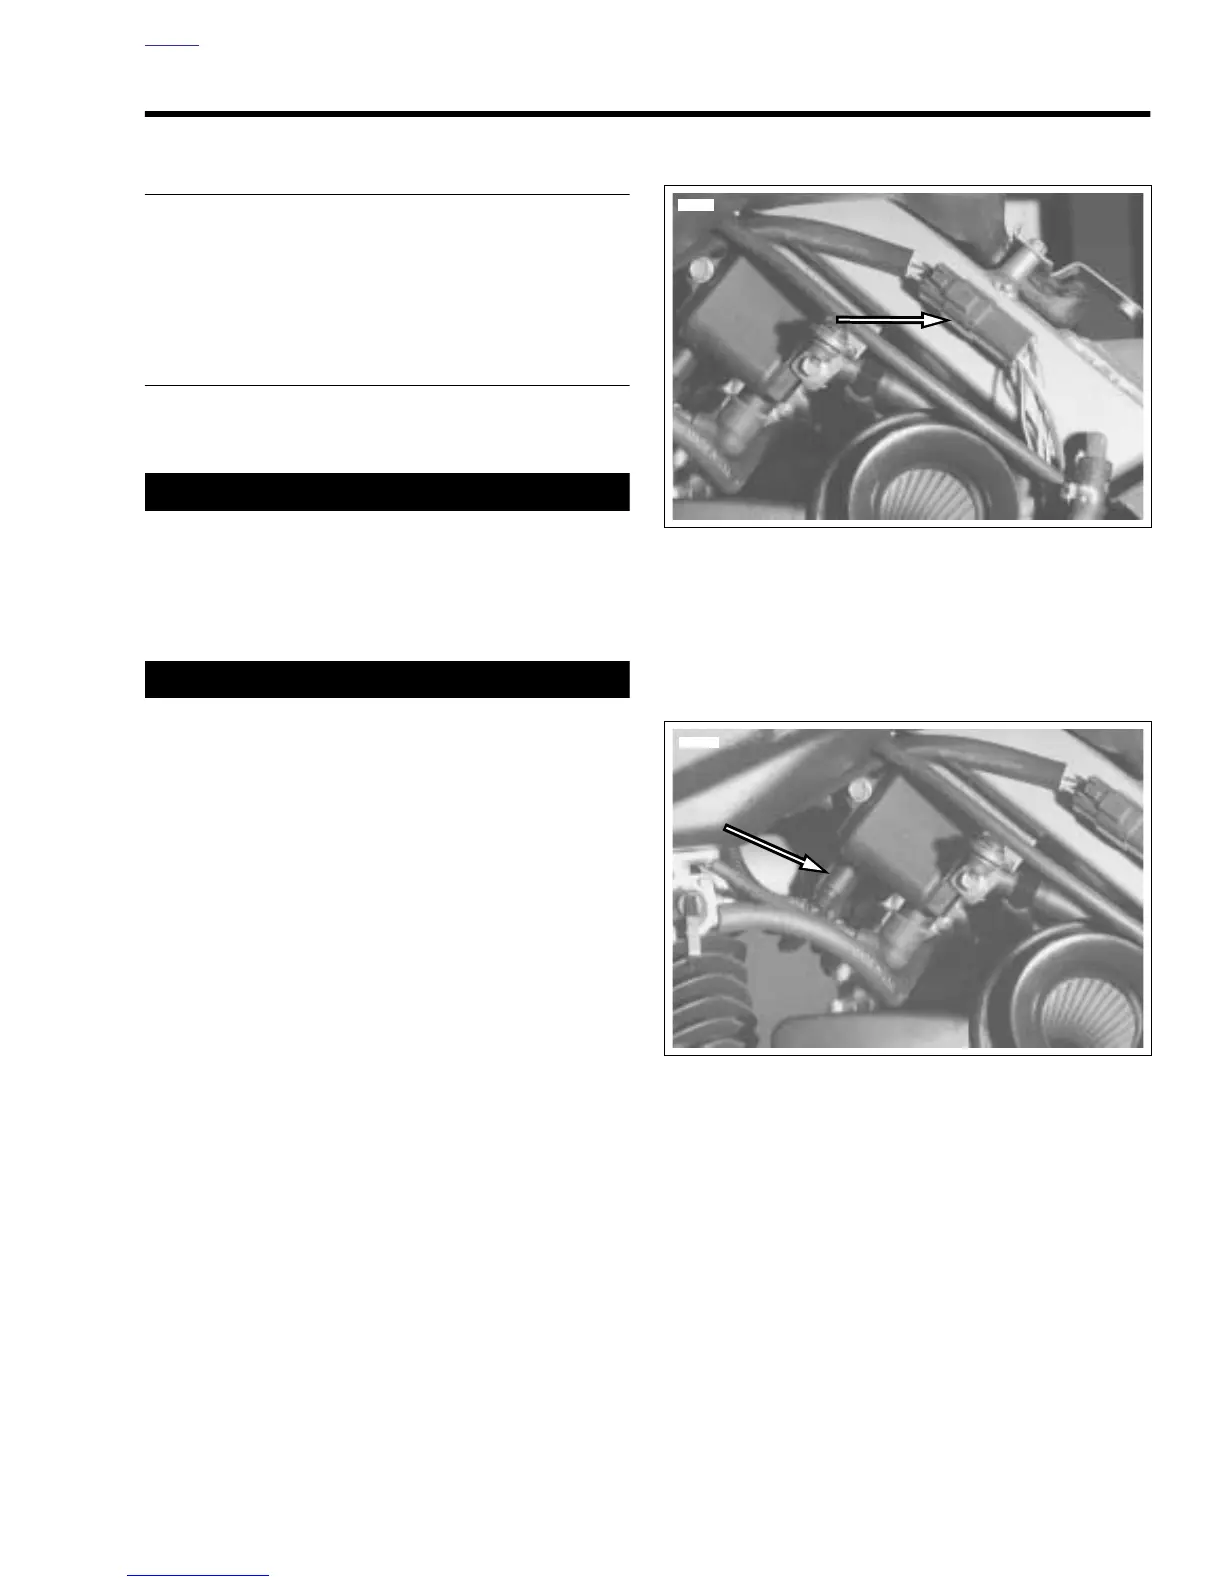
15. See Figure 7-93. Disconnect ignition coil connector [83]
at coil.
Figure 7-92. Ignition Connector [10]
Figure 7-93. Coil Connector [83]