34
SERVICE (CONT.)
Indicator LED
Removal and Replacement:
1. Disconnect power from the dispenser.
2. Remove the five #6-32 screws securing the door
cover to the door.
3. Carefully lower the door cover and disconnect the
LED lamp terminals connected to the LED harness.
4. Remove and discard the faulty LED lamp.
5. Install a new LED lamp.
6. Reconnect wires to the LED harness.
7. Replace the door cover and secure with the five
#6-32 screws.
8. Return power to the dispenser.
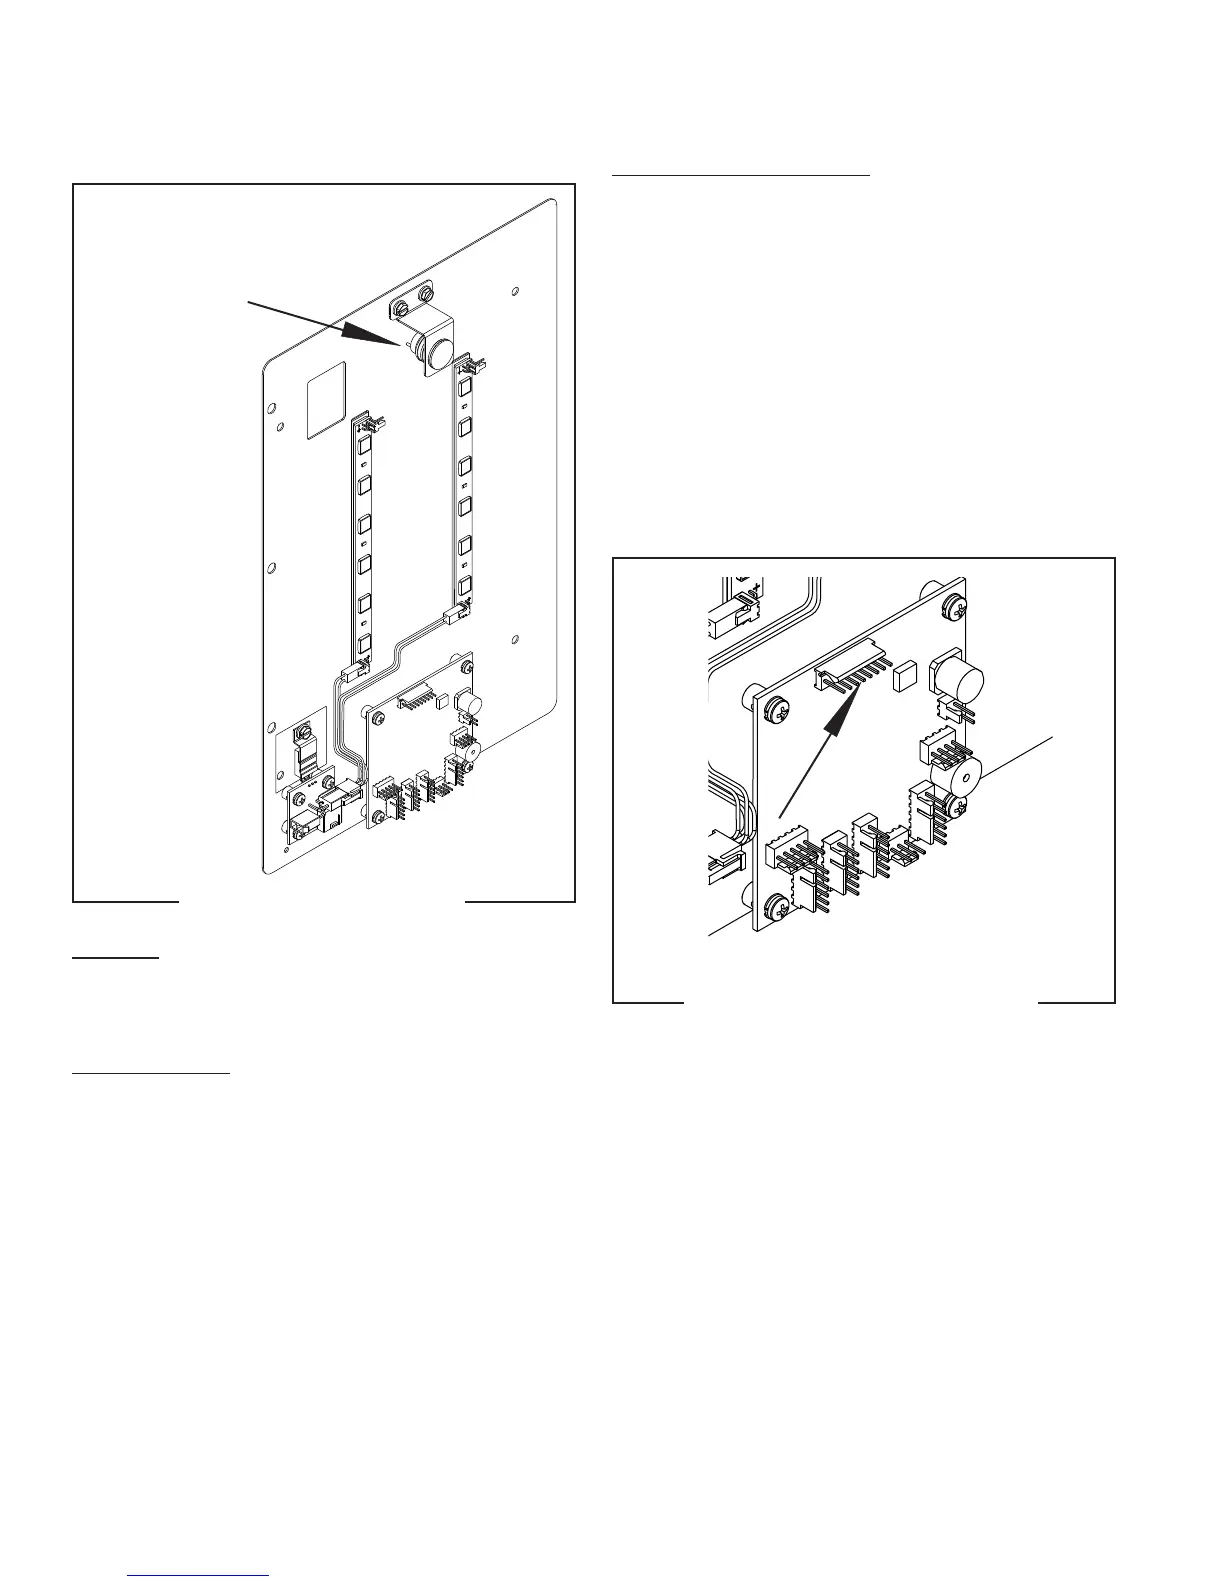
FIG. 34 LED DOOR LIGHT WIRING
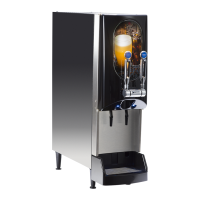
FIG. 33 LED DOOR LIGHTS
Location:
The LED door lights are located inside the dispenser
door.
Test Procedures:
Visual.
Ensure N2 cylinder gauge is higher than 100psig.
If No, replace the empty N2 cylinder with a full N2
cylinder.
If Yes, go to pressure switch test procedure
J6
N
2
Empty/Low
Indicator LED
55124 021418