Risk of injury from high pressure in the equipment!
Before loosening the pipes and valves, turn off the •
pressure and vent the pipes.
Risk of injury due to electrical shock!
Before reaching into the device or the equipment,•
switch off the power supply and secure to prevent
reactivation!
Observe applicable accident prevention and safety •
regulations for electrical equipment!
Risk of injury from improper installation!
Installation may be carried out by authorized techni-•
cians only and with the appropriate tools!
Risk of injury from unintentional activation of the
system and an uncontrolled restart!
Secure system from unintentional activation.•
Following assembly, ensure a controlled restart.•
Installation position:
Installation can be in any position.
Preferably: Actuator upright.
Prior to installation check pipelines for dirt and, if required,
→
clean.
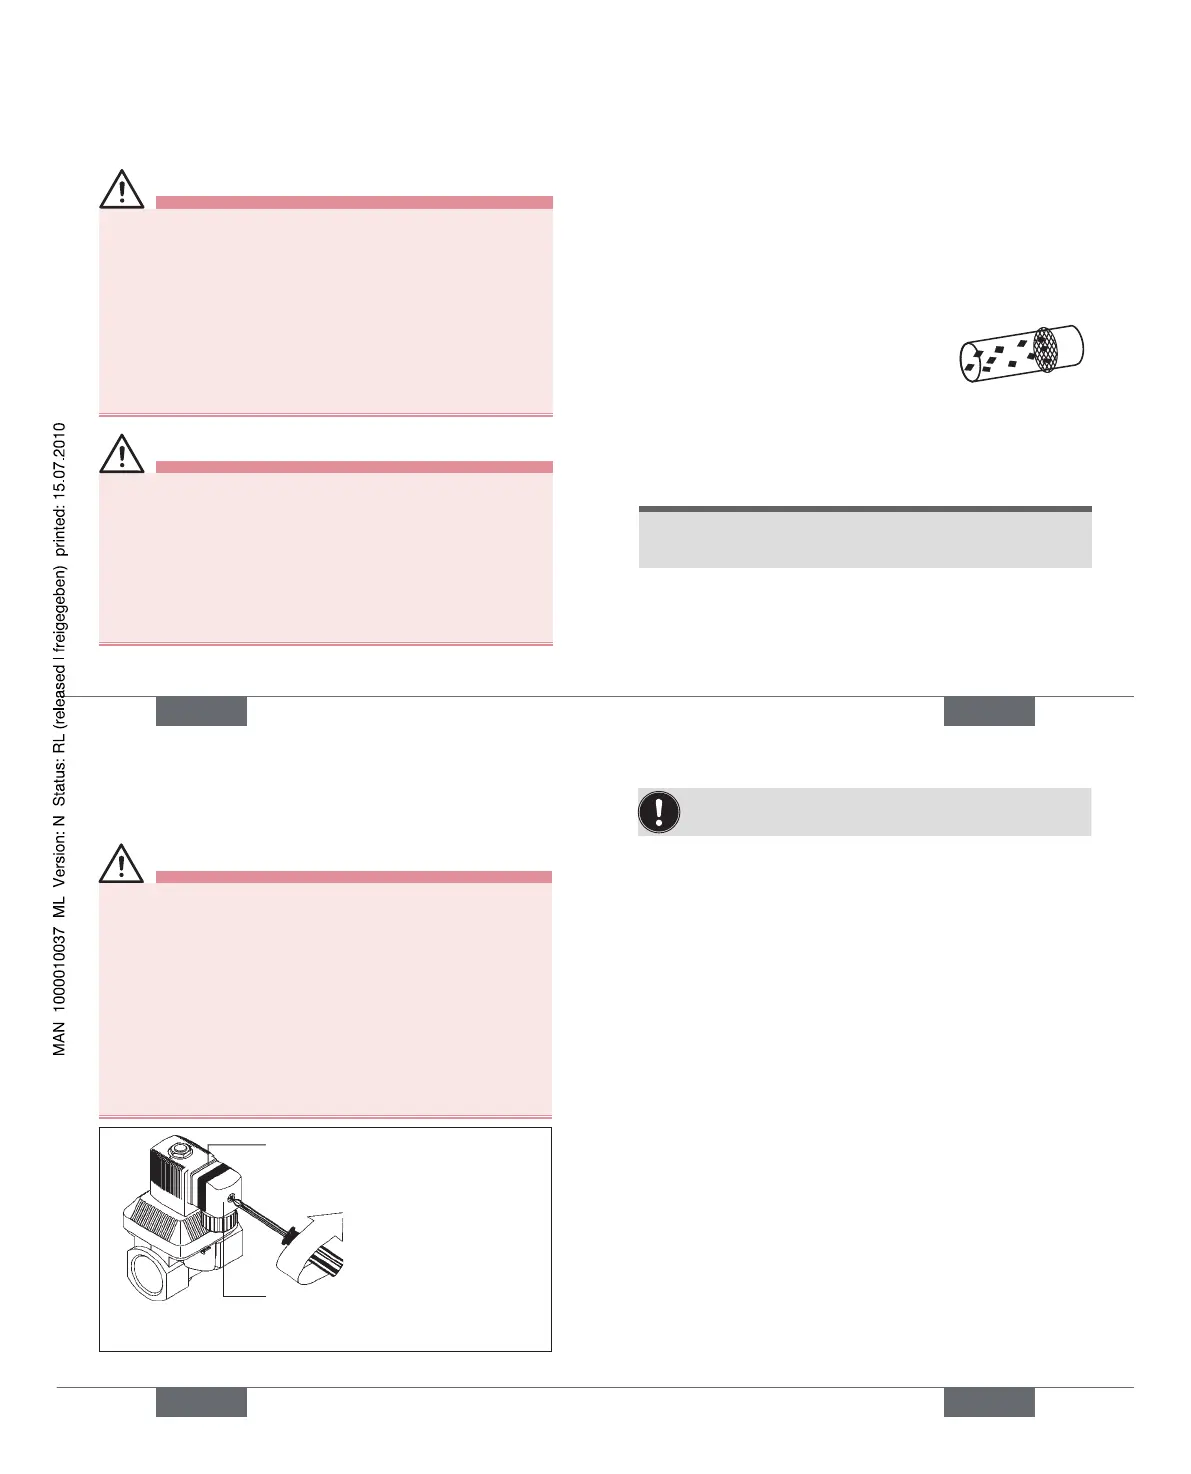
Dirt filter: To ensure that the safety shut-off device func-
tions reliably, install a strainer (≤ 500 µm) in front of the
valve inlet.
Hold the device with a suitable tool (open-end wrench) →
on the housing and screw into the pipeline.
Caution risk of breakage!
Do not use the coil as a lifting arm.•
Observe direction of flow:
→
The arrow on the housing indicates the direction of
flow.
Risk of injury due to electrical shock!
Before reaching into the device or the equipment,•
switch off the power supply and secure to prevent
reactivation!
Observe applicable accident prevention and safety •
regulations for electrical equipment!
If the protective conductor is not connected, there is
a risk of electric shock!
Always connect protective conductor.•
Check electrical continuity between coil and housing.•
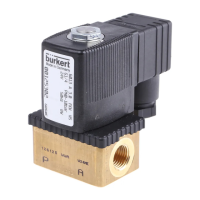
Seal
max. 1 Nm
Authorized cable plug e.g. Type
2508 in accordance with DIN ISO
175301-803 Form A
Electrical connection of the cable plugFig. 2:
Note the voltage and current type as specified on
the rating plate.
Tighten cable plug (for permitted types see data sheet),
→
observing max. torque 1 Nm.
Check that seal is fitted correctly.
→
Connect protective conductor and check electrical →
continuity between coil and housing.
Type 6213