2005 Tamasu Butterfly Europa GmbH
Am Schürmannshütt 40a, 47441 Moers
Phone +49 2841 905320 • Fax +49 2841 9053220
Website: www.butterfly-world.com
C H A P T E R 3 - Q U I C K S T A R T G U I D E
Assuming that your Amicus is fully assembled, this chapter will help you to get your Amicus3000
plus
up
and running within a few minutes.
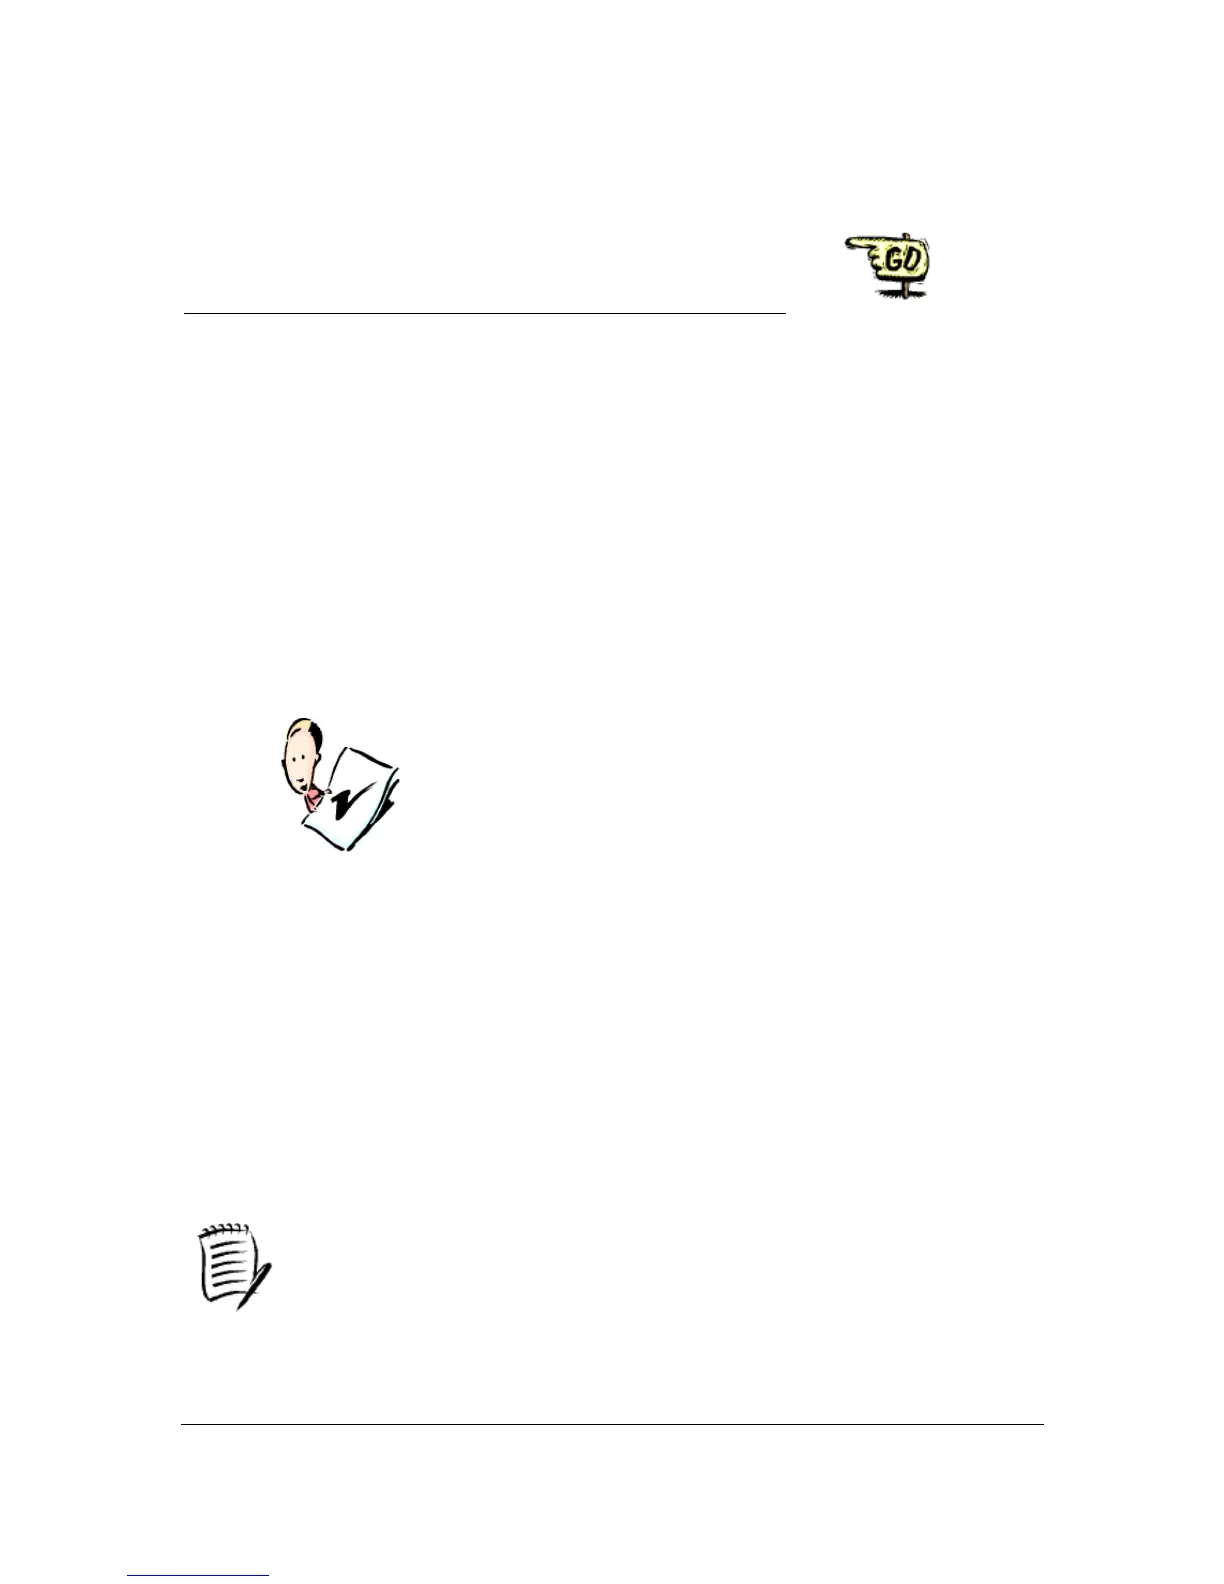
16. Position the Amicus such that the head of Amicus is centered just behind the center opening
in the net, and that the ball bin is centered below the opening in the bottom of the net.
17. Load the ball bin with about 100 balls (use 40mm balls).
18. Power on the Amicus using the red switch on the base of the robot.
The robot needs about 6-8 seconds in to adjust itself (meanwhile the display is flashing) and
the integrated computer is booted up.
After that, the robot starts calibration function and “CA” appears in the display.
(-> see “CA” calibration function)
Push Ball “A” button in order to leave the calibration and start defining your first ball!
TIP
: If the Amicus begins to automatically fire balls you may stop the
delivery of balls with the remote control (on/off switch).
Set the left-right (horizontal) slide lever for “A” between 0 and 5.
19. On the far left of control panel set the speed for “A” to 8, the spin to +1, and the distance
slide lever to 4.
20. On the far right of the control panel set the "Ball/min" knob to 50.
21. Next, test the delivery of a few balls by momentarily holding the sample button.
22. If the balls go into the net or off the table, adjust the distance (long/short lever) for ball A
accordingly.
23. Once you have set the distance control to deliver the balls properly, use the remote control
on/off switch to deliver balls continuously.
You may also use the "Ball/min" knob to start/stop the continuous delivery of balls
(simply set this knob to "0")