2005 Tamasu Butterfly Europa GmbH
Am Schürmannshütt 40a, 47441 Moers
Phone +49 2841 905320 • Fax +49 2841 9053220
Website: www.butterfly-world.com
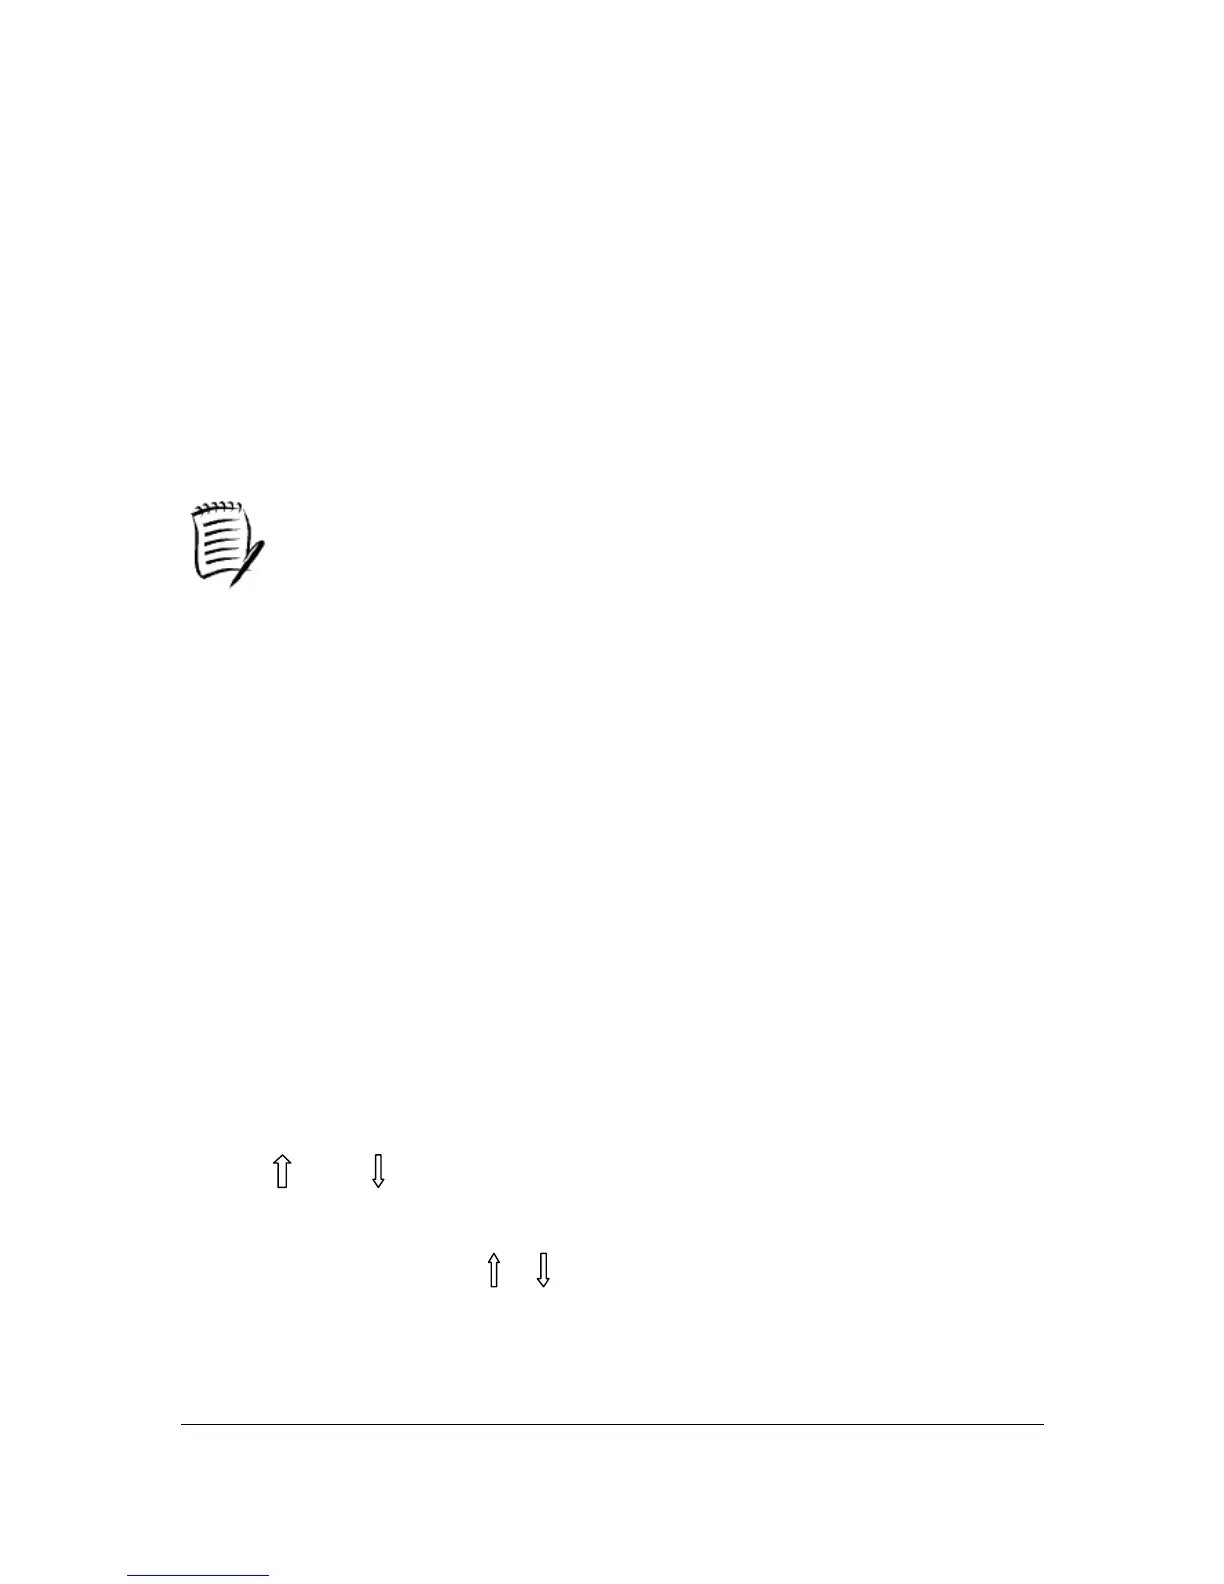
The serve and continue feature
The serve and continue feature allows you to serve one ball (ball A), and then continue with a pattern set
by ball B, ball C, and ball D. To use this feature first set ball A to the type of 'serve' you want to receive ...
perhaps a short underpin ball for example. Then set ball B, C, and D to the desired ball types you want to
be delivered after the serve. Next press the ball number button for ball A until all four green lights are
blinking ... this indicates that you are in serve and return mode. Next, simply play the pattern ... the
Amicus should deliver one ball of type, continuing with ball B, C, D, and then continuing with ball "B".
Changing ball distance of a memory pattern
In general ball type settings cannot be changed once in memory. There is however one exception to this
rule. The 'ball distance' of pattern in memory can be increased or decreased by using the up and down
arrows on the control panel.
Note: When you adjust the ball distance in this way, the distance (height) of ALL balls within a
given memory pattern will be adjusted
AFC (Automatic Frequency Control) mode
Function which takes into consideration that the previously projected ball was fast or slow, backspin or
topspin. Depending on that “simulating a real game” shoots the next ball faster or slower for the real time
experience.
To access this function press and hold down the “STEP” and “SAMPLE” on the bottom right hand side
of control unit. When you see the red LED light come on then the function is running.
Example: A slow backspin ball needs more time to get from the robot to the player than a quick topspin
ball needs. That’s why the balls coming one after the other with different speed and spin do not follow
each other in the same tempo.
“CA” calibration function
The machine sets (programs) a given type of ball in this function, which is shot only in case of pushing
continuously the ‘Sample’ button. The robot is adjusted correctly in case this sample ball reaches the table
onto the middle line about 10-20 cm from the end of the table. In case the robot does not shoot the ball
onto the middle line, it is necessary to turn the whole machine in the right direction.
In case the robot shoots the balls too long or too short regarding the adjusted distance from the basic line,
then the “ “ and “ “ buttons have to be pushed enough times in order to reach the right length. (The
robot remembers on this correctly set distance also after switching off the machine, so it is not necessary
to make this calibration.)
Attention! Only “Sample” and “ “ , “ “ buttons work during the calibration function, no
other buttons can be used.