2005 Tamasu Butterfly Europa GmbH
Am Schürmannshütt 40a, 47441 Moers
Phone +49 2841 905320 • Fax +49 2841 9053220
Website: www.butterfly-world.com
[If the wheels have worn such that this distance can no longer be adjusted, then you will need to have the
wheels replaced. To do this, loosen and remove the set screw (and plastic spacer) and wheel from the
motor shaft. Position new wheels on shaft and assemble in reverse order.]
Ball Jams
Be sure that no small objects (other than the balls) enter the small opening at the bottom of the ball bin.
This can cause ball jams - the robot will not be able to feed balls to the shoot wheels.
If a ball jam does occur, the Amicus automatically tries to correct the
situation by turning the drive, and shoot wheels backward and forward
for 3-4 seconds. If this does not correct the problem, you will need to
disassemble the robot in reverse order (see assembly notes in chapter 2),
and then remove the foreign object that caused the ball to jam. Turn the
robot gently on the side and use a sturdy thin object and push the
jammed balls along, going through the opening underneath the machine
(see picture below).
Stop Pin Maintenance
The stop pin, necessary for ball delivery, requires 1-2 drops of oil every 4-6 months. The stop pin is
located just above the pivot head (mechanism that directs balls to the various left right positions).
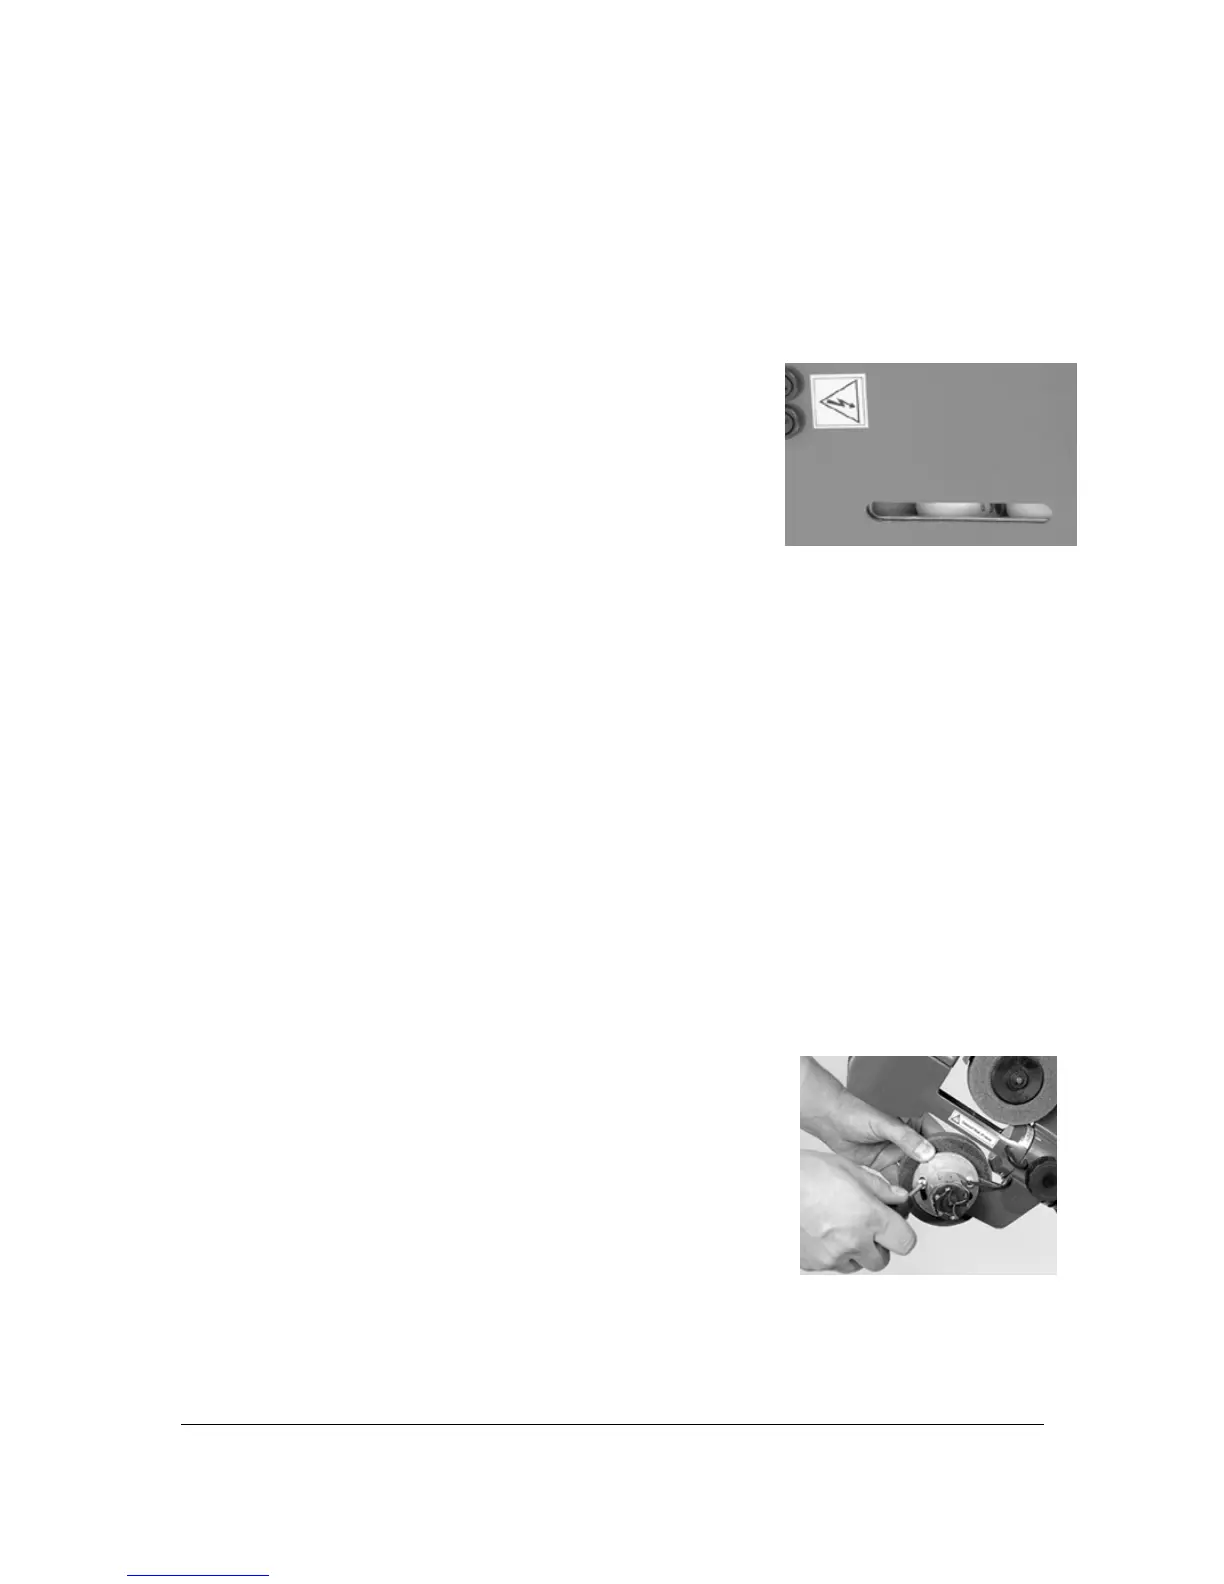
Fuses
If your robot cannot be turned on, it is possible that a fuse may be blown. [Be sure, of course, to first
check if your robot was plugged in!]
There are two fuses on the base of the robot. First unplug the robot, and carefully lay the robot on its side.
Use a flat head screwdriver to unscrew the fuse sockets, and then replace the defective fuse. (Two spare
fuses, T400ma, were included with your robot.)
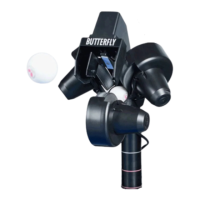
Adjusting Wheels
If you need to adjust the wheels for any reason, first remove plastic covers
from the two motors. Unscrew the big screw slightly and then slowly slide
the wheel to the optimal position, and then tighten the screw (see picture
below). The distance between the wheels should be 32mm.
When it is time to replace the wheel follow these instructions. Unscrew
the caterpillar screw that is located on the wheel supporter, remove the
wheel from the shaft of the motor, then unscrew the three screws that
keep the plastic tight.. Replace with the new wheel and you are ready to
go.