™
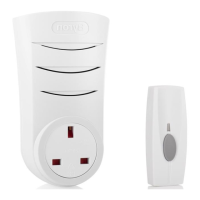
Plug-in
Wire Free Chime Kit
3
3
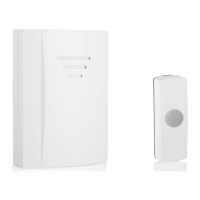
1: Plug Chime into a UK 3pin
socket, 220 – 240V ~ 50Hz.
2: Switch the socket on.
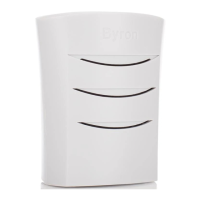
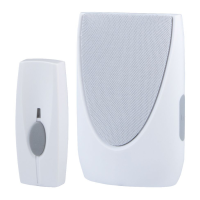
BY102
1: Push Button 5: Plug-in Chime
2: Melody Selector 6: Speaker
3: Bell Push Battery
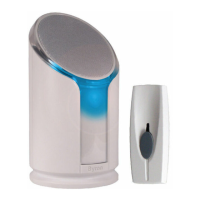
4: Signal Sent LED
1:
2:
4:
:3
6:
5:
Functions:
Additional Bell Push
To add an additional Bell Push to the Door Chime kit
1: Unplug the Door Chime and wait for 10
seconds.
2: Plug the Door Chime into the Socket and
switch the socket on.
3: Press the New Bell Push within 60 sec, to pair
the additional Bell Push to the Door Chime.
4: Press both Bell Pushes within 60 seconds, to pair
the additional Bell Push to the Chime.
5: Chime will ring to confirm setup, wait 60 seconds for Chime to exit
the learn mode before repressing the Bell Push. For Front/Back
door setup, select a different melody in one of the Bell Pushes -
See Melody Selection.
Note: Maximum of 2 Bell Pushes can be learnt to a single
Door Chime.
Front Door
Back Door
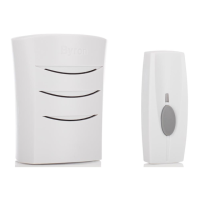
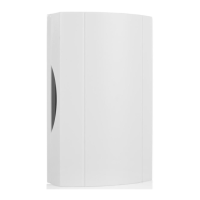
New Chime
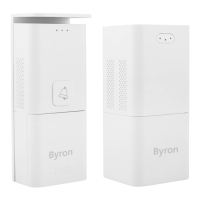
Adding Additional Chime/Bell Push:
Additional Chime
To add an additional Chime unit to the Door Chime kit
1: Unplug the NEW Door Chime and wait for 10
seconds
2: Plug the Door Chime into the Socket and switch the socket On.
3: The Chime will ‘Beep Beep’ to indicate that it has entered
the Learn mode.
4: Press the Bell Push within 60 seconds, to pair the additional
Chime to the Bell Push.
5: Chime will ring to confirm setup, wait 60 seconds for the Chime
to exit the learn mode before repressing the Bell Push.
Beep
Beep
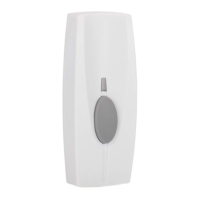
To select a melody for the Door Chime
1: Remove the Back Plate from the Bell
Push.
2: Press the Melody Select button.
3:The chime will play the newly selected
sound.
4: Press again to select the next melody.
Note: For Front/Back door setup, select a
different melody in one of the Bell Pushes.
CR2032
Beep
Beep
1: The Chime will ‘Beep Beep’.
2: Press the Bell Push within
60 seconds to learn the
Bell Push to the chime.
3: The Chime will ring to
confirm setup.
Note: Maximum of 2
Bell Pushes can be learnt to a
single Chime for Front/Back
4
1: Place a small flat screwdriver
into the locking clip on the
base of the Bell Push.
2: Gently twist.
3: The backing plate will unclip.
1
4 Selectable Melodies
1: Ding Dong (Repeat) 3: Alarm
2: Westminster 4: Ding Dong Ding
1: Insert CR2032 battery
(Supplied) into the battery
holder.
2: Make sure the positive side
is facing upwards.
3: Replace back plate.
2
Warning: Make sure that the batteries are
replaced correctly to avoid battery failure.
Only replace with same or equivalent type.