BATTERY INSTALLATION
1. Lift hatch tab.
2. Turn counterclockwise to open.
3. Remove protective plastic battery cover.
4. Replace battery cap & tighten by turning clockwise.
NOTE:
If the Low Battery Icon is present on LCD display, there are approximately 200
ranges left until the battery is completely drained. The Low Battery Icon will
ash if the battery life is very low. In this case, the battery needs to be replaced
before next use.
BATTERY INSTALLATION 3
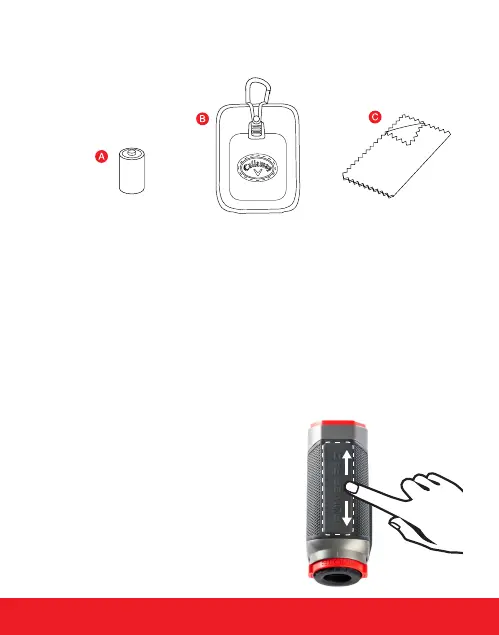
INCLUDES
A. CR2 - 3-Volt Lithium Battery
B. Carry Case
C. Cleaning Cloth
PLEASE NOTE:
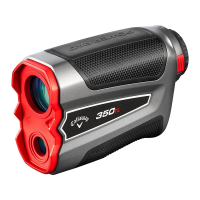
Since the 350TL utilizes the PowerPad
TM
instead of a traditional button, we highly
recommend the user spend 10-15 minutes
experiencing the dierence before going to
the golf course. Spend some time getting
used to the pressure needed to re the
laser. You will nd the PowerPad
TM
is very
responsive and does not require that much
pressure at all.
Touch anywhere on
the PowerPad
TM
to
re the laser!
 Loading...