4
4-10. Adjusting Pulsation Dampener (See Figure 2-1)
1. Remove dust cover and insert 1/8 hex key into needle valve.
2. Turn valve clockwise to closed position, approx. 3 turns.
3. Back out valve 1/2 turn or as required to reduce pulsations/shock pres-
sures.
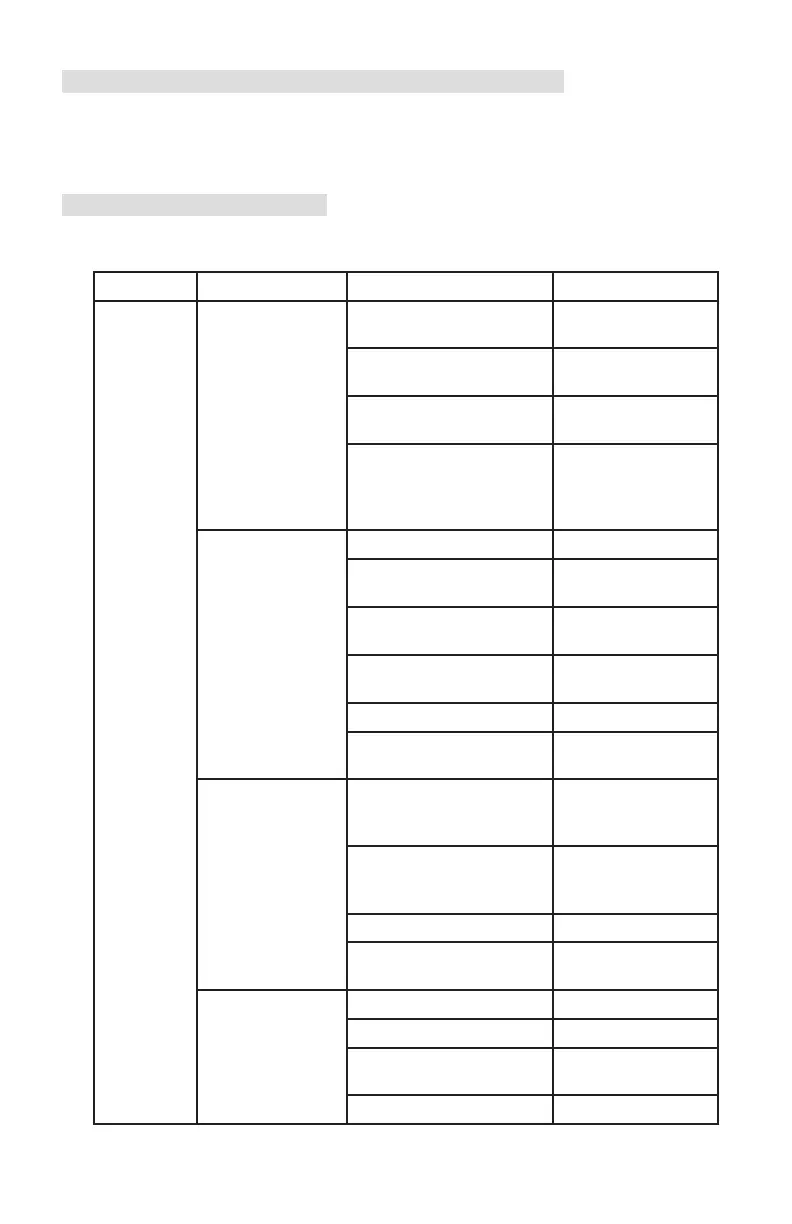
4-11. Troubleshooting
See Table 4-5 and refer to actuated instrument Manual for more information.
Table 4-5. Troubleshooting Chart
Trouble* Possible Source Probable Cause Corrective Action
Low or No Primary Element Orice installed backwards Replace orice
Indication or Differential or oversized
Pressure Source
Flow blocked upstream Clean out run or
from run open valve
Loss of liquid in reference Rell reference leg
leg (liquid level)
Density changes in process Rell reference leg
media or reference leg with same density
liquid as process
media
Piping from Pressure tap holes plugged Clean out piping
Primary Element
to DP
U
Bypass valve open or
leakin
g
Close bypass valve(s)
or repair leak
s
Liquids or gases trapped Vent piping
in piping
Block or shutoff valves Open block or shut-
closed off valves
Piping leaks, HP side Repair leaks
High apper setting Align drive arm
re-calibrate
Bellows Unit Housing(s) lled up with Clean out housing(s)
solids, restricting bellows
movement
Gas trapped (liquid service) Vent housing(s)
or liquid trapped (gas
service) in housing(s)
HP Housing gasket leaks Replace gasket
DPU tampered with Return BUA for
repair
Mechanism Loose links/movements Tighten or replace
Out of calibration Calibrate
Corrosion or dirt in mecha- Clean or replace
nism
Pointer loose Tighten pointer
25