5
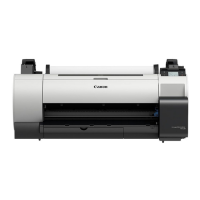
• When using the roll unit
-> Attach the roll unit to the stand by referring to the
Roll Unit Setup Guide (separate manual)
.
• When not using the roll unit
-> Proceed to
"Attach the Basket"
.
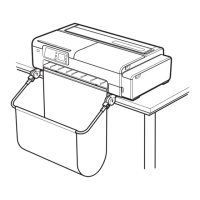
• When using the basket included with the stand
-> Attach the basket to the stand by referring to the
Printer Stand Setup Guide (separate manual)
.
Proceed to
"Attach the Basket"
.
• When not using the basket
-> Proceed to
"Assemble the Stacker"
.
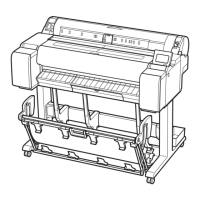
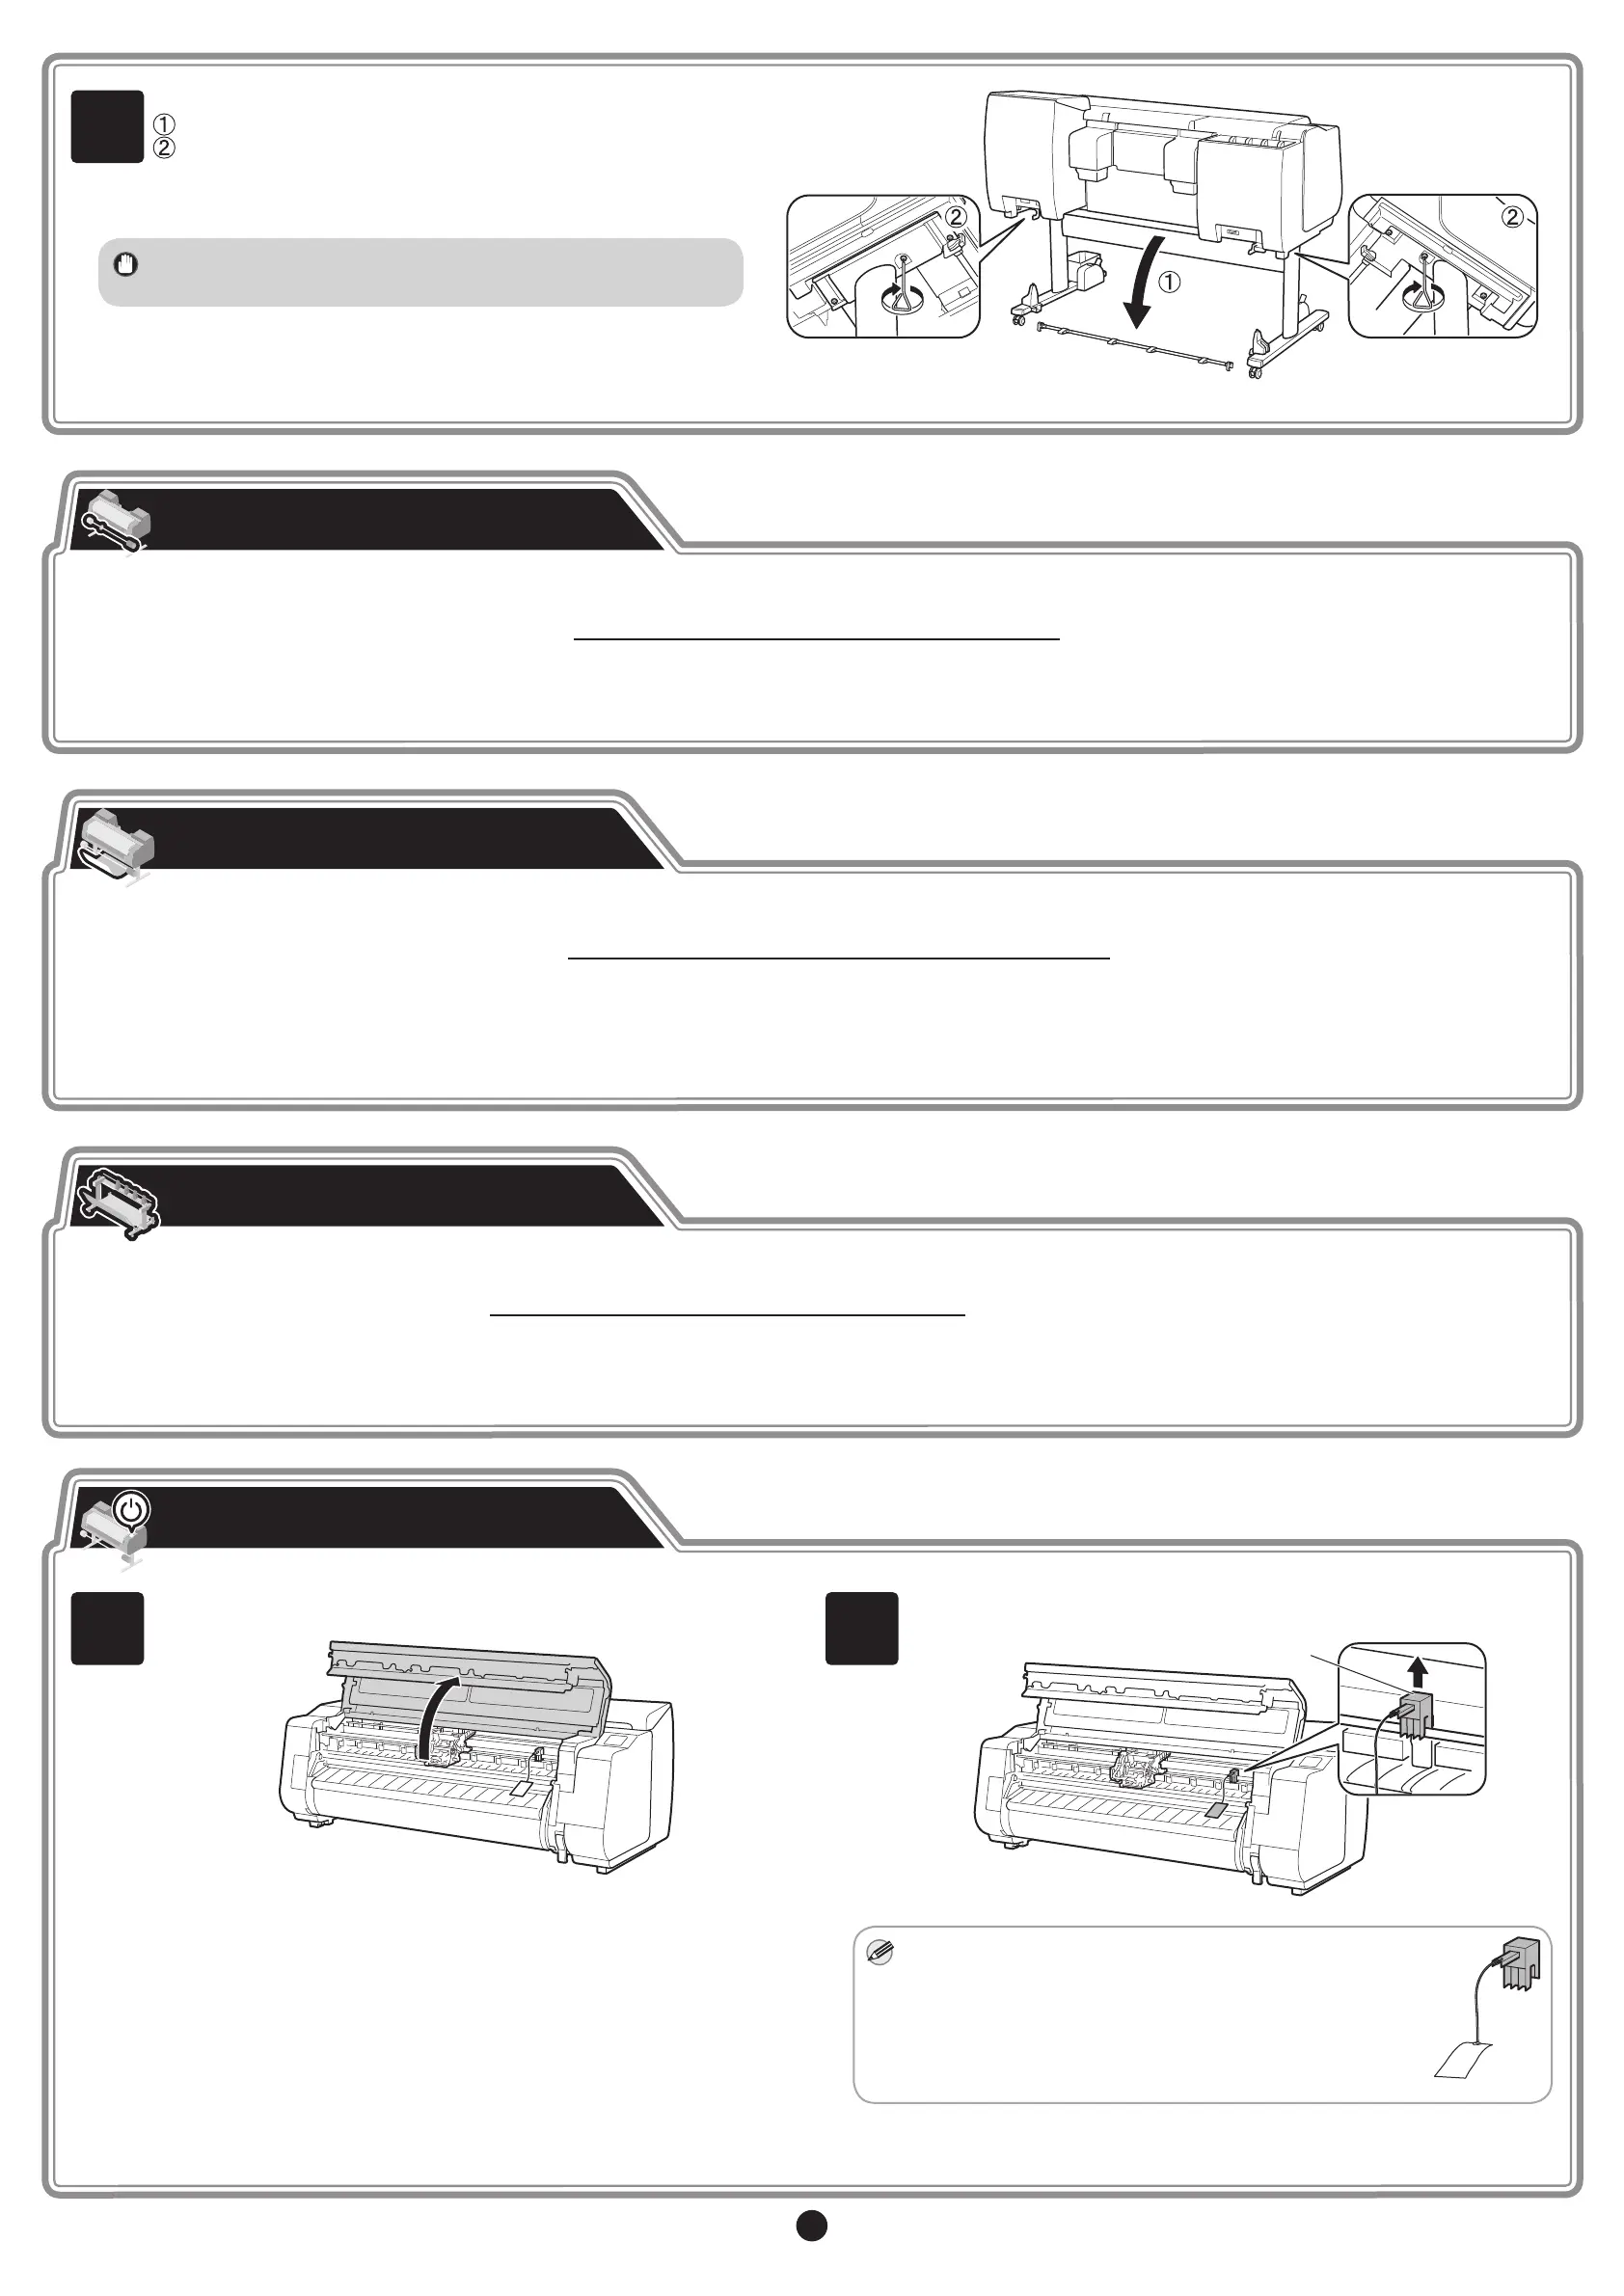
1
Open the top cover.
2
Pull up and remove the belt stopper (A).
A
Note
• Keep the belt stopper you removed for future use. You
will need them in case you move the printer to another
location.
• When you open the top cover, a cleaning brush is
stored on the right side. Take it out and use it when
cleaning inside the top cover.
Attach the Basket
Turn On the Printer
Attach the Roll Unit
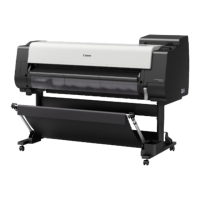
• When using the stacker
-> Assemble the stacker by referring to the
Stacker Setup Guide (separate manual)
.
• When not using the stacker
-> Proceed to
"Turn On the Printer"
.
Assemble the Stacker
5
Afx the printer to the stand.
Remove the alignment rod.
Use an M4 Allen wrench to securely afx three M4 hex
screws each on the left and right from the bottom of the
supporting plate.
Important
• The removed alignment rod will be used when attaching the
basket.
 Loading...