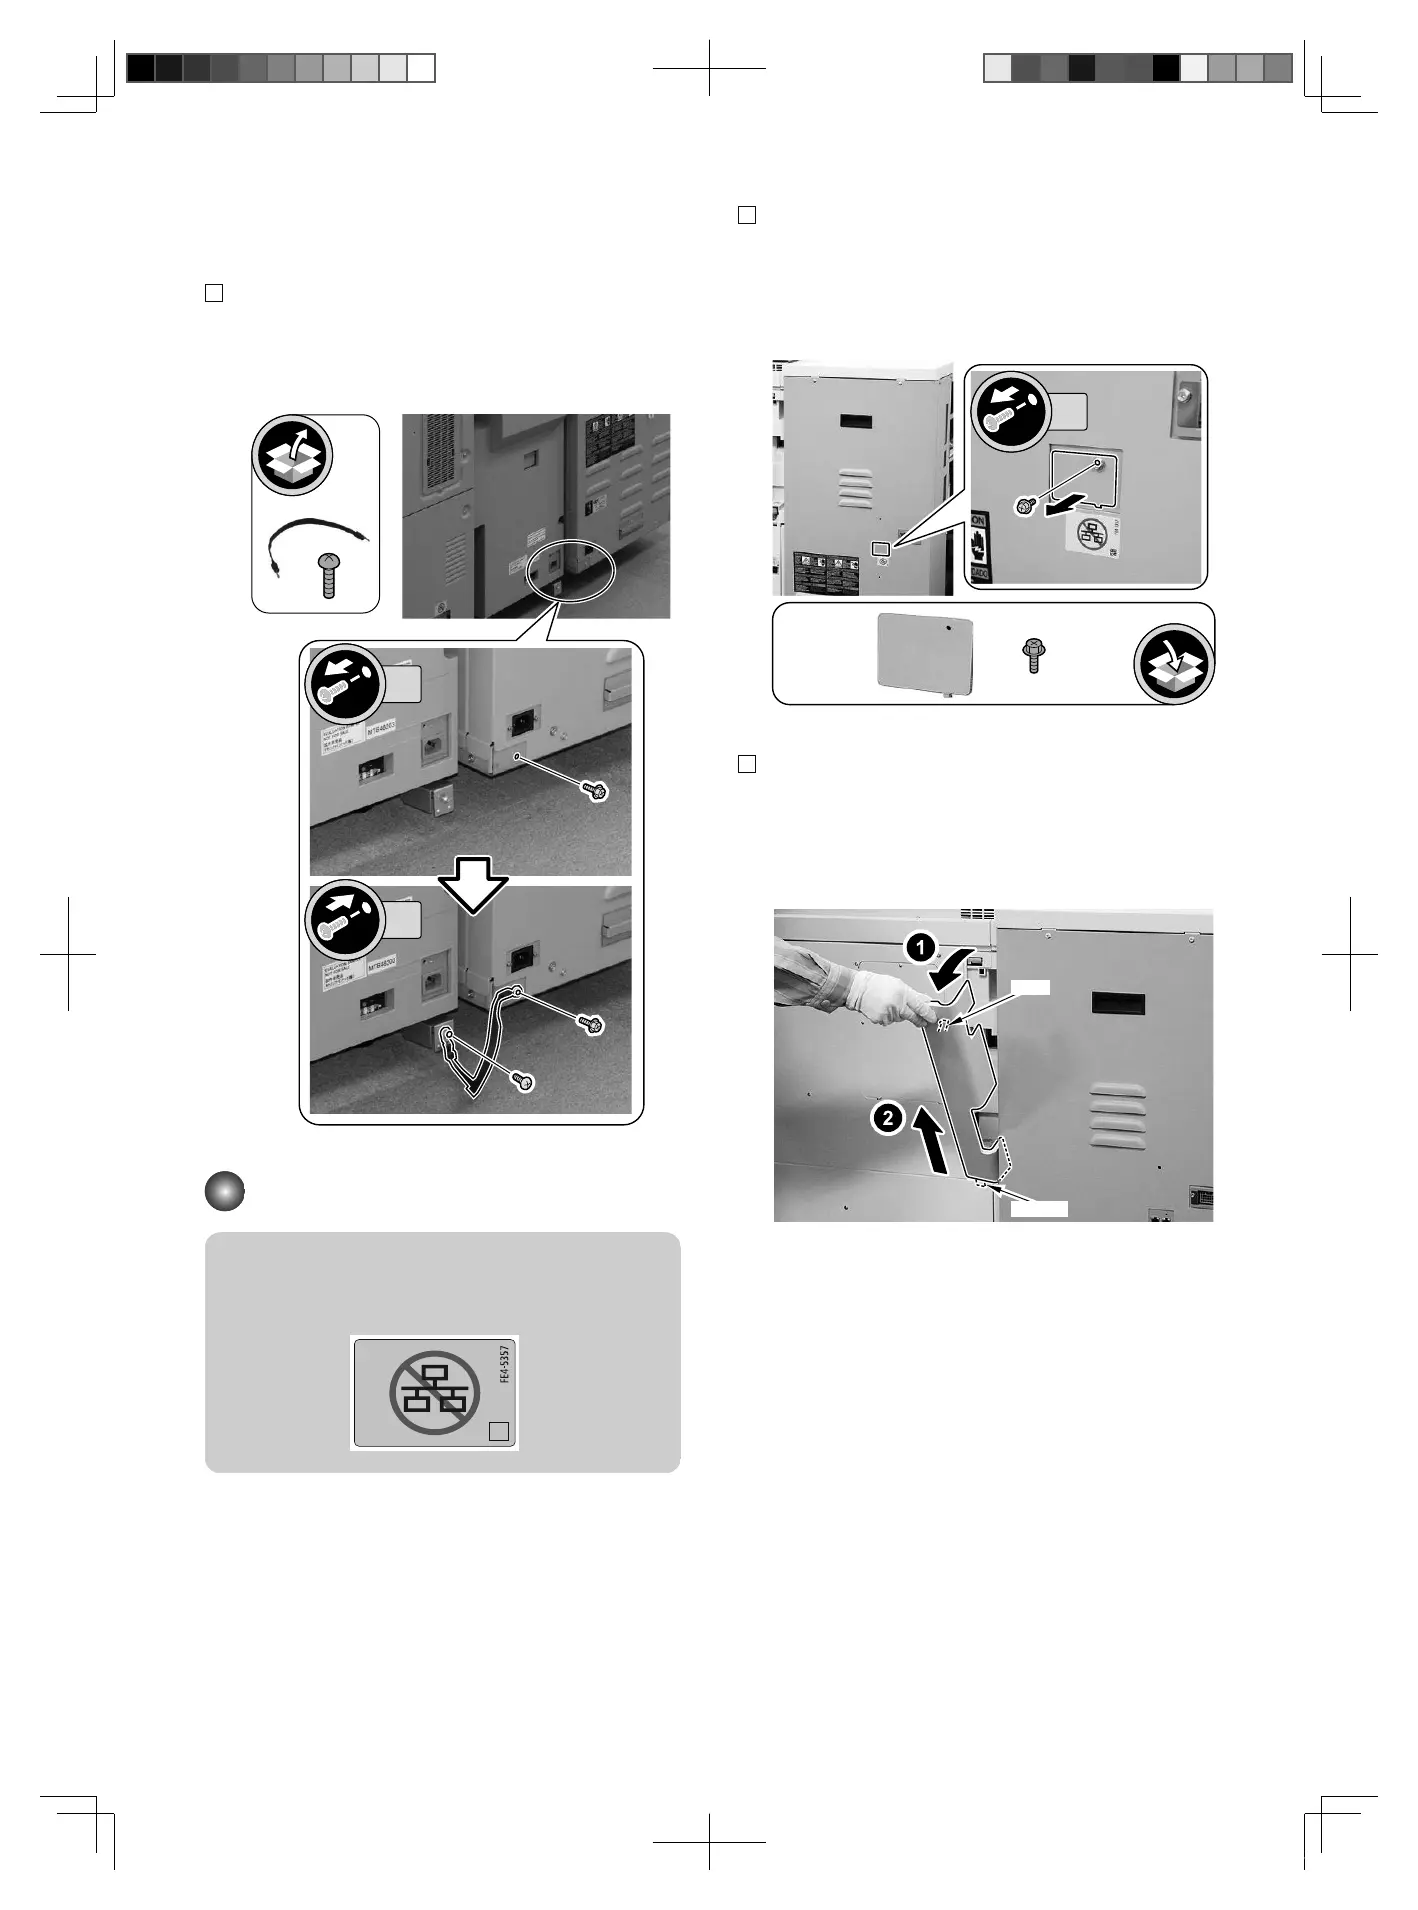
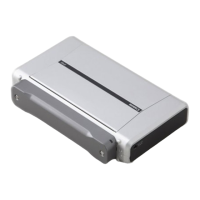
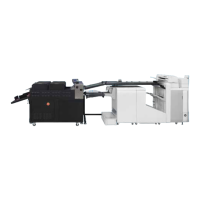
EasyManuals Logo

Canon Multi Function Professional Puncher-A1 User Manual

Canon Multi Function Professional Puncher-A1
20 pages
To Next Page IconTo Next Page
To Previous Page IconTo Previous Page
Page #14 background imageLoading...
Page #14 background image
Connection with the Document Insertion
Unit
1. Remove the
screw from the Document Insertion Unit
and the equipment, and connect the Shunt Cable.
1 Screw (Binding; M4 x10)
2x
1x
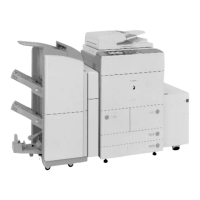
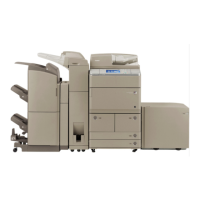
Connecting the LAN Cable
CAUTION:
Do not connect the customer's network cable to the
port where the connection prohibition label is affixed.
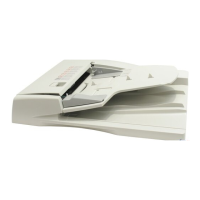
1. Remove the Face Cover on the rear side of this
equipment. (the removed Face Cover and screw
willnot be used.)
1 Screw
1x
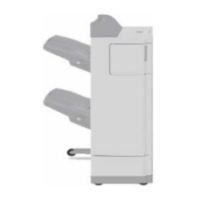
2. Remove the Left Rear Cover of the host
machine( iRADV 8505/8595/8585 series only).
1 Claw
1 Hook
Claw
Hook
1. Installation
14
閲 FT2-0208-030_20160510.pdf 14 2016/05/10 14:39:52

Questions and Answers:

Question and Answer IconNeed help?

Do you have a question about the Canon Multi Function Professional Puncher-A1 and is the answer not in the manual?

Canon Multi Function Professional Puncher-A1 Specifications

General IconGeneral
BrandCanon
ModelMulti Function Professional Puncher-A1
CategoryPrinter Accessories
LanguageEnglish

Related product manuals