3
ENGLISH
5
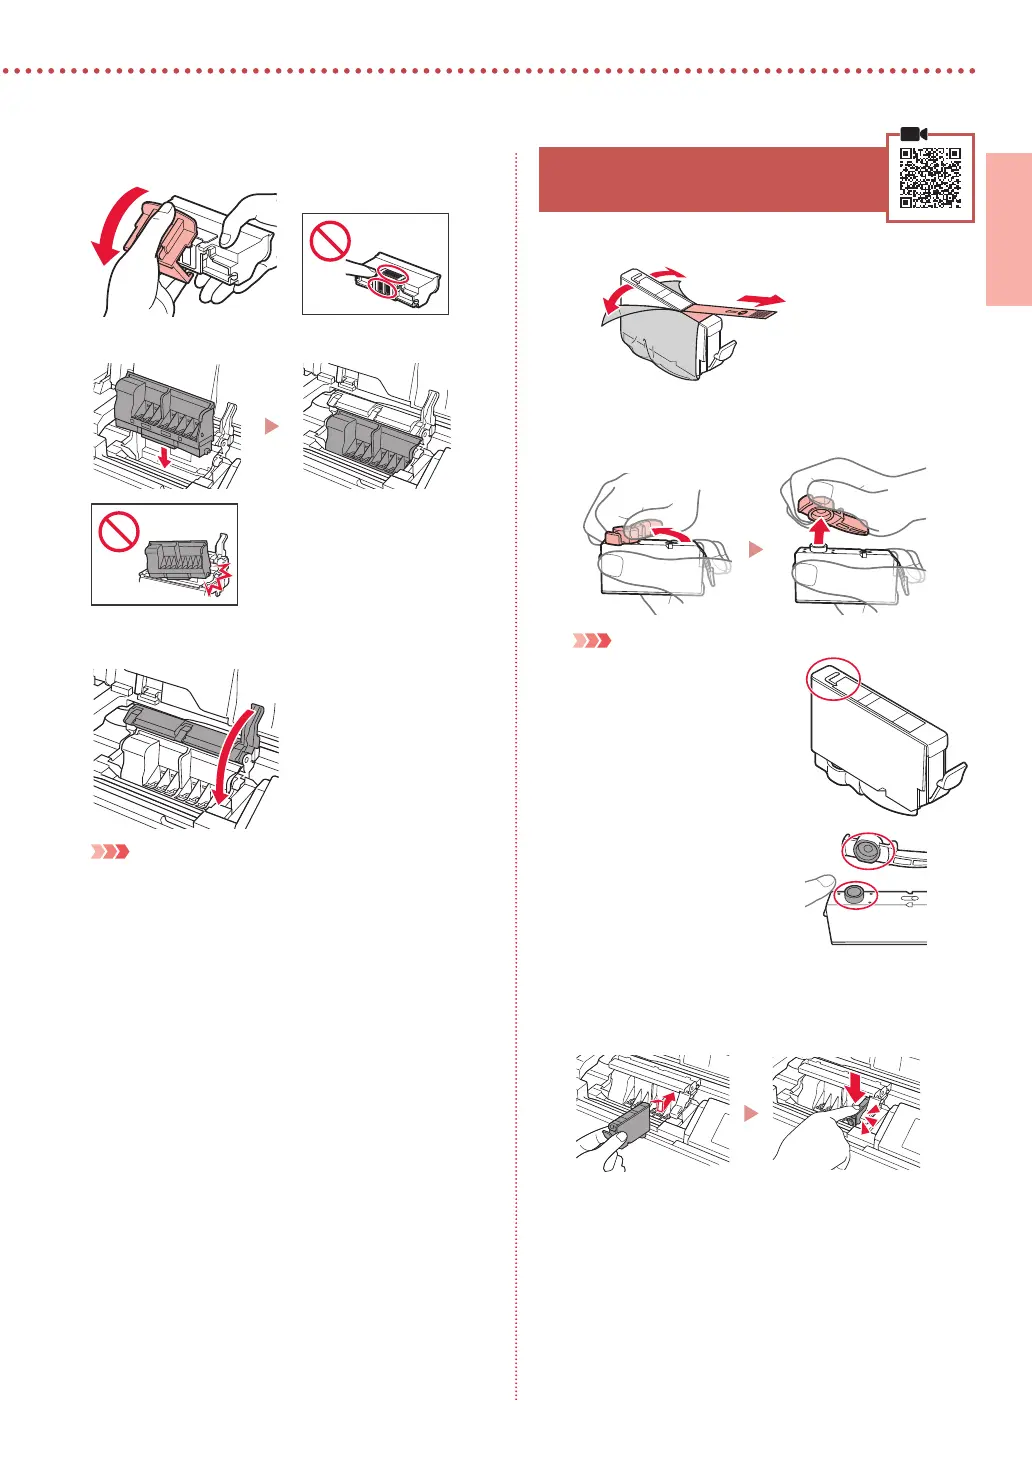
Remove the protective cap.
6
Set the print head in the print head holder.
7
Lower the print head lock lever completely.
Important
Once you have installed the print head, do not remove it
unnecessarily.
5. Installing the Ink Tanks
1
Remove the tape and lm on the ink tank.
a
b
•
Check that no tape or lm is left.
2
Twist the orange cap, and then remove.
Important
•
Do not squeeze the ink tank
with the L-shaped air hole
blocked.
•
Do not touch the areas
shown in red.
3
Install the ink tank.
•
Insert the ink tank into the print head and press down
until it clicks.
 Loading...