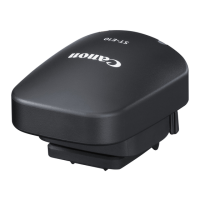
9
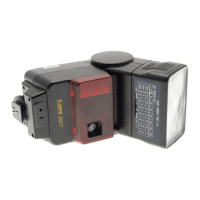
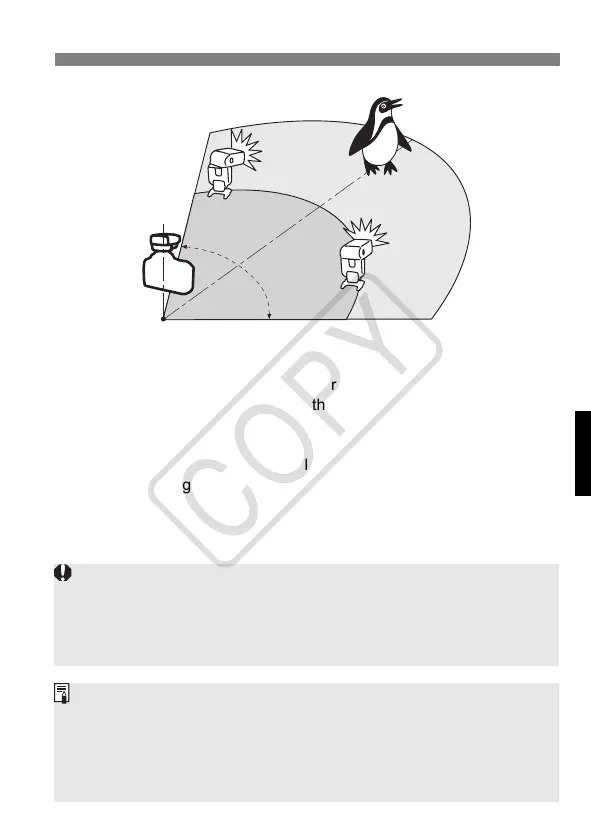
Use the bounce feature to swing the slave unit’s flash body so that
the wireless sensor faces the master unit.
Use the mini stands (equipped with tripod socket) provided with the
Speedlites to prop them up as slave units.
Indoors, the wireless signal may also bounce off the wall so there is
more leeway in positioning the slave unit(s).
After positioning the slave unit(s), be sure to test the wireless
operation before shooting.
Do not place any obstacles between the ST-E2 and slave unit(s).
Obstacles can block the transmission of wireless signals.
15m (49.2ft.)
10m (32.8ft.)
8m (26.2ft.)
80°
12m (39.4ft.)
Indoors
Outdoors
Make sure the ST-E2’s flash ratio control lamp is off. If the flash ratio control lamp
is on, the Speedlite may not fire or a standard exposure may not be attained.
When the ST-E2’s pilot lamp lights and the <Q> icon lights in the camera
viewfinder, they indicate that the ST-E2 is ready for remote transmission.
They do not indicate that the slave is ready (recharged).
If the flash exposure confirmation lamp did not light, move the slave
unit(s) closer to the subject and shoot again. With a digital camera, you
can also increase the camera’s ISO speed.
If auto power off turns off the slave unit, press the ST-E2’s <
J
> button to
send a test transmission. This will turn on the slave unit.
Test transmission is not possible while the camera’s
4
and
0
timer is in effect.
ST-E2_E.fm Page 9 Monday, May 1, 2006 4:29 PM