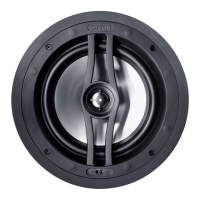
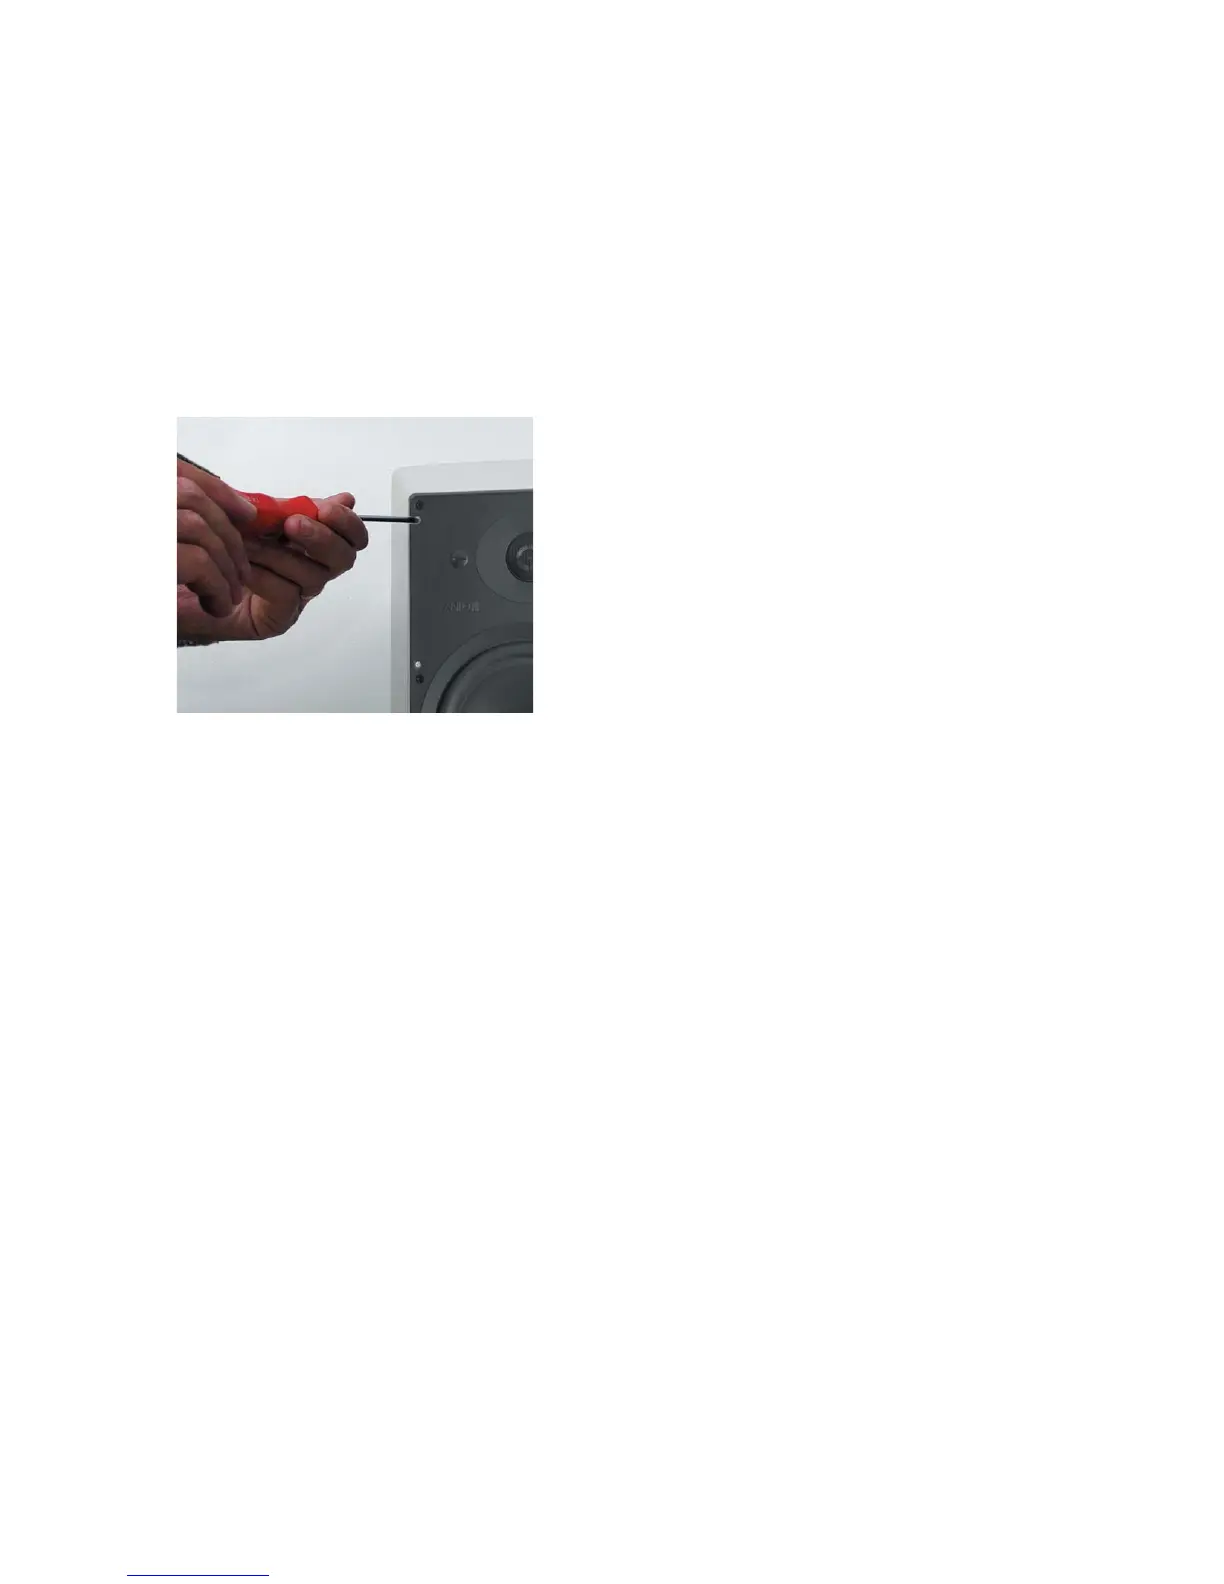
Nach dem Einsetzten wird das InWall System jeweils an den
silbernen Schrauben in der Wand fixiert.
Wichtig: Die Schrauben nicht zu fest anziehen damit die
Befestigungslaschen nicht beschädigt werden. Danach können
Sie das Gitter in das InWall System einsetzen.
Now the speaker system can be inserted into the wall cutout
and can be secured using the
silver screws
.. Important: To
prevent damage to the mounting tabs, do not twist the screws
too tightly. After that you can insert the grille into the InWall
system.