Do you have a question about the Canton Movie and is the answer not in the manual?
Select a flat, stable surface for optimal speaker placement and stability.
Avoid opening the device casing to prevent damage or electrical hazards.
Protect the device from rain, splashing, and high humidity to prevent electrical shock.
Minimize exposure to vibrations to prevent damage to internal components.
Shield the device from very low temperatures to prevent malfunction.
Prevent direct exposure to sunlight to avoid overheating and damage.
Clean the device with gentle, non-alcoholic, non-abrasive agents only.
Avoid inserting hands into the subwoofer to prevent injury or damage.
Keep the subwoofer uncovered and free of objects on top to ensure proper ventilation.
Disconnect the power cable during thunderstorms to prevent electrical surge damage.
Ensure minimum distances from walls, furniture, and CRT TVs for optimal performance.
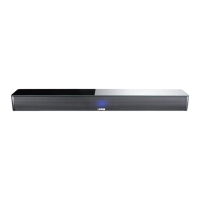
Position the centre speaker close to the TV, either above or below it.
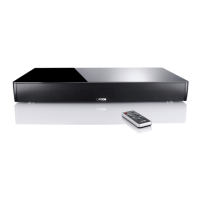
Place subwoofers anywhere; ideal is between front speakers.
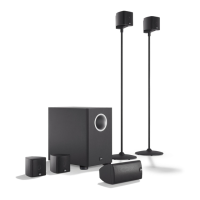
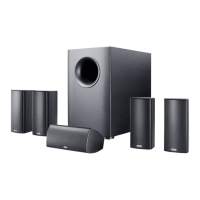
Information on setting up a 5.1 surround sound system.
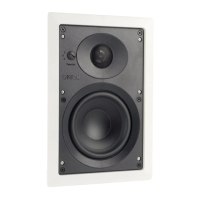
Guidance on the optimal installation height for satellite speakers.
Recommended minimum distance between the subwoofer and walls/furniture.
Instructions on using self-adhesive absorbers to isolate speakers on hard surfaces.
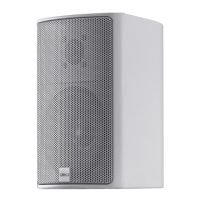
Secure loudspeakers to the wall bracket as shown and check correct positioning.
Connect via Low Level Input using a standard cinch cable for Pre-Out or stereo subwoofer outlets.
Connect via Mono Low Level Input using a double-insulated cinch cable for mono subwoofer outlets.
Connect to amplifier speaker outputs via High Level Input using standard speaker cable.
Important note about polarity and not using Low Level and High Level inputs simultaneously.
Use standard speaker cable and ensure correct polarity: red = plus, black = minus.
Adjust loudspeakers to suit room acoustics for optimal surround sound.
The main switch for turning the device on and off.
Indicator light showing device status (green/red).
Feature for automatic activation of the device.
Adjusts the upper transmission frequency for optimal sound blending.
Control for setting the sound output level.
Connection terminal for low-level audio signals.
Connection terminal for high-level audio signals.
Safety feature protecting the device against overcurrent.
Explains the "AUTO" and "ON" modes for the amplifier's operating behavior.
Caution against distortion due to incorrect volume levels, which can damage speakers.
Recommended 15-20 operating hours for optimal sound quality.
Solutions for when the subwoofer fails to power on.
Solutions for when the subwoofer remains active and does not turn off.
Troubleshooting steps for persistent humming noises from the subwoofer.
Addressing issues where speakers produce sound at varying volume levels.
Solutions for when the overall sound output is too low.
Details the terms, duration, and exclusions of the product warranty.
| Disc types supported | No |
|---|---|
| Optical disc player type | Not included |
| Quantity | 1 |
| Number of woofer drivers | 4 |
| Mid-range driver diameter | 110 mm |
| Apple docking compatibility | - |
| Mid-range driver diameter (imperial) | 4 \ |
| Video formats supported | Not supported |
| RMS rated power | 330 W |
| Audio output channels | 5.1 channels |
| Front speaker type | 2-way |
| Front speakers RMS power | 100 W |
| Front speaker frequency range | 45 - 30000 Hz |
| Front speaker tweeter diameter | 1 \ |
| Front speaker dimensions (WxDxH) | 140 x 100 x 220 mm |
| Front speaker crossover frequency | 3900 Hz |
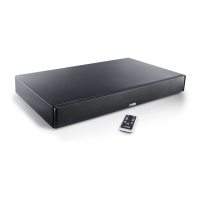
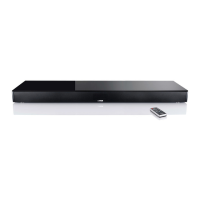
| Center speaker type | 2.5-way |
| Center speaker weight | 3500 g |
| Center speaker RMS power | 130 W |
| Center speaker dimensions (WxDxH) | 430 x 100 x 140 mm |
| Center speaker crossover frequency | 3500 Hz |
| Number of satellite speakers | 2 |
| Tweeter diameter | 25 mm |
| Number of tweeter drivers | 3 |
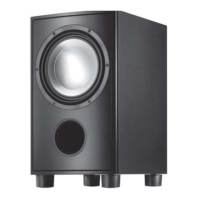
| Subwoofer type | Active subwoofer |
| Subwoofer weight | 9000 g |
| Subwoofer frequency range | 25 - 200 Hz |
| Subwoofer dimensions (WxDxH) | 270 x 290 x 335 mm |
| Subwoofer crossover frequencies | 55 - 200 Hz |
| Subwoofer driver diameter (imperial) | 9 \ |
| Product color | Silver |
| HDMI in | 0 |