Instruction manual DD523BK
11
Please keep this instruction manual for future reference
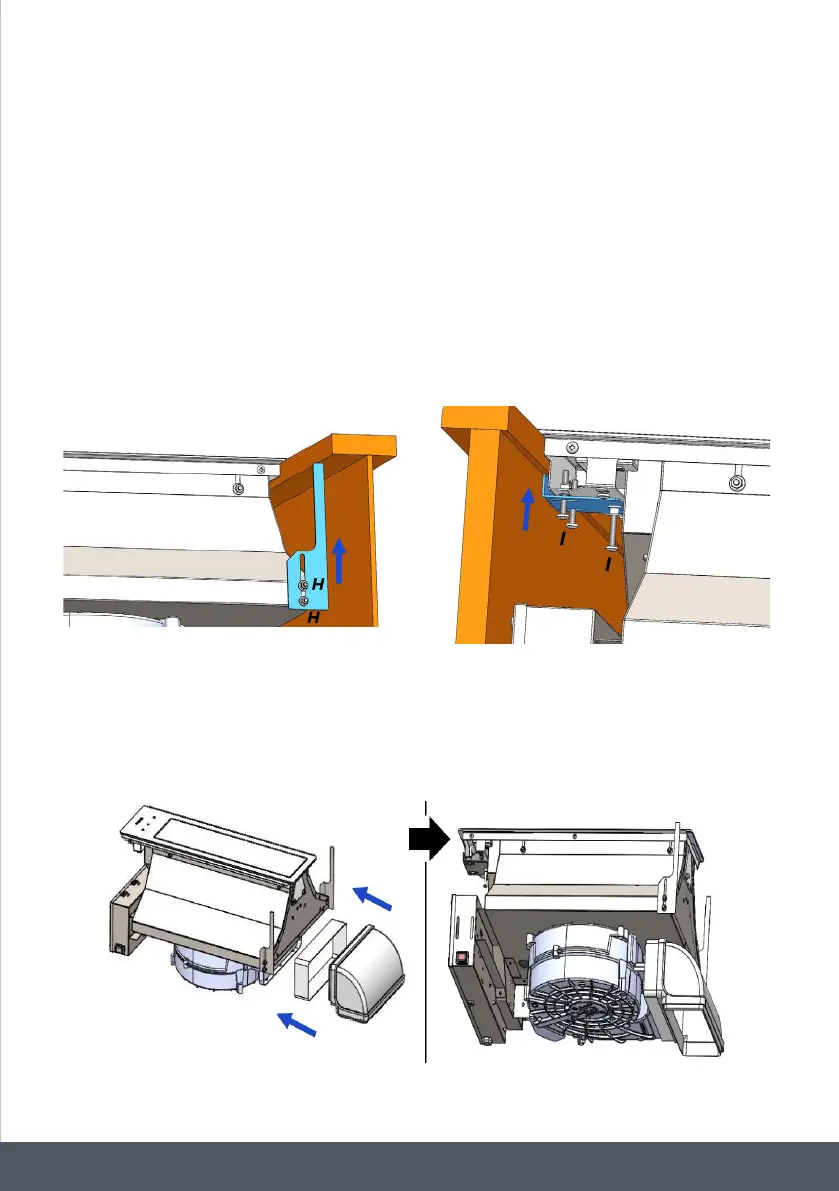
4. Secure the product inside the furniture by using the specic brackets provided.
Proceed to install the brackets in the sides of the product, in the specic hooks (Fig. 5-6)
Mount the rear brackets on both sides of the product, lift them up until they touch the support
cabinet and then tighten the nuts “H” (Fig.5).
Then x the front bracket, bringing it to touch the cabinet by tightening the screws “I” as
shown in Fig.6.
Be careful to secure the screws “I” gently, by hand and without using electric screwdrivers,
otherwise you could damage the product.
Secure the product inside the furniture by using the specific brackets provided.
Proceed to install the brackets in the sides of the product, in the specific hooks (Fig. 5-6).
Mount the rear brackets on both sides of the product, lift them up until they touch the
support cabinet and then tighten the nuts “H” (Fig.5).
Then fix the front bracket, bringing it to touch the cabinet by tightening the screws “I” as
shown in Fig.6.
Be careful to secure the screws “I” gently, by hand and without using electric screwdrivers,
otherwise you could damage the product.
4.
F
i
g
.
6
F
i
g
.
5
7
5.
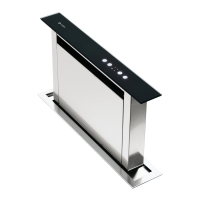
Install the ducting connection pieces supplied with the downdraft (shown in Fig.7). Additional
ducting will need to be purchased seperatly depending on your chosen installation type.
5. Install the ducting connection pieces supplied with the downdraft (shown in Fig.7). Additional
ducting will need to be purchased seperatly depending on your chosen installation type.
Secure the product inside the furniture by using the specific brackets provided.
Proceed to install the brackets in the sides of the product, in the specific hooks (Fig. 5-6).
Mount the rear brackets on both sides of the product, lift them up until they touch the
support cabinet and then tighten the nuts “H” (Fig.5).
Then fix the front bracket, bringing it to touch the cabinet by tightening the screws “I” as
shown in Fig.6.
Be careful to secure the screws “I” gently, by hand and without using electric screwdrivers,
otherwise you could damage the product.
4.
6
5
F
i
g
.
7
5.
Install the ducting connection pieces supplied with the downdraft (shown in Fig.7). Additional
ducting will need to be purchased seperatly depending on your chosen installation type.