16 Instruction manual RiL892 Please keep this instruction manual for future reference
INSTALLATION
› This appliance is to be installed as a built-in unit only. The clearances shown in the
ventilation diagram must be followed.
› Avoid damaging the product during installation, positioning of the appliance requires two
people in order to avoid injuries or damage to the appliance.
› Your appliance should not be located in direct sunlight or exposed to continuous heat or
extremes of temperature (e.g. next to a radiator or boiler). If this is not feasible, then you
should install an insulation plate between the appliance and the adjacent heat source.
› You should check whether there is an electrical socket available, which will be accessible
after your appliance is installed.
› Place the appliance flatly and firmly on a solid base.
› Be sure to leave enough space for the opening of the door, to avoid damage to the
appliance or personal injury.
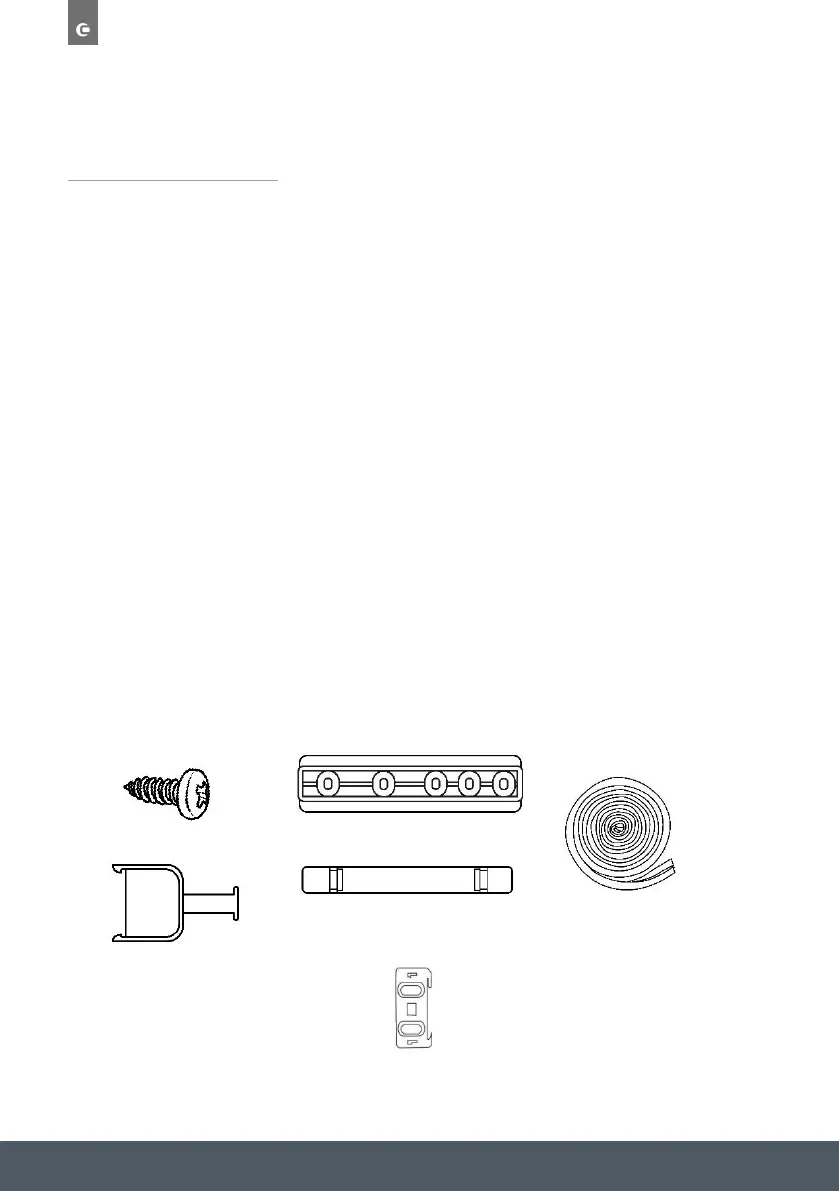
The accessories that are required for installation are detailed below:
INSTALLATION
- This appliance is to be installed as a built-in unit only. The clearances shown in the
ventilation diagram must be followed.
- Avoid damaging the product during installation, positioning of the appliance requires two
people in order to avoid injuries or damage to the appliance.
- Your appliance should not be located in direct sunlight or exposed to continuous heat or extremes
of temperature (e.g. next to a radiator or boiler). If this is not feasible, then you should install an
insulation plate between the appliance and the adjacent heat source.
- You should check whether there is an electrical socket available, which will be accessible after
your appliance is installed.
- Place the appliance flatly and firmly on a solid base.
- Be sure to leave enough space for the opening of the door, to avoid damage to the appliance or
personal injury.
The accessories that are required for installation are detailed below:
1 x Joint
Cover
2 x Door Guide
2 x Door Guide Cover
2 x Door Guide Holder
(pre-assembled on the door)
12 x Torx Screws
2 x Foot Blanking Covers