28 Instruction manual RiR125 Please keep this instruction manual for future reference
1
2
3
4
5
1.Remove the screw on the light cover by screw driver. (Fig.1)
2.Press the hooks on light cover. (Fig.2)
3.Open the light cover towards arrow when top hooks pull out from housing. (Fig.3)
4.Pull out the cover towards arrow remove it. (Fig.4)
5.Turn the light bulb counter clockwise and remove it. (Fig.5)
6.Change the present light bulb with a new one of not more than 15W. (Fig.5)
7.Implement the steps in reverse order.
8.After waiting 5 minutes, plug the unit.
Unplug the unit from the power supply before starting the process.
LIGHT SOURCE ENERGY CLASS
This product containsalightsourceofenergy efficiency class F.
CLEANING AND MAINTENANCE
Disconnect the unit from the power supply before cleaning.
Do not wash your appliance by pouring water on it.
Do not use abrasive products, detergents or soaps for cleaning the appliance. After washing,
rinsewithcleanwateranddrycarefully.Whenyouhavenishedcleaning,reconnecttheplug
to the mains supply with dry hands.
› Make sure that no water enters the lamp housing and other electrical components.
› The appliance should be cleaned regularly using a solution of bicarbonate of soda and
lukewarm water.
› Clean the accessories separately by hand with soap and water. Do not wash accessories in
a dishwasher.
› Clean the condenser with a brush at least twice a year. This will help you to save on energy
costs and increase productivity.
NOTE: The power supply must be disconnected during cleaning.
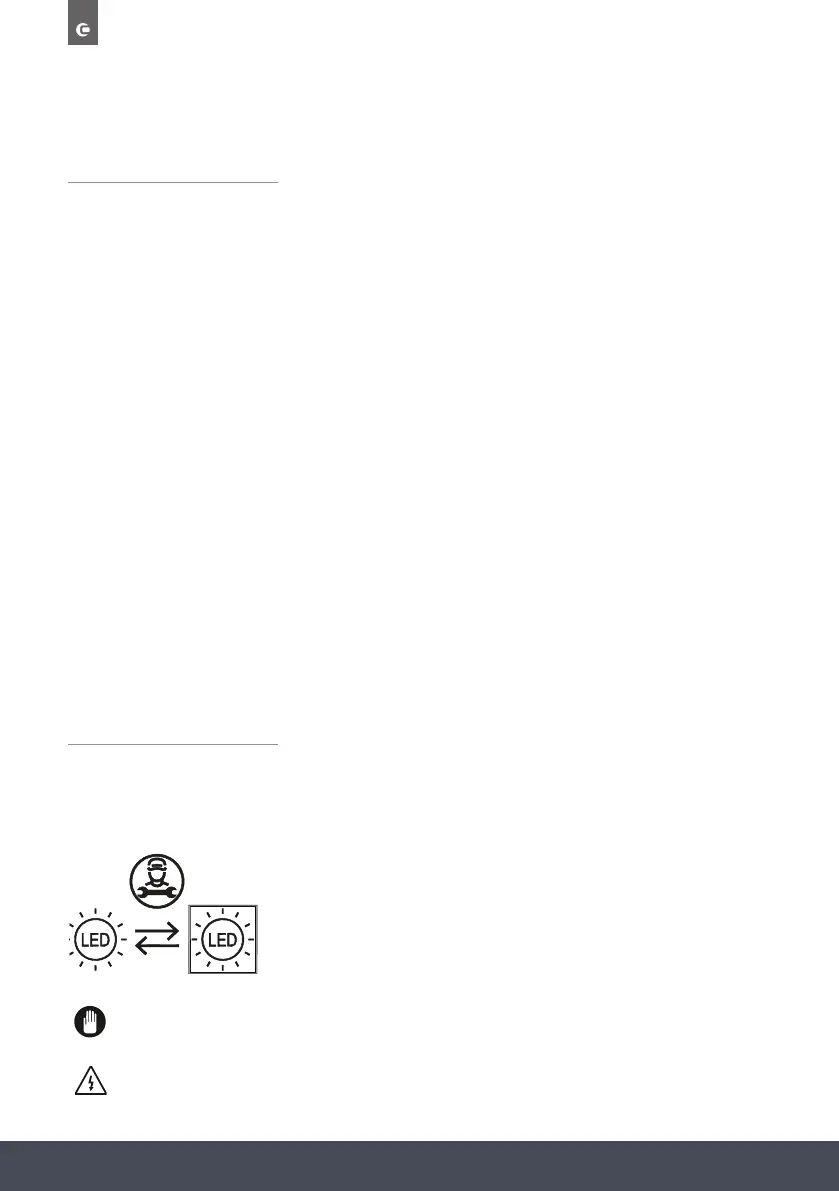
REPLACING THE LED LIGHT
LIGHT SOURCE ENERGY CLASS
ThisproductcontainsalightsourceofenergyefcencyclassG
1
2
3
4
5
1.Remove the screw on the light cover by screw driver. (Fig.1)
2.Press the hooks on light cover. (Fig.2)
3.Open the light cover towards arrow when top hooks pull out from housing. (Fig.3)
4.Pull out the cover towards arrow remove it. (Fig.4)
5.Turn the light bulb counter clockwise and remove it. (Fig.5)
6.Change the present light bulb with a new one of not more than 15W. (Fig.5)
7.Implement the steps in reverse order.
8.After waiting 5 minutes, plug the unit.
Unplug the unit from the power supply before starting the process.
LIGHT SOURCE ENERGY CLASS
This product containsalightsourceofenergy efficiency class F.
The LED light must be replaced by an authorised engineer or similiar only. For more
information, please contact Caple service - 0117 938 7420 or service@caple.co.uk
1
2
3
4
5
1.Remove the screw on the light cover by screw driver. (Fig.1)
2.Press the hooks on light cover. (Fig.2)
3.Open the light cover towards arrow when top hooks pull out from housing. (Fig.3)
4.Pull out the cover towards arrow remove it. (Fig.4)
5.Turn the light bulb counter clockwise and remove it. (Fig.5)
6.Change the present light bulb with a new one of not more than 15W. (Fig.5)
7.Implement the steps in reverse order.
8.After waiting 5 minutes, plug the unit.
Unplug the unit from the power supply before starting the process.
LIGHT SOURCE ENERGY CLASS
This product containsalightsourceofenergy efficiency class F.
Unplug the unit from the power supply before starting the process
 Loading...