8555-M512-O1 Rev D 01/15 7
Battery Status Symbol
A battery status symbol will be displayed when
batteries are installed. The number of bars
indicates the level of charge remaining in the
batteries.
Low Battery Indicator
When the batteries are near the point they need to be replaced (Alkaline) or recharged
(NiCad or NiMH), the battery status symbol will not show any bars. If the battery voltage
drops too low for accurate weighing, the MV1 will automatically shut off and you will be
unable to turn it back on.
Using Alkaline Batteries
When no bars on shown on the battery status symbol, press the ON/OFF key to turn the
MV1 off, remove the old batteries and replace with new ones.
Using NiCad or NiMH Batteries
When no bars on shown on the battery status symbol, press the ON/OFF key to turn the
MV1 off, remove the discharged batteries and replace with fully charged ones. Place the
discharged batteries in an external charger to recharge.
Battery Installation/Replacement
To install or remove the batteries, the following steps should be followed:
1. Make sure the AC power adapter is unplugged.
2. Remove the MV1 from the mounting bracket and turn it over so that the display is
facing away from you.
3. Locate the rectangular panel on the back of the MV1 and remove the thumb screw.
Refer to Figure No. 1.
4. Remove the panel (lift straight up and slide it out) exposing the battery holder.
5. If installing new batteries, proceed to step 6. If replacing the batteries, remove all 6
batteries from the battery holder and then proceed to step 6.
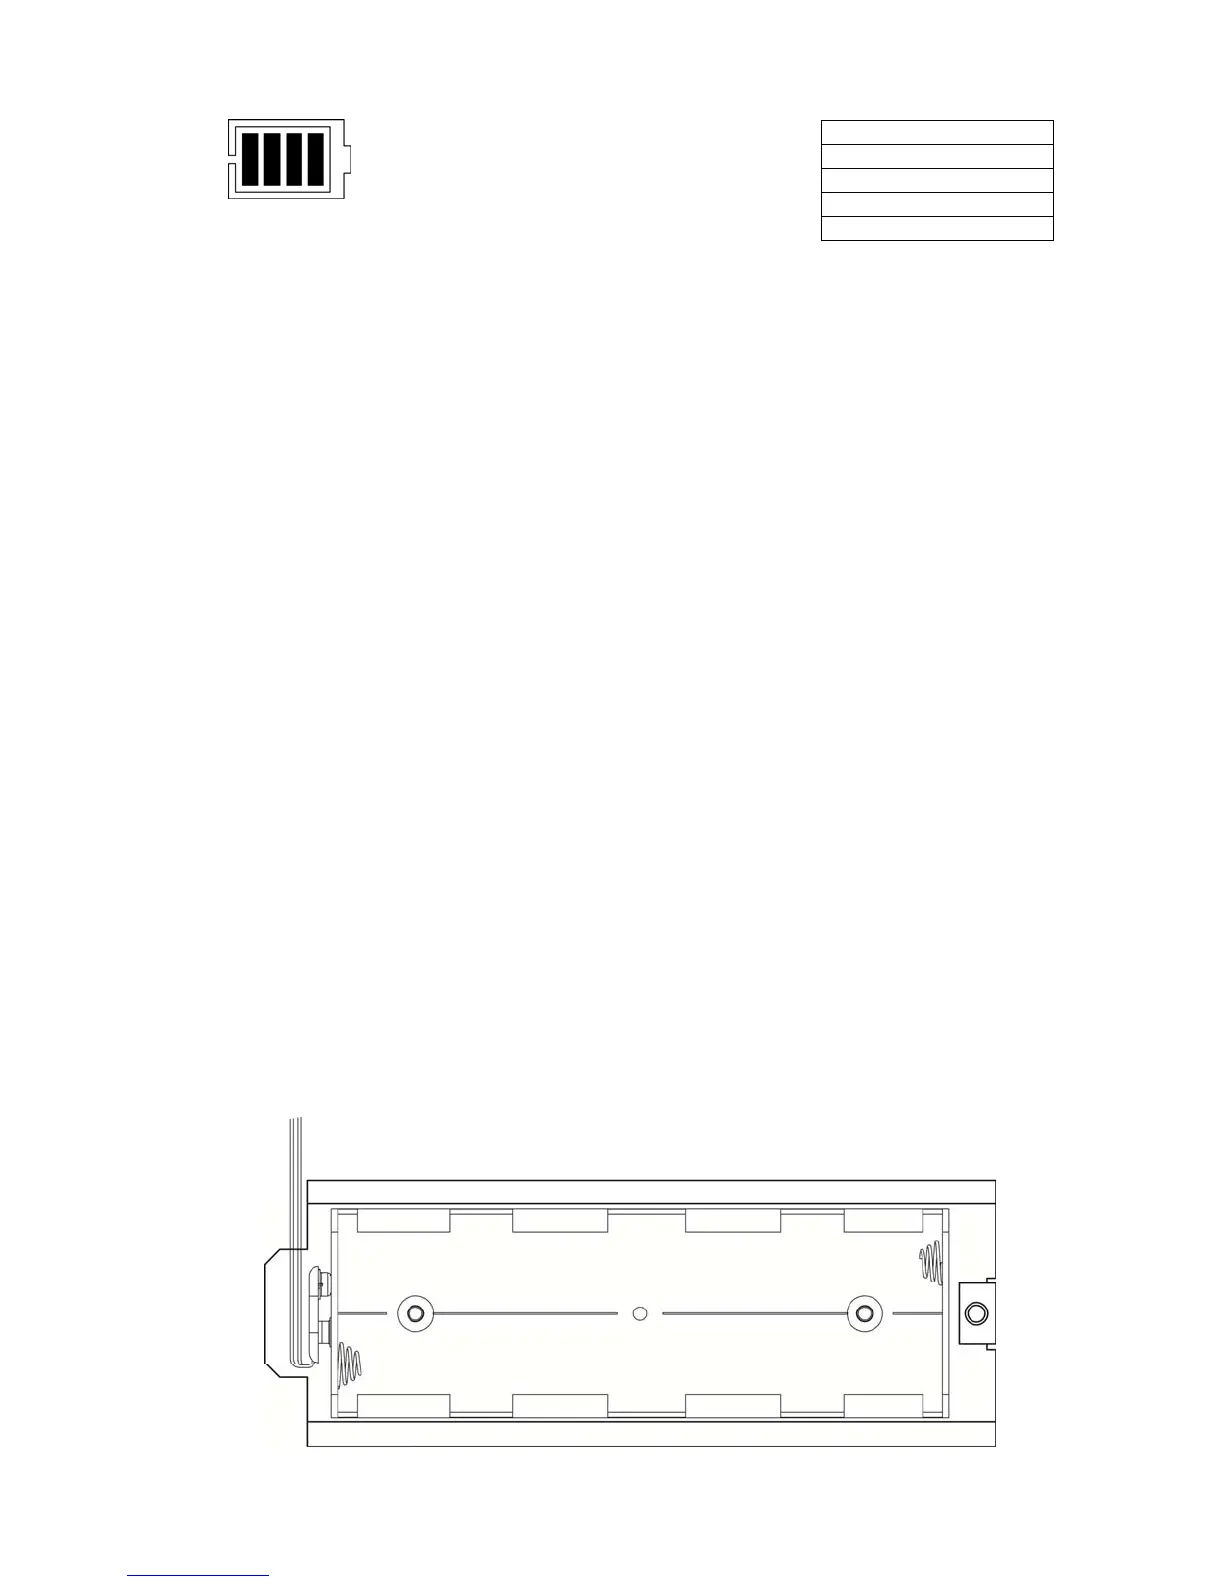
6. Install the new 6 "C" size batteries in the holder, noting the polarity markings located
in the battery holder. Refer to Figure No. 6.
7. After placing all 6 batteries in holder, replace panel on back of the MV1 (slide tab into
slot on rear panel) and install thumb screw.
8. Turn the MV1 over (display facing up) and press the ON/OFF key.
9. If display turns on, batteries have been installed correctly. If not, remove the panel
and check for one or more improperly positioned batteries.
10. Return the MV1 to the mounting bracket.
11. The MV1 is now ready for operation.
Figure No. 6
4 Bars = 100%
3 Bars = 75%
2 Bars = 50%
1 Bar = 25%
No Bars = Low Battery
+
I
I
+
 Loading...