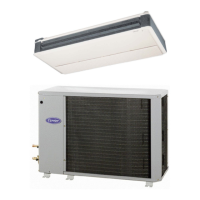
■ Installing indoor unit on high ceiling
When an indoor unit is installed on a ceiling higher
than the standard height, make the high-ceiling setting
for fan speed adjustment.
Follow to the basic operation procedure
(
1 → 2 → 3 → 4 → 5 → 6 ).
• For the CODE No. in Procedure
3, specify [5d].
• Select the SET DATA for Procedure 4 from the
“Height list of ceiling possible to be installed” table in
the following table.
▼ Height list of ceiling possible to be installed
(Unit: mm)
Model High ceiling setup
No. of discharge direction 4-way 3-way 2-way SET DATA
Standard (Factory default)
3.9 4.2 4.5 0000
High ceiling (1) 4.2 4.4 4.6 0001
High ceiling (3) 4.5 4.6 – 0003
Remote controller-less setting
Change the high-ceiling setting with the DIP switch on
the receiver section P.C. board.
The settings can also be changed with the switch on
the indoor microcomputer P.C. board.
* Once the setting is changed, setting to 0001 or
0003 is possible, however setting to 0000 requires a
setting data change to 0000 using the wired remote
controller (separately sold) with the normal switch
setting (factory default).
SET DATA SW501-1 SW501-2
0000
(Factory default)
OFF OFF
0001
ON OFF
0003
OFF ON
To restore the factory defaults
To return the DIP switch settings to the factory
defaults, set SW501-1 and SW501-2 to OFF, connect
a separately sold wired remote controller, and then set
the data of CODE No. [5d] to “0000”.
SW501-2
MCU(IC501)
SW501-1
 Loading...