67
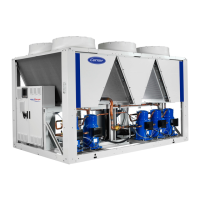
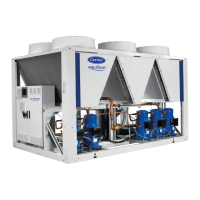
Pressure Transducers
The suction and discharge transducers are different part numbers
and can be distinguished by the color of the transducer body,
suction (yellow) and discharge (red). No pressure transducer
calibration is required. The transducers operate on a 5 vdc supply,
which is generated by the main base board (MBB). See Fig. 51 for
transducer connections to the J8 connector on the MBB.
TROUBLESHOOTING
If a transducer is suspected of being faulty, first check supply volt-
age to the transducer. Supply voltage should be 5 vdc ± 0.2 v. If
supply voltage is correct, compare the pressure reading displayed
on the scrolling marquee display module against pressure shown
on a calibrated pressure gauge. Pressure readings should be within
± 15 psig. If the two readings are not reasonably close, replace the
pressure transducer.
Chilled Water Flow Switch
A factory-installed flow switch is installed in the leaving fluid pip-
ing for all units without the factory-installed hydronic package.
See Fig. 52. Units with the optional hydronic package have the
flow switch installed in the entering fluid piping. This is a thermal-
dispersion flow switch with no field adjustments. The switch is set
for approximately 0.5 ft/sec of flow. The sensor tip houses two
thermistors and a heater element. One thermistor is located in the
sensor tip, closest to the flowing fluid. This thermistor is used to
detect changes in the flow velocity of the liquid. The second
thermistor is bonded to the cylindrical wall and is affected only by
changes in the temperature of the liquid. The thermistors are posi-
tioned to be in close contact with the wall of the sensor probe and,
at the same time, to be kept separated from each other within the
confines of the probe.
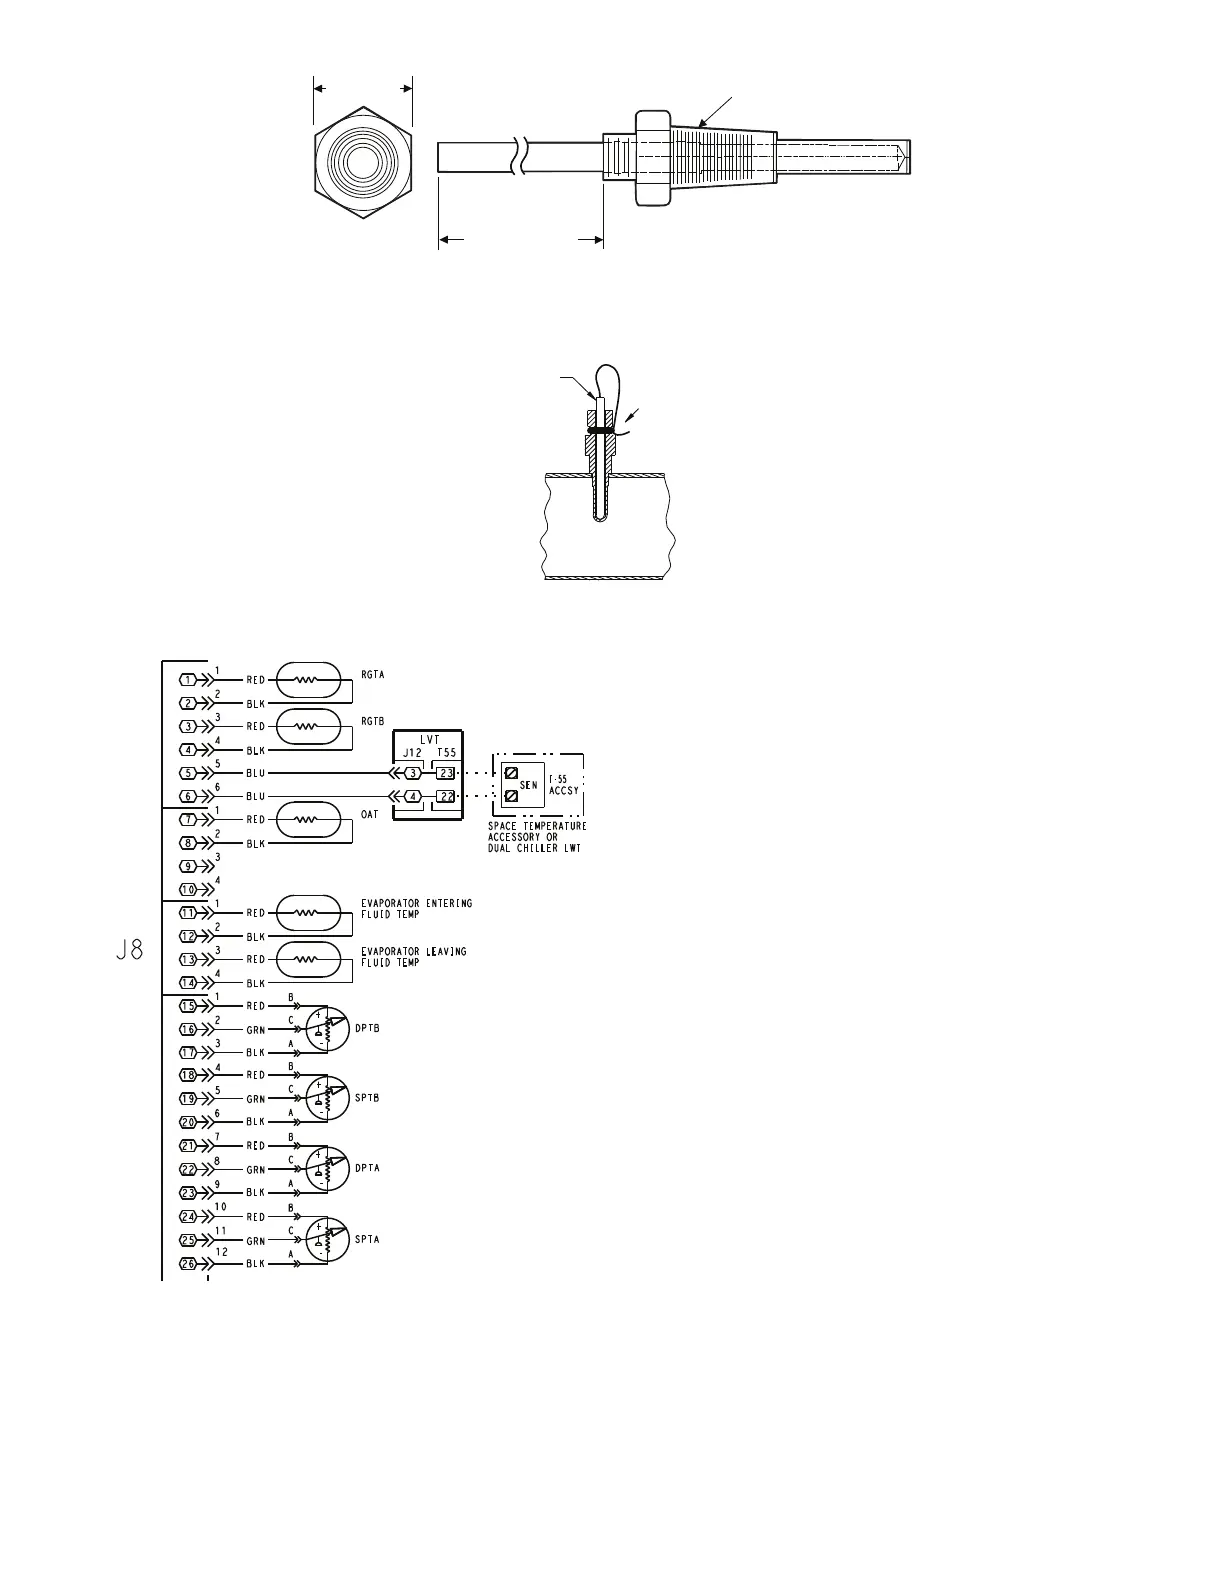
Fig. 50 — Thermistor Well and Return Gas Thermistor (RGT) Mounting
INSTALL NUT AND SEAL
ON THERMISTOR. APPLY
THERMAL CONDUCTIVE
GREASE TO THERMISTOR
AND WELL. INSERT
THERMISTOR INTO WELL.
LOOP WIRE HARNESS AND
SECURE WITH WIRE TIE
TO FORM STRAIN RELIEF.
INSULATE WITH
CORK TAPE
INSULATION.
5/8 in. HEX
6" MINIMUM
CLEARANCE FOR
THERMISTOR
REMOVAL
1/4-18 NPT
26
25
24
23
22
17
16
15
14
13
12
11
10
9
8
7
6
3
1
3
1
3
1
6
2
4
2
4
2
12
11
21
20
19
18
10
9
8
7
6
5
4
5
4
3
2
1
4
2
1
3
5
J8
BLK
RED
LVT
4
3
22
23
T-55
ACCSY
SEN
OAT
BLU
BLU
BLK
RED
RGTB
BLK
RED
RGTA
SPTB
-
+
DPTB
-
+
A
C
B
A
C
B
GRN
RED
BLK
GRN
RED
BLK
SPTA
-
+
DPTA
-
+
A
C
B
A
C
B
GRN
RED
BLK
GRN
RED
BLK
BLK
RED
EVAPORATOR ENTERING
FLUID TEMP
BLK
RED
EVAPORATOR LEAVING
FLUID TEMP
SPACE TEMPERATURE
ACCESSORY OR
DUAL CHILLER LWT
J12 T55
Fig. 51 — Thermistor Connections to
Main Base Board, J8 Connector
LEGEND
ACCSY — Accessory
DPT — Discharge Pressure Transducer
LWT — Leaving Water Temperature Sensor
LVT — Low Voltage Terminal
OAT — Outdoor Air Temperature Sensor
RGT — Return Gas Temperature Sensor
SEN — Sensor Terminal Block
SPT — Space Temperature Sensor
a30-4975
 Loading...