9
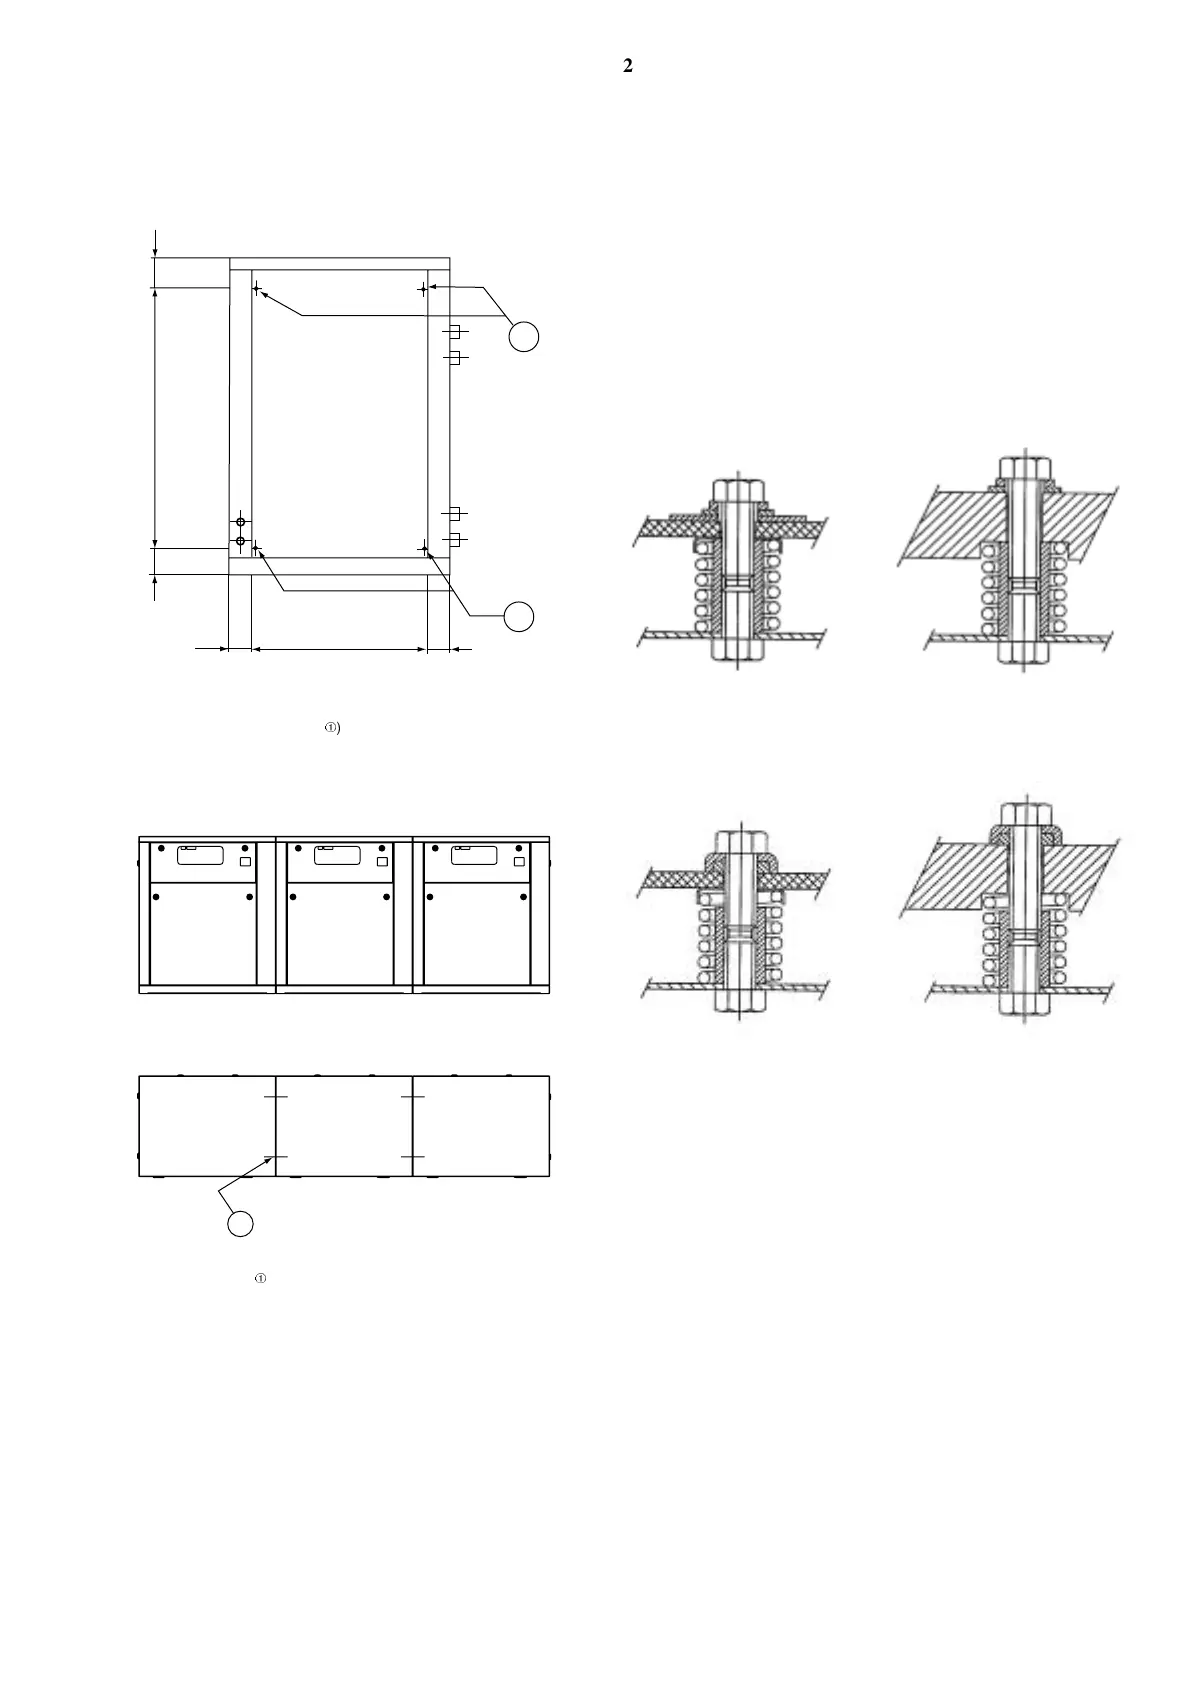
2.5.3 - Horizontal modular installation (sizes 004-011)
Place the units side by side so that the holes are aligned. Fix the
units in position with nuts (M6) and screws (Figures “Side
grooves” and “Horizontal assembly”).
Side grooves
Legend
4 grooves for horizontal assembly (ref.
À
)
Horizontal assembly
Legend
Joining screw M6 x 65 (ref.
À
)
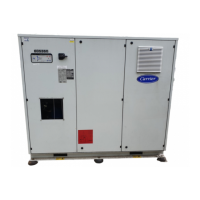
2.5.4 - Check compressor mountings (sizes 018-036)
IMPORTANT: For unit transport, the compressor is held
down by bolts and plain lock washers (see Fig. “Assembly for
transportation”). After the unit is installed remove these bolts
one at a time and reassemble with flanged washers and
neoprene snubbers, as shown, using new self-locking bolts
supplied with the unit.
Tighten the new bolts until the head bolt comes into contact
with the flanged washer, then loosen each bolt until the flanged
washer can be moved from side to side using finger pressure
(see Fig. “Assembly for unit start-up”).
Assembly for transportation
Assembly for unit start-up
590
180
83
95
83
384
1
1
1
 Loading...