5. Restore power to unit.
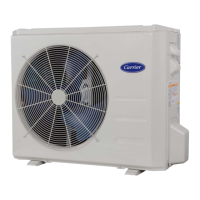
CLEANING OUTDOOR FAN MOTOR AND BLADE
1. Remove fan motor and blade. Refer to Remove Fan-Motor
Assembly section of this manual. Be careful not to bend or
dent fan blade.
2. Clean motor and blade with soft brush or cloth. Be careful not
to disturb balance weights on fan blade.
3. Check fan-blade setscrew for tightness.
4. Reinstall fan motor and blade to top cover and check for
alignment.
5. Reinstall top cover and position blade as per Fig. 24.
6. Reconnect electrical power and check for proper operation.
ELECTRICAL CONTROLS AND WIRING
1. Disconnect power to both the outdoor and indoor units.
2. Check all electrical connections for tightness. Tighten all
screws on electrical connections. If any connections appear to
be burned or smoky, disassemble the connection, clean all
parts and stripped wires, and reassemble. Use a new connector
if old one is burned or corroded and crimp tightly.
3. Reconnect electrical power to the indoor and outdoor units and
observe unit through 1 complete operating cycle.
4. If there are any discrepancies in the operating cycle, trouble-
shoot to find the cause, and correct.
REFRIGERANT CIRCUIT
1. Check the refrigerant charge using the superheat or subcooling
method, whichever is applicable. If low on charge, check unit
for leaks using an electronic leak detector.
2. If any leaks are found, recover or isolate charge (pumpdown)
if applicable and make necessary repairs.
3. Evacuate, recharge, and operate unit through entire cycle.
FINAL CHECKOUT
After the unit has been operating, the following items should be
checked:
1. Check that unit operational noise is not excessive due to
vibration of components, tubing, panels, etc. If present, isolate
problem and correct.
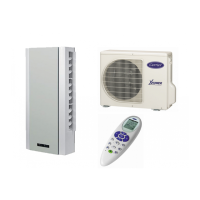
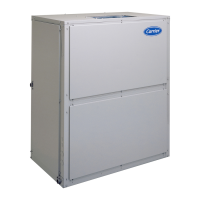
MODEL
CUBE UNIT
AIR CONDITIONERS
CUBE UNIT
HEAT PUMPS
HORIZONTAL
AIR CONDITIONERS
38CK 38YC 38GN 38GNA 38HDA 38QRA
SERIES 010112000
014 ————10 —— — —
018 15 16 11 14 12 — 17 20 10
024 14 11 14 8 — 12 19 17 19
030 12 12 9 10 —— — 20 18
036 18 16 11 7 —— — 22 26
042 18 17 17 ——— — — —
048 — 17 12 ——— — 18 17
060 — 21 10 ——— — 23 17
Table 25—Required Liquid-Line Temperature
PRESSURE (PSIG)
AT SERVICE FITTING
REQUIRED SUBCOOLING TEMPERATURE (°F)
0 5 10 15 20 25
134 76 71 66 61 56 51
141 79 74 69 64 59 54
148 82 77 72 67 62 57
156 85 80 75 70 65 60
163 88 83 78 73 68 63
171 91 86 81 76 71 66
179 94 89 84 79 74 69
187 97 92 87 82 77 72
196 100 95 90 85 80 75
205 103 98 93 88 83 78
214 106 101 96 91 86 81
223 109 104 99 94 89 84
233 112 107 102 97 92 87
243 115 110 105 100 95 90
253 118 113 108 103 98 93
264 121 116 111 106 101 96
274 124 119 114 109 104 99
285 127 122 117 112 107 102
297 130 125 120 115 110 105
309 133 128 123 118 113 108
321 136 131 126 121 116 111
331 139 134 129 124 119 114
346 142 137 132 127 122 117
359 145 140 135 130 125 120
48
 Loading...