29
No. 1 0300 3
09/ 06
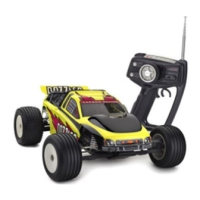
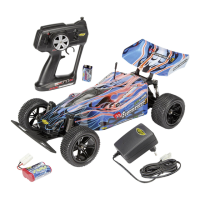
2WD Buggy DAZZLER
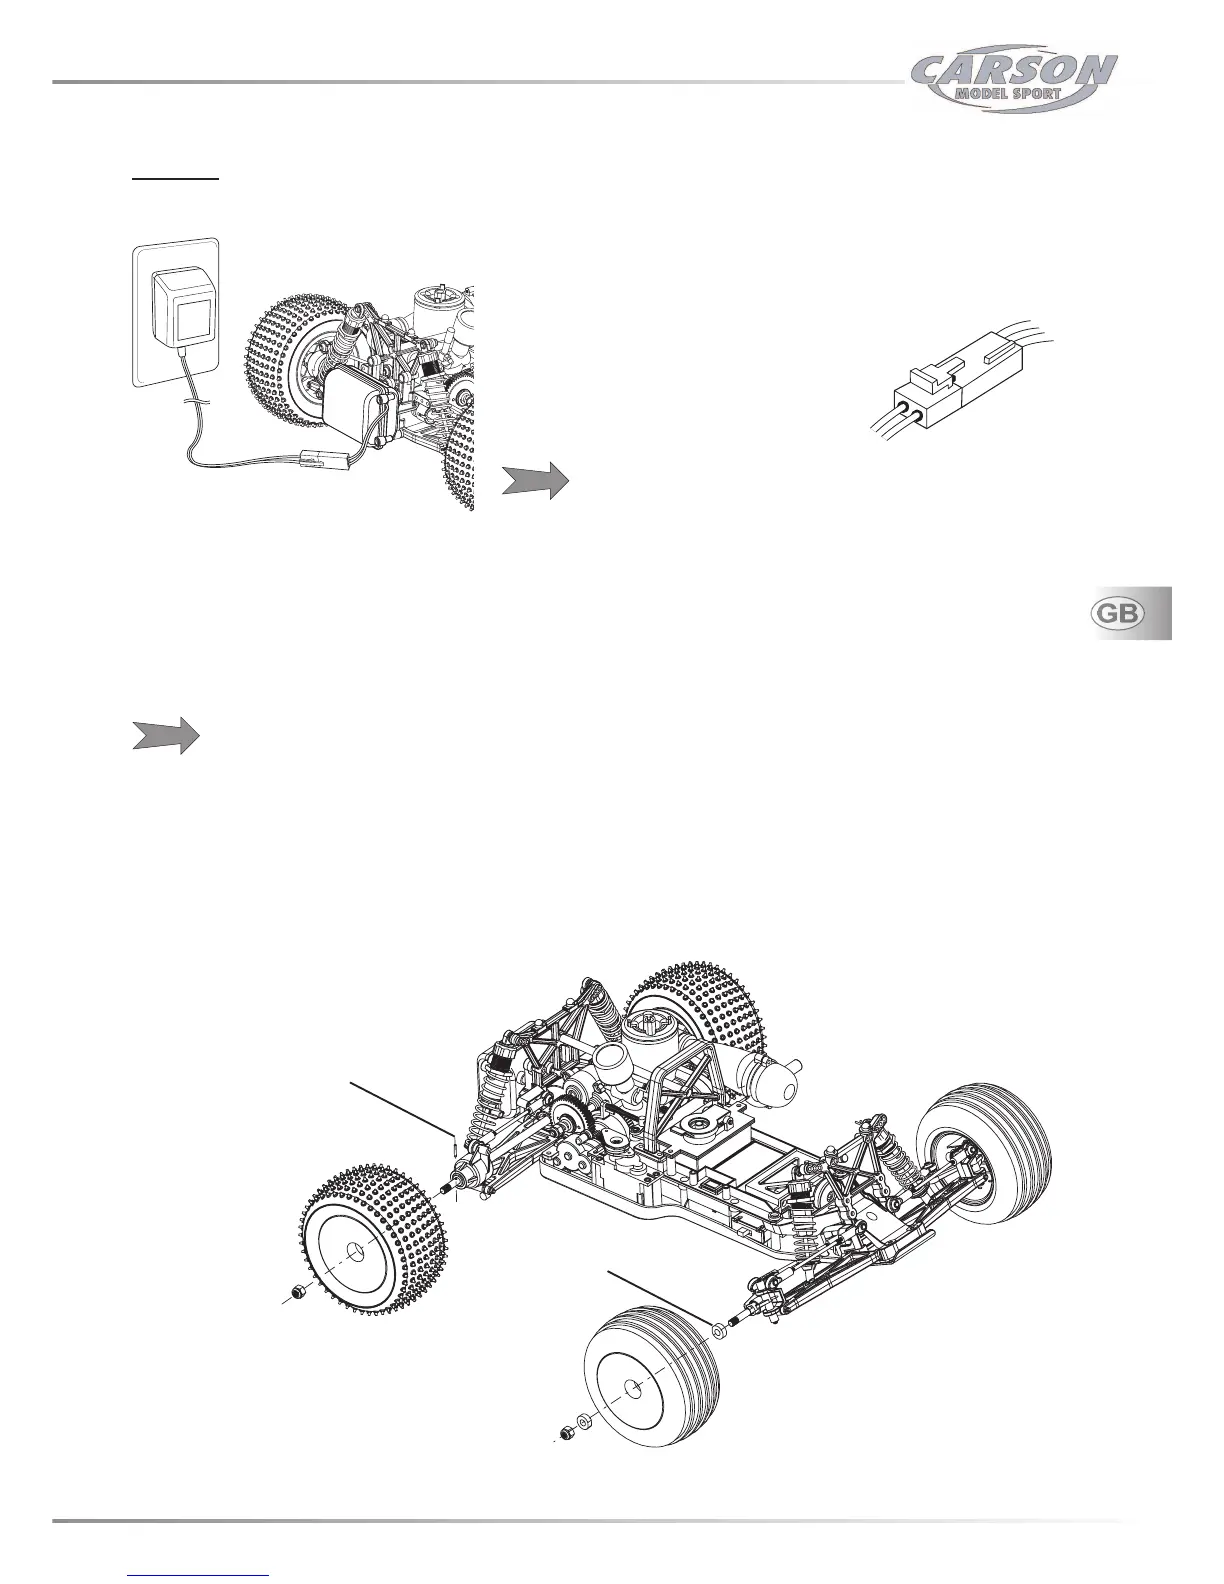
How to charge the on-board battery
T
he on-board battery supplies the receiver as well as the on-board starter
and the electric motor for the reverse driving with the operating voltage.
- Plug the supplied charger into a mains
outlet socket.
- Connect the battery to charger as
indicated.
Do not force the connectors together-
they only attach one way !
The battery is not supplied pre-charged and
has to be charged fully before using
your Dazzler.
Only charge the battery when the fuel tank is empty!
The battery and charger will get warm whilst charging.This is normal.
- Do not charge on, or near to, a material/surface that is flammable or one that can be damaged by heat.
The battery can be re-charged approximately 500 times before it needs replacing.
When the battery no longer holds a charge(is dead), it should be properly recycled. Do not dispose of it in household
waste.
Charging time : 6 hours
Attaching the wheels to the chassis
- Insert the drive pin through the drilling in the wheel axle
- Push the wheel adapter onto the wheel axle and then put on the wheel
- Lock each wheel with a lock nut on the wheel axle
Start-up
Lock nut M8
Drive pin
Wheel adapter
Lock nut M8