42
8. Setting the Built-in Clock
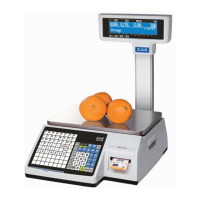
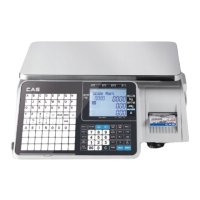
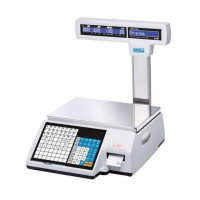
(CAUW-D/CAUW/CAUX series only)
CAUW-D/CAUW/CAUX series are installed with a built-in clock. set the clock before use of
Clock-CAL (10.3.3) or Calibration report (10.4.1) functions. Note that the current time is
displayed during STANDBY mode (4.4).
8.1 Date
1 From the mass display, press the [CAL] key
repeatedly until “SEttinG” appears, press the
[O/T] key. “CAL dEF” will appear.
2 Press the [CAL] key repeatedly until “d-
MM.DD” appears (MM and DD are each
two digits representing month and date,
respectively), and press the [O/T] key.
In the upper part of the display, the MENU
Symbol and the # symbol appear
indicating number entry mode.
Also, the current date setting
appears as [YY.MM.DD] (YY is the year)
with the leftmost digit blinking.
3 Pressing the [UNIT] key increases the blinking
digit by one. Pressing the [PRINT] key
moves the blinking digit one place to the right.
4 Press the [O/T] key when the desired date is
shown in the display. The built-in clock will
be set.
5 Press the [POWER] key repeatedly to return
to the mass display.
The actually outputted date format is not the same as the display during
this setting. Select your desirable style of expressing year, month and date
in 8.2.
(Example)
(Example)
(Example)
(Nov.2, 2004)
(Mar.15, 2003)
(Mar.15)
 Loading...