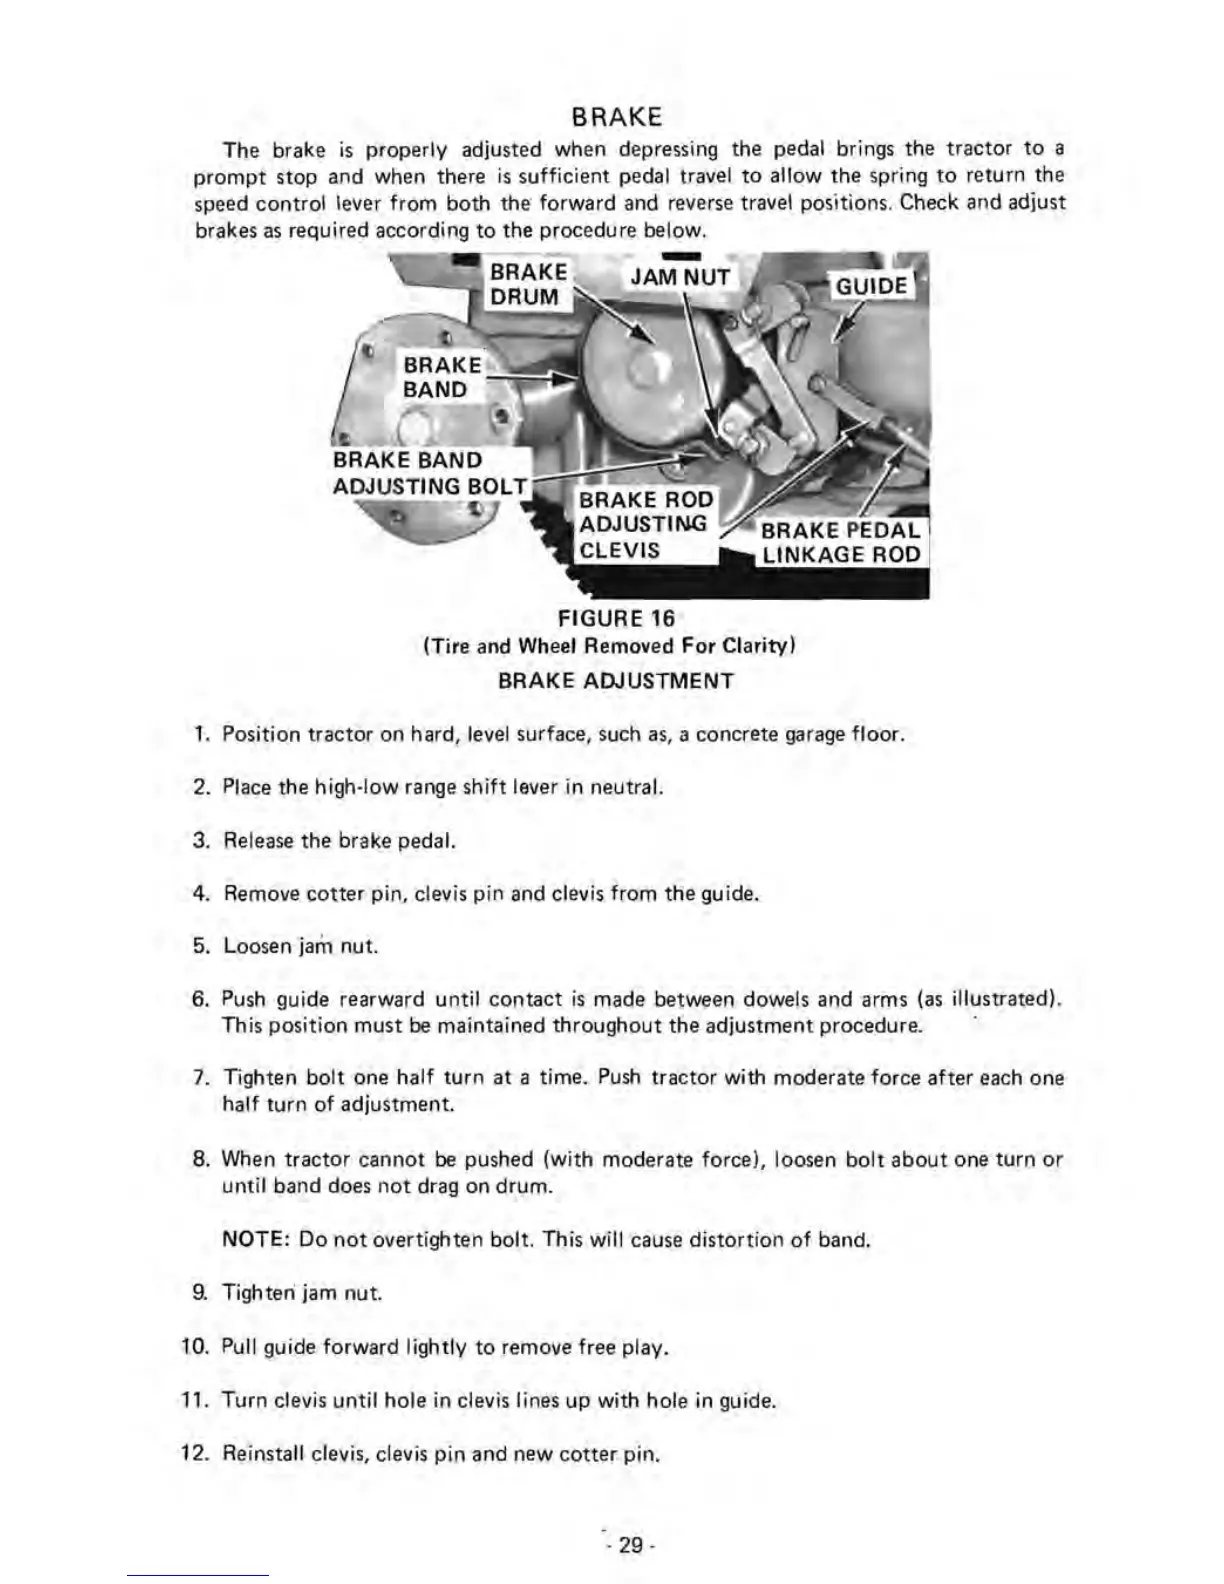
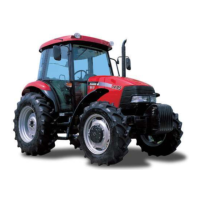
BRAKE
The brake
is
properly adjusted when depressing the pedal brings the
tractor
to
a
prompt
stop and when there
is
sufficient
pedal travel
to
allow
the spring
to
return the
speed
control
lever
from
both the
forward
and
reverse travel positions. Check and adjust
brakes
as
required according
to
the procedure below.
FIGURE
16
(Tire and Wheel Removed
For
Clarity)
BRAKE
ADJUSTMENT
1.
Position
tractor
on hard, level surface, such
as,
a concrete
garage
floor.
2.
Place
the
high·low
range
shift
lever in neutral.
3.
Release
the brake pedal.
4. Remove
cotter
pin, clevis pin and clevis
from
the guide.
5.
Loosen jam nut.
6.
Push
guide rearward
until
contact
is
made between dowels and arms
(as
illustrated).
This
position
must
be
maintained
throughout
the adjustment procedure.
7.
Tighten
bolt
one
half
turn
at a time.
Push
tractor
with
moderate force
after
each
one
half
turn
of
adjustment.
8. When
tractor
cannot
be
pushed
(with
moderate force). loosen
bolt
about
one
turn
or
until
band does
not
drag on
drum.
NOTE:
Do
not
overtighten
bolt.
This
will
cause
distortion
of
band.
9.
Tighten jam nut.
10. Pull guide
forward
lightly
to
remove free play.
11.
Turn
clevis
until
hole in clevis lines
up
with
hole in guide.
12. Reinstall clevis, clevis
pin
and new
cotterpin.
·29·