May 2015 Page 12 of 51
5.3.1 Linking Docking Stations Together
A master docking station can be linked to another via an interconnect cable (C6359/0.2
supplied wth part 207078B/EXT). Up to 3 docking stations can be linked to the master as
shown below enabling up to 12 dBadge2s to be charged simultaneously from one PC18.
6. Using the dBadge2
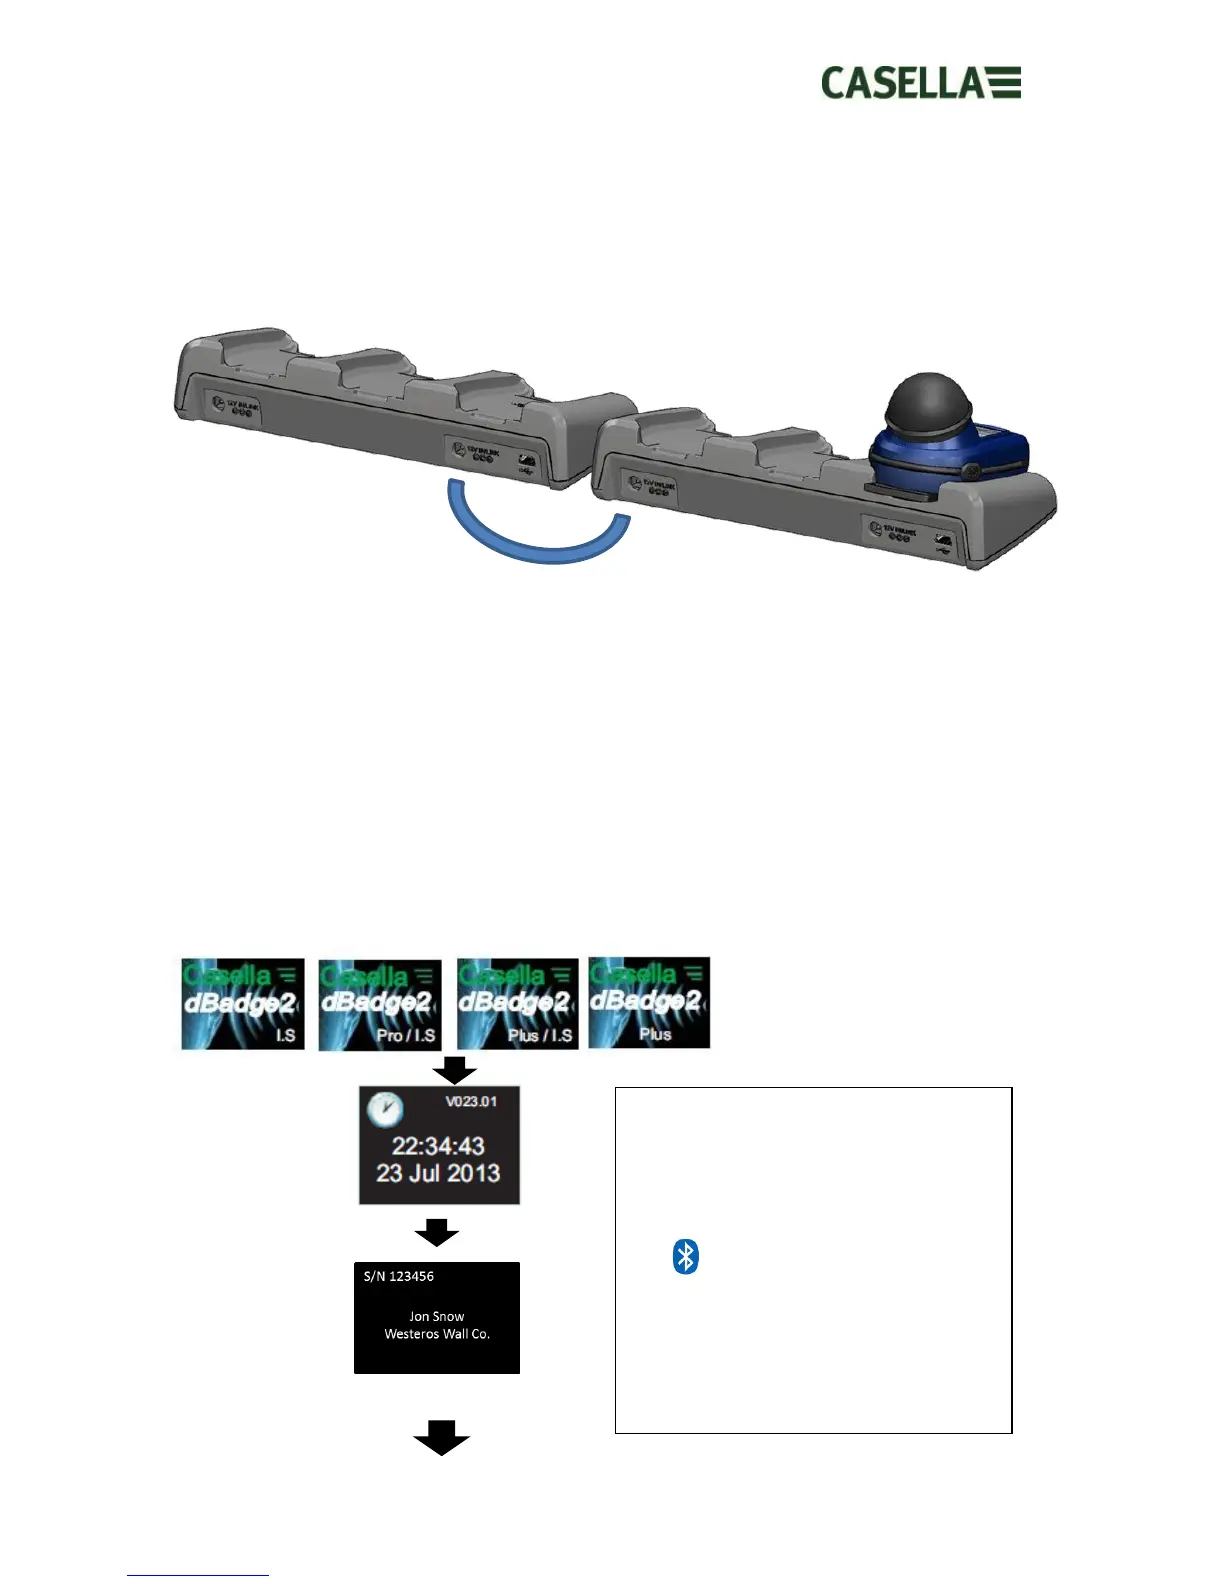
6.1 Switching on the dBadge2
Press the left ‘L’ key to turn the dBadge2 on and a start-up sequence will commence.
If you wish to configure the dBadge2 manually then this must be done at this point. Please
refer to Section 7 for further details.
This initial start-up screen displays the dBadge2 model number, a second screen then
displays the time and date and firmware version (e.g. V1.04) and a third screen displays the
serial number of the dBadge2 with two lines of user-defined text. This may be up to 32
characters and is input via Casella Insight data management software.
.
The screen then defaults to the main
dashboard screens which either auto or
manually scroll depending whether the
Autoscroll feature has been enabled.
Please refer to Section 7.14.
The symbol shows that Bluetooth®
is enabled.
Additional symbols appear in the Plus
and Pro models and denotes ‘Audio
Record’ and/or ‘Octave’ modes are
enabled.
 Loading...