May 2015 Page 14 of 51
The dBadge2 will automatically recognise a 1kHz calibration tone and enter the calibration
mode.
6.3 Starting a Measurement Run
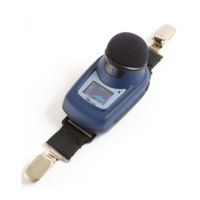
Before starting a measurement run, ensure the Windscreen is fitted according to Section 5.2
and ensure there is sufficient battery life and memory by looking at the default screen shown
in Section 6.1.
Press the right ‘R’ key to confirm you wish to
calibrate, or the left ‘L’ key to cancel the
operation. It will take a few seconds to
automatically calibrate to 114 dB during
which time a progress bar is displayed as
shown.
Once the dBadge2 has successfully
calibrated the ‘CAL OK’ message will appear.
In the unlikely event an error message is
displayed please refer to the
‘Troubleshooting’ section.
The dBadge2 is ready to take a measurement
once the calibrator has been removed and
the Windscreen re-fitted.
You may need to consult local regulations or
standards if the ‘before’ and ‘after’ calibration
values differ by more than (typically) +/-
0.5dB e.g. section 12.2 of ISO 9612:2009
suggests that the measurement is re-taken.
Note: the dBadge2 will not enter the
calibration mode if a measurement run is
taking place. If a run is in progress, stop the
run according to Section 6.5.
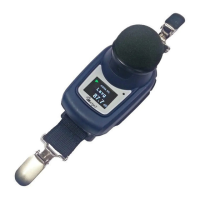
The windscreen should be removed prior to
calibration. Please refer to Section 5.2
Push the CEL-120/2 (or other approved)
acoustic calibrator over the microphone as
shown. The calibrator should be pushed on
without twisting (which may loosen or
overtighten the microphone) until fully home
and switched on.
 Loading...