— 14 —
Sending Unit Receiving Unit
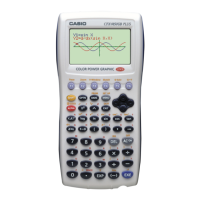
The following shows what the displays of the sending and receiving units look like after the data communication
operation is complete.
Press
AC
to return to the data communication Main Menu.
• Data can become corrupted, necessitating a RESET of the receiving unit, should the connecting cable
become disconnected during data transfer. Make sure that the cable is securely connected to both units
before performing any data communication operation.
4-4. To Send the Screen
The following procedure sends a bit mapped screen shot of the display to a connected computer.
1. Connect the unit to a personal computer or to a CASIO Label Printer.
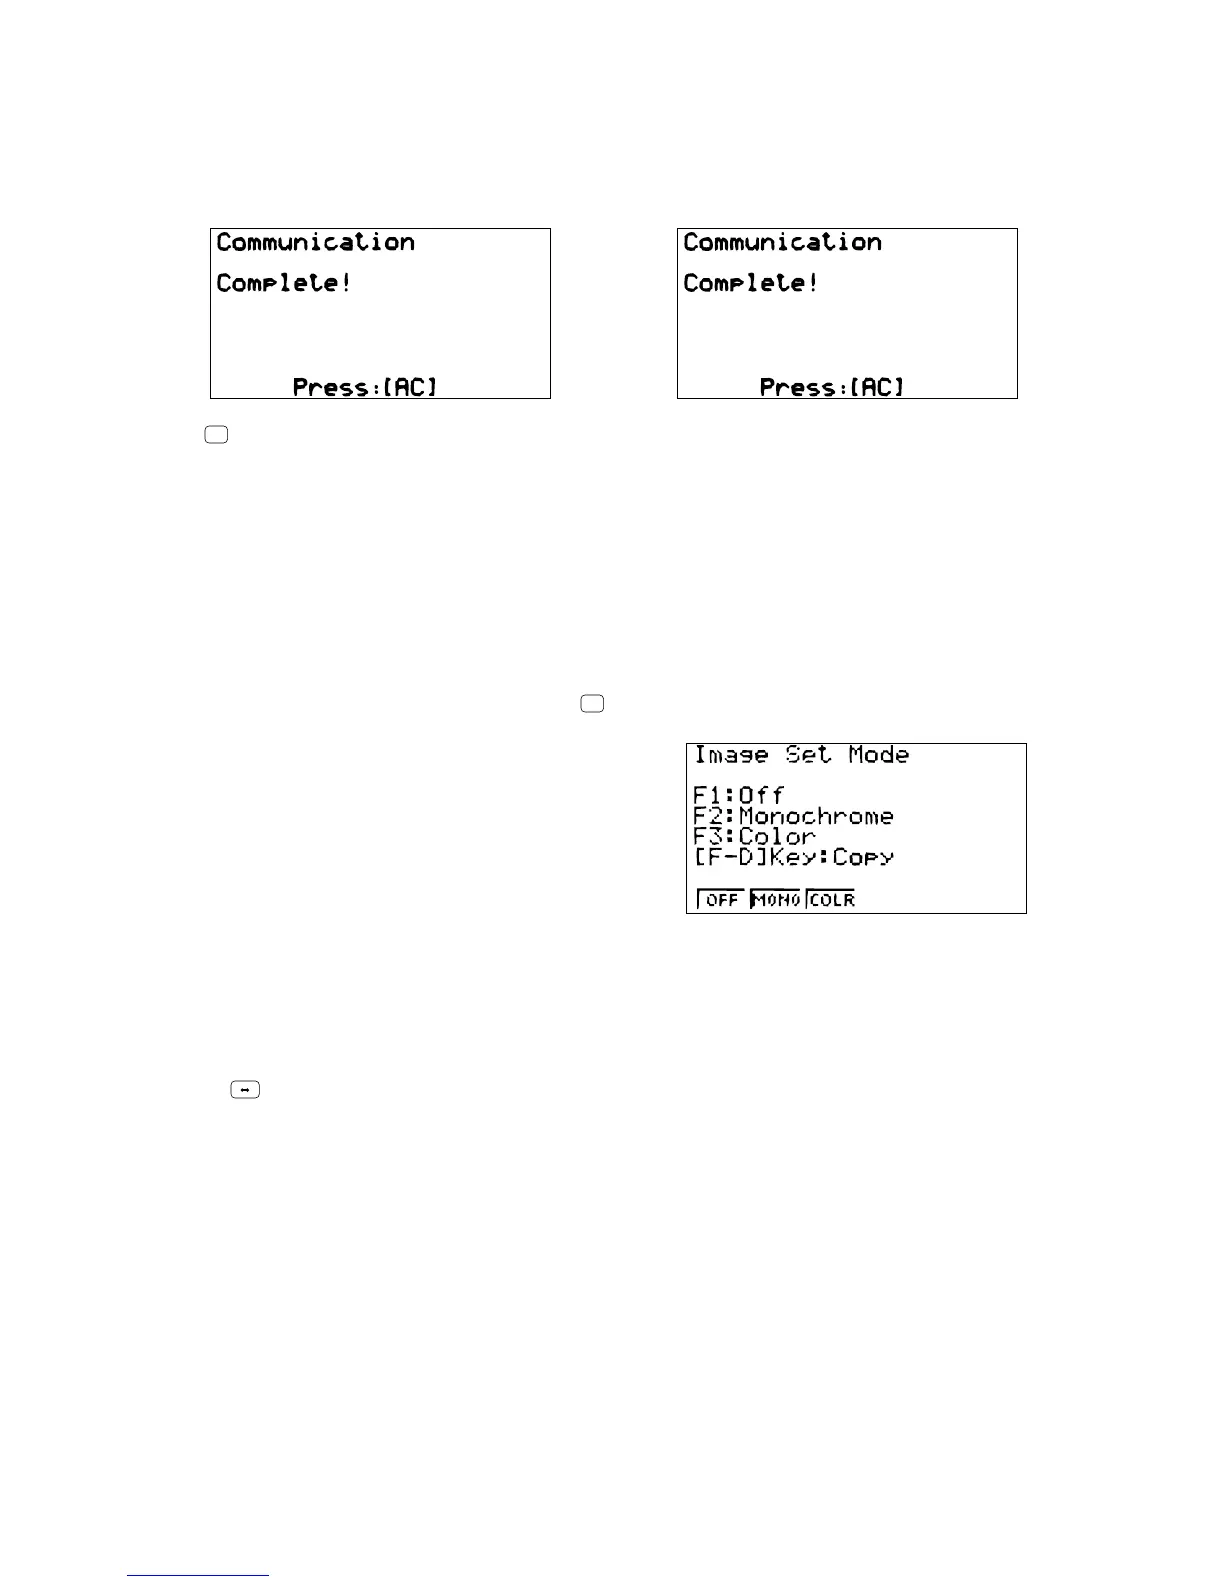
2. In the data communication main menu, press
F6
(IMGE), and the following display appears.
• {OFF} .......{graphic images not sent}
• {MONO}/{COLR}..... {monochrome}/{color} bitmap
3. Press a function key to specify either “Monochrome” or “Color” for the Image Set Mode.
4. Display the screen you want to send.
5. Set up the personal computer or Label Printer to receive data. When the other unit is ready to receive,
press
F D
to start the second operation.
• Selecting “Monochrome” for Image Set allows data to be sent to any CASIO Label Printer equipped with
data communications capabilities.
Selecting “Color” allows data to be sent to Color Label Printer models only.
You cannot send the following types of screens to a computer.
• The screen that appears while a data communication operation is in progress.
• A screen that appears while a calculation is in progress.
• The screen that appears following the reset operation.
• The low battery message.
• The flashing cursor is not included in the screen image that is sent from the unit.
• If you send a screen shot of any of the screens that appear during the data send operation, you will not
be able to then use the sent screen to proceed with the data send operation. You must exit the data send
operation that produced the screen you sent and restart the send operation before you can send
additional data.
• You cannot use 6 mm wide tape to print a screen shot of a graph.
 Loading...