LK-127
– 7 –
DISASSEMBLY
About Repair
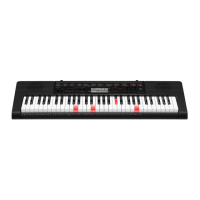
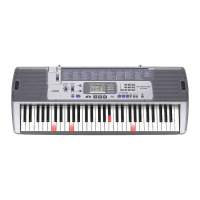
• The photos show a prototype. The appearance of the instrument, such as color, may differ
from the actual model.
•
Toavoiddamagestotheinstrumentandoor,laytheinstrumentonamattressorblanket
beforestartingdisassembling.
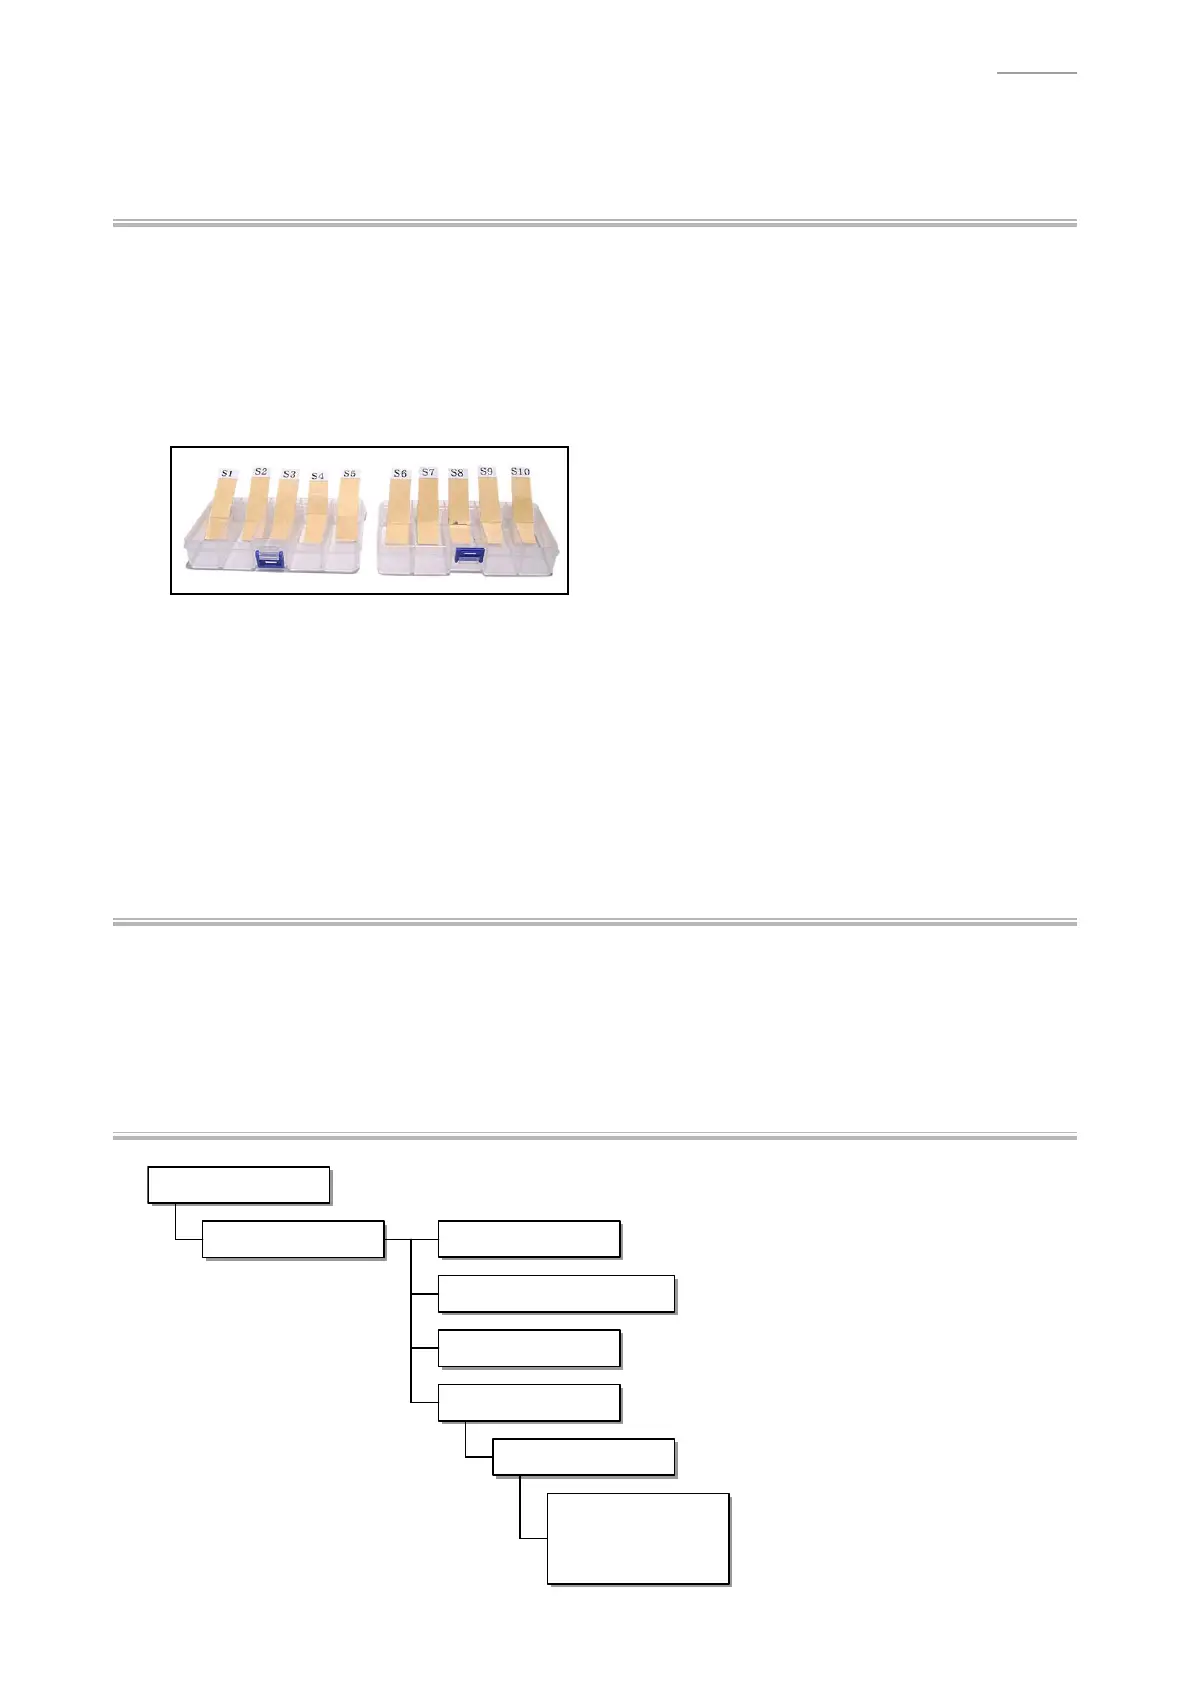
• Thereareseveralkindsofscrews.Besuretousethecorrecttypeofscrewswhen
reassembling.Itisadvisabletosortthescrewsasshownbelowafterremovingthem.
• Ifascrewcapisattachedtothescrew,removeit.Besuretoreattachthescrewcapwhen
assembling.
•
Checkhowcablesarewiredbeforeremovingcables.Besuretowirethecablesinthesame
mannerastheywerebeforedisassembly.
• Incasecablesaresecuredwithcableties,securingbands,clips,ortapes,removethemrst.
Besuretosecurethecablesinplaceinthesamemannerastheywerebeforedisassembly.
Before Starting Repair or Servicing
• RemovetheACadaptor,ACcordorbatteries.
• Remove accessories such as the music stand.
Flowchart
B. PCB UNIT/MAIN
C. PCB UNIT/POWER & AMP
A. Panel Unit
Assembled Product
D. SPEAKER
E. KEY
F. PCB UNIT/KYA
G. PCB UNIT/LDA
PCB UNIT/LD3
PCB UNIT/LD4
PCB UNIT/LD5
 Loading...