E-28
Recording Chords with Step Record-
ing
With step recording, you can record a chord progression in Track 1
chord-by-chord. You can then use the chord progression as an Auto
Accompaniment or later add melody notes to Track 2.
To record chords to Track 1 using step recording
1. Use the MEMORY button to enter record standby, and
then use [+] and [–] to select 0 or 1 as the song num-
ber.
2. Press the LEFT/TRACK 1 button to select Track 1.
3. Press the STEP button.
4. Make any of the following settings if you want.
• Rhythm number (page E-16)
• MODE switch (page E-16)
5. Press the SYNCHRO/ENDING button.
6. Play a chord.
• Use the chord play method that is specified by the current
MODE switch setting: FINGERED, CASIO CHORD, NOR-
MAL.
• When the MODE switch is set to NORMAL, specify the chord
using the root input keyboard and chord type input key-
board. See “Specifying Chords in the Normal Mode” on this
page for details.
* 48 clocks = 1beat
R
N.ce 1
o
.
7. Input the length of the chord (how long it should be
played until the next chord is played).
• Use the number keys to specify the length of a chord. See
“Specifying the Length of a Note” on page E-29 for details.
• Repeat steps 6 and 7 to input all the chords you want.
• If you make a mistake while step recording chords, use the
procedure under “Editing Data While Step Recording” to
make corrections.
8. After you finish step recording, press the START/STOP,
MEMORY, or STEP button.
• This enters playback standby for the song you have just in-
put. Pressing the START/STOP button plays it back.
❚
NOTES
❚
• You can use the FF and REW buttons to change the current input posi-
tion during step recording. See “Editing Data While Step Recording” on
page E-30 for details.
• Pressing the [0] button in step 7 inputs a rest. Note, however, that any
rests you input do not have any effect on Auto Accompaniment.
Track 1 Contents After Step Recording
In addition to chords, the following data is also recorded to Track 1
during step recording.
• Tone number
• Rhythm number (step 4)
• INTRO, SYNCHRO/ENDING, NORMAL/FILL-IN, VARIATION/
FILL-IN button operations (step 6)
Specifying Chords in the Normal Mode
When the MODE switch is set to NORMAL during step recording,
you can specify chords using a method that is different from CASIO
Chord and Fingered fingerings. This chord specification method can
be used to input 18 different chord types using only two keyboard
keys, so chords can be specified even if you don’t know how to actu-
ally play them.
11
11
1 Major
22
22
2 Minor
33
33
3 Augmented
44
44
4 Diminished
55
55
5 Suspended fourth
66
66
6 Seventh
77
77
7 Minor seventh
88
88
8 Major seventh
99
99
9 Minor major seventh
00
00
0 Seventh flat five
AA
AA
A Minor seventh flat five
BB
BB
B Seventh suspended four
CC
CC
C Diminished seventh
DD
DD
D Minor add ninth
EE
EE
E Add ninth
FF
FF
F Minor sixth
GG
GG
G Sixth
HH
HH
H Six ninth
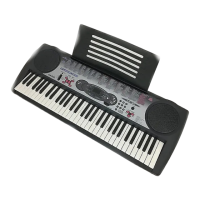
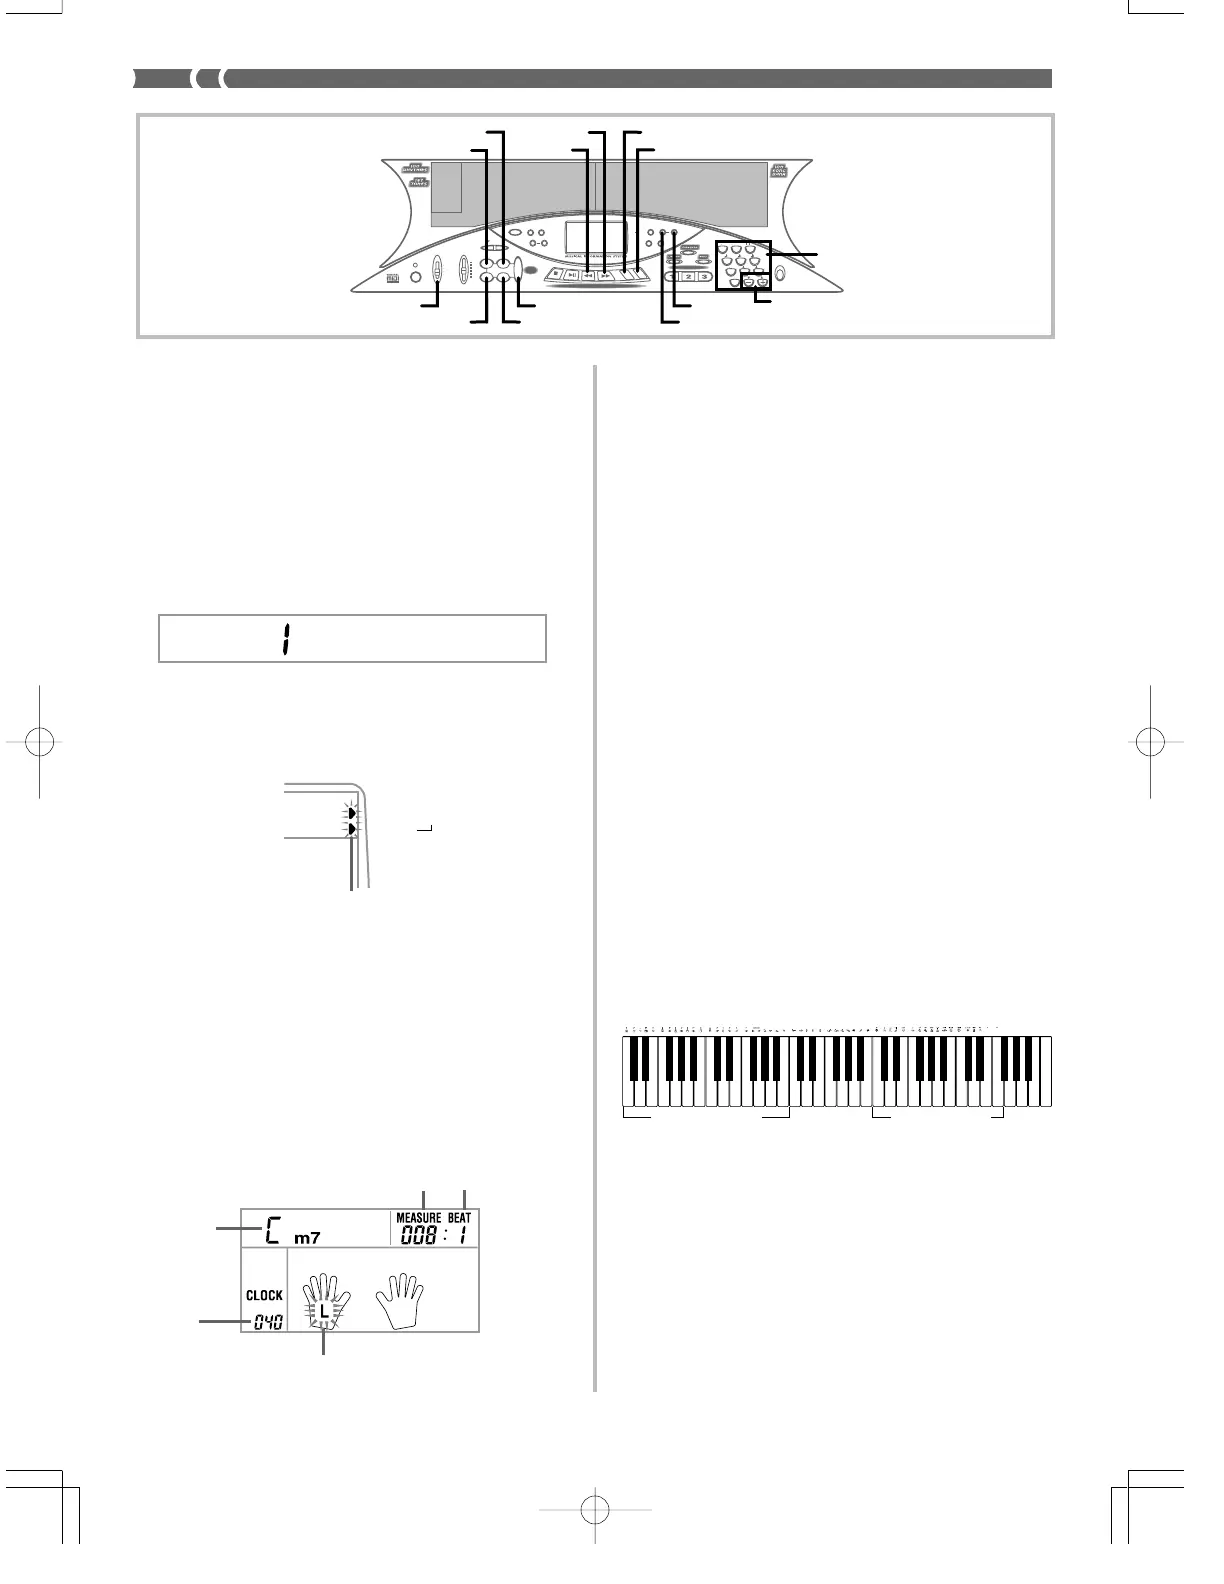
2 4 7 9 A D F
Chord specification
keyboard
1 3 5 6 8 0 B C E G H
Root input keyboard
474A-E-030A
Flash
Chord name
Flash
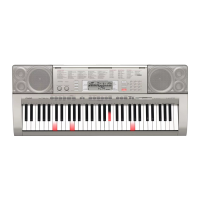
Measure number Beat number
789
456
1
0
23
POWER
MODE VOLUME
MAX
TEMPO
INTRO
STEP 1 STEP 2 STEP 3
DEMO
NORMAL/
FILL-IN
VARIATION/
FILL-IN
SYNCHRO/
ENDING
FULL RANGE
KEY LIGHT
KEY LIGHT
TOUCH
RESPONSE
METRONOME BEAT
TOUCH
TRANSPOSE/
TUNE/MIDI MEMORY STEP
SPLIT LAYER
GM
MEMORY
STEP
RESPONSE
ACCOMP
VOLUME
CHORD
FINGERED
CASIO CHORD
NORMAL
MIN
START/
STOP
S
T
O
P
P
L
A
Y
/
P
A
U
S
E
R
E
W
F
F
L
E
F
T
/
T
R
A
C
K
1
R
I
G
H
T
/
T
R
A
C
K
2
SONG BANK CONTROLLER
3-STEP LESSON
REST
(TIE)
MODE
NORMAL/FILL-IN
START/STOP
VARIATION/FILL-IN
STEP
MEMORY
LEFT/TRACK 1
RIGHT/TRACK 2
Number buttons
SYNCHRO/ENDING
INTRO
FF
REW
[+]/[–]
GM
MEMORY
STEP
Clock
number*
 Loading...