
E
Elizabeth FloresJul 26, 2025
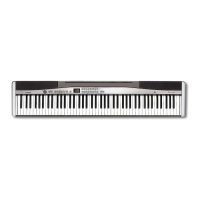
Why is there no sound coming from my Casio Privia PX-300 when I press the keys?
- DdonmorganJul 26, 2025
If your Casio Synthesizer doesn't produce sound when you press the keys, several factors could be at play. First, ensure that the VOLUME knob isn't set to MIN; adjust it towards MAX. Secondly, if headphones are connected, disconnect them. Also, verify that Local Control is turned on. Finally, check that the accompaniment mode is set to NORMAL.