 Loading...
Do you have a question about the Casio WK-240 and is the answer not in the manual?
| Control type | Buttons |
|---|---|
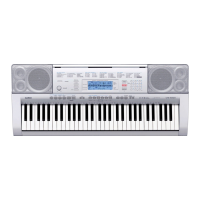
| MIDI-keyboard number of keys | 76 keys |
| Metronome | Yes |
| Product color | Black, Silver |
| Sound effects | Chorus, Reverberation |
| Sound effects quantity | 180 |
| Maximum polyphony (notes) | 48 |
| Music memory capacity (songs) | 10 |
| Interface | USB |
| Headphone outputs | 1 |
| Display type | LCD |
| Power source type | AC, Battery, DC |
| Number of batteries supported | 6 |
| Depth | 385 mm |
|---|---|
| Width | 1161 mm |
| Height | 134 mm |
| Weight | 6900 g |