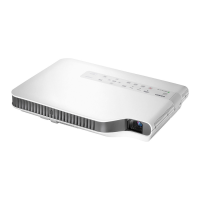
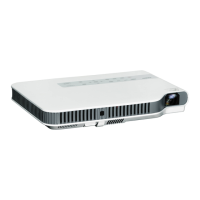
57
Pressing the [MENU] key displays the Setup Menu shown below on the projection screen. You can
use this menu to adjust projected image brightness, contrast, and other settings, and to change
projector settings.
The guidance shows the key operations that can be performed for the currently selected (highlighted)
menu item.
Basic Setup Menu Operations
Setup Menu Settings
z One or more letters (such as RCV) after the menu item name indicates an item that is available only
when one or more particular input source is selected. The letters indicate the input source(s) where
the menu item is available.
R: RGB input, C: Component input, V: S-video input*
1
or Video input, H: HDMI (PC) input,
D: HDMI (DTV) input, F: File Viewer, T: CASIO USB Tool, W: Wireless*
2
or Network*
1
,
U: USB Display
z A menu item that does not have any letter after it will be available regardless of the input source.
z after a menu item indicates the item is available only for USB models.
z The initial default setting is indicated by an asterisk (*).
Using the Setup Menu (MENU)
To do this: Perform this operation:
Display the Setup Menu
Exit the Setup Menu
Press the [MENU] key. Pressing the [MENU] key to exit the Setup Menu will save the
settings you configured while it was displayed.
Select a menu item Use the [S] and [T] keys to move the highlighting to the menu that contains the menu
item you want to select and then press the [ENTER] key. Next, use the [S] and [T]
keys to move the highlighting to the menu item you want to select.
Configure the setting of a
menu item
z If a menu item that has options or setting values to the right, use the [
W
] and [
X
]
keys to change the setting.
z For a menu item that has “Modify [ENTER]” or “OK [ENTER]” to the right, press the
[ENTER] key to display a dialog box for configuring the setting.
*1 XJ-M Series only *2XJ-A Series only
Use this menu item: To do this:
Image Adjustment 1 3
Brightness
Adjust projected image brightness.
Image Adjustment 1 3
Contrast
Adjust projected image contrast.
Image Adjustment 1 3
Sharpness (V)
Use this sub-menu to adjust the sharpness of the outlines in the projected image. A
larger value makes the image sharper, while a smaller value makes it softer.
Menu Items
(Main Menu)
Highlighting
Menu Item
(Sub-menu)
Guidance