


W
wandawestSep 7, 2025
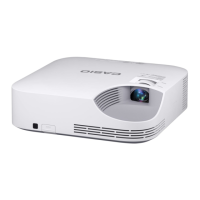
What to do if Casio XJ-V1 Projector turns off automatically due to external digital noise?
- MmelanielawrenceSep 8, 2025
If the projector was turned off automatically due to some problem that was probably caused by external digital noise or some other reason, confirm that the POWER/STANDBY indicator is lit red (without flashing). After checking the POWER/STANDBY indicator, disconnect the power cord from the projector and wait for all of the projector’s indicators to go out. Next, reconnect the power cord and turn projector power back on. If the error occurs again when you turn power back on, contact your retailer or nearest authorized CASIO Service Center.