Slide Coverage
Unit until secure.
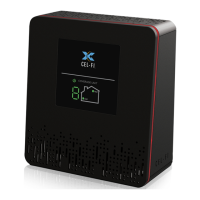
Coverage Unit
Upside Down
Each Cel-Fi device may be supplied with mounting brackets and hardware to
mount both (or either) the Coverage Unit and the Network Unit.
NOTE: The brackets come equipped with screws and inserts for mounting in
standard drywall. Before you install the mounts, make sure there are no
wires or other objects, or metal plates, behind the drywall layer that will
interfere with the inserts, screws, mount, or mounted units.
NOTE: The Network Unit only has mounting holes on the back. The
Coverage Unit has mounting holes on the bottom and on the back. The
holes on the bottom of the Coverage Unit can be used for mounting the
Coverage Unit on a ceiling
(See fig 7).
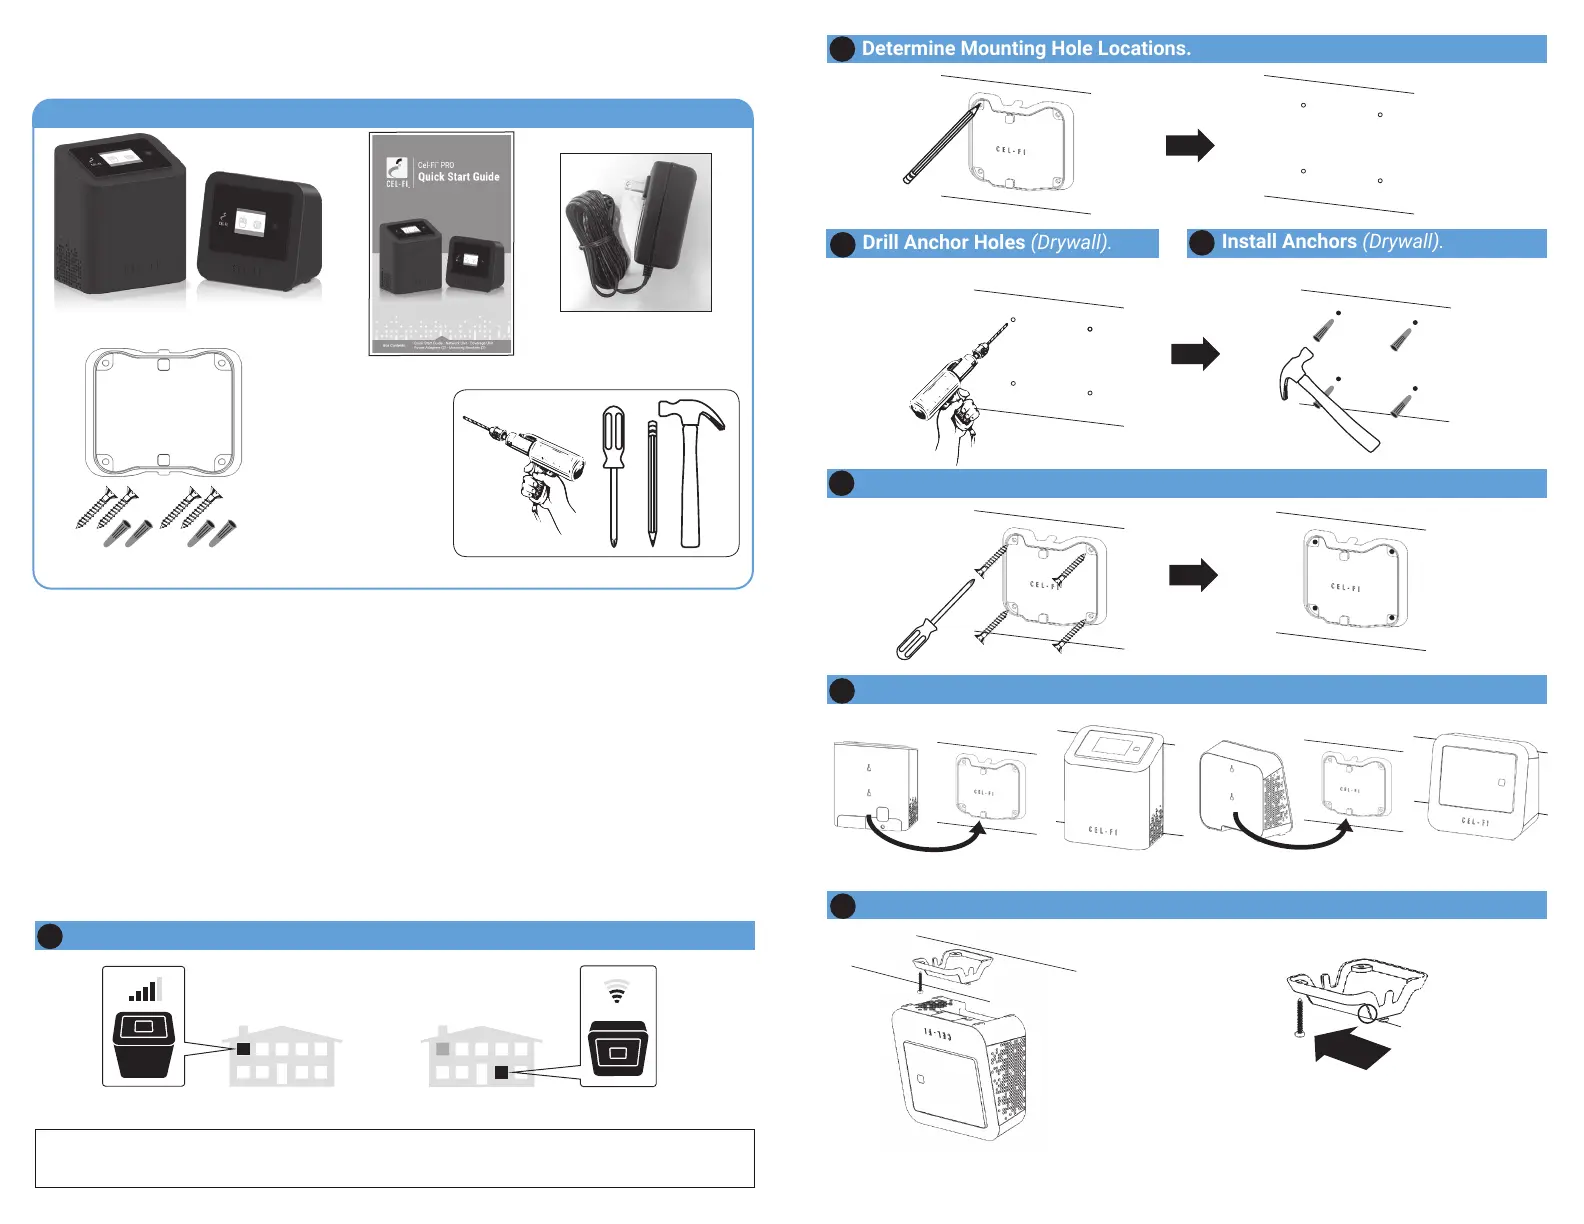
REQUIRED HARDWARE
Mounting
Brackets (2)
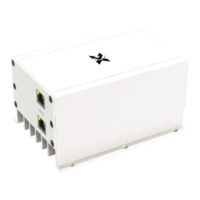
Network Unit
Coverage Unit
Screws (4)
Drywall Anchors (4)
CONTENTS OF YOUR BOX
Quick Start Guide
Power Adapters (2)
IMPORTANT: Your Cel-Fi PRO Signal Booster is electronic equipment. Both units
must be kept indoors and in a dry, cool, well ventilated area.
NETWORK UNIT
COVERAGE UNIT
In each marked spot, use a 3/16” drill bit to drill guide holes for the anchors.
1
Determine Cel-Fi Device Location (refer to other side).
2
Determine Mounting Hole Locations.
3
Drill Anchor Holes (Drywall).
4
Install Anchors (Drywall).
6
Attach the Cel-Fi Unit to the wall mounted bracket.
NETWORK UNIT
COVERAGE UNIT
(x4)
(x4)
5
Install Mounting Bracket.
7
To ensure ceiling mounting is as secure as possible, confirm that the mounting bracket posts
are firmly inserted, and in the correct position.
Mounting
Posts
Optional: Attach the Cel-Fi Unit to a ceiling mounted bracket.
Mounting Instructions