Do you have a question about the Celestron 44308 and is the answer not in the manual?
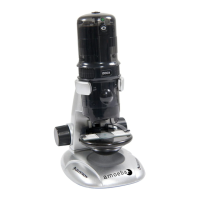
Read instructions and diagrams to familiarize yourself with features for an enjoyable experience.
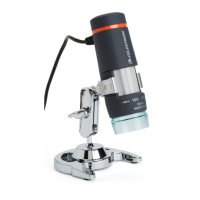
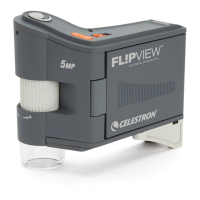
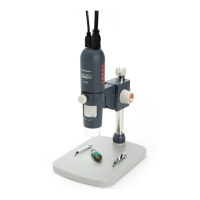
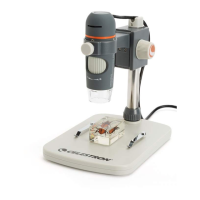
Offers 20x-200x magnification, connects via USB, suited for 3D objects like coins, stamps, rocks, etc.
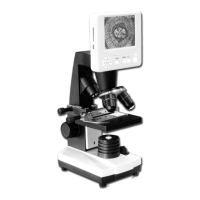
Displays image on screen, allows sharing, can be handheld or used with stand, records images/video with software.
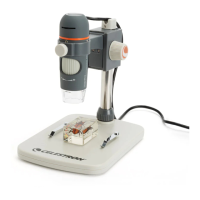
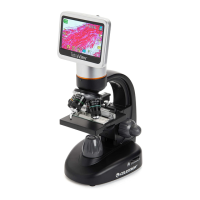
Follow steps to assemble the microscope stand by attaching parts like the shaft and lock collar.
Insert the microscope into the holder and secure it with the lock nut.
Insert CD, click 'Install Capture Pro', and follow the setup wizard for Windows.
Open MAC folder on CD, install following on-screen prompts for Macintosh.
Connect microscope via USB, launch software, and ensure automatic connection for image streaming.
Adjust microscope height and use Height Adjustment Wheel for coarse focus, then Focus Wheel for fine focus.
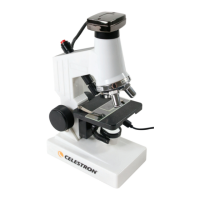
Adjust coarse focus by changing distance, fine focus with the Focus Wheel (3) in handheld mode.
Locate the Shutter Trigger (7) and Illuminator Adjustment Wheel (8) on the microscope's connecting cord.
Use the Capture menu to select Photo or Video to start/stop recording.
Access Photos Directory, Videos Directory, and Exit options via the File menu.
Configure Resolution, Date/Time, Language, X,Y Guide, and Full Screen Mode via the Options menu.
Understand icons for Take Snap Shot (A), Start/Stop Video (B), Set Time Lapse (C), and Full Screen Mode (D).
Software includes a measurement feature requiring initial measurement calibration.
Ensure the X,Y Guide is set to 'On' in the Options Menu for accurate measurements.
Set microscope height and focus on specimen, then replace with the calibration ruler.
Re-adjust focus and align ruler lines parallel to the X,Y Guide's vertical line.
Capture a still image, which will appear in the right-side column of the screen.
Double-click the saved image to open it within the Image Preview screen.
Click the calibration icon to begin the process of adjusting magnification.
Drag a line across a known value on the ruler, keeping it perpendicular to the ruler's lines.
Enter the 'known value' from the calibration ruler into the 'Actual Dimension' box.
Return to Image Capture screen to verify successful calibration by re-measuring.
Click the ruler icon and select 'Any Angle Line' from the dropdown menu.
Drag a line across the same known value; it should now match the calibrated distance exactly.
Click Calibration icon, select 'Set Magnification' then 'Set Capture Magnification' to lock settings.
Enter the current magnification value displayed in the main window into the pop-up.
Overview of main measurement tools: Any Angle, Continuous Line, Radius Circle, Diameter Circle, Three Point Angle.
Measures distance between two points in a straight line (A to B).
Measures total distance between multiple points, sequentially (A to B, then B to C).
Measures a circle's radius by dragging from the center to an edge.
Measures a circle's diameter by dragging across from one edge to the opposite.
Measures an angle using three points (A, B, C) on the image.
Adjust line properties, text properties, and units for measurements.
Use draw tools like Line, Arrow, Freehand, and Rectangle to annotate images.
Add text notes to images, with options for font type, size, and color.
| Brand | Celestron |
|---|---|
| Model | 44308 |
| Category | Microscope |
| Language | English |