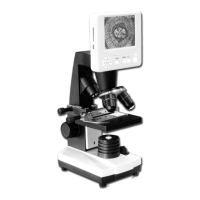
ENGLISH | 5
+
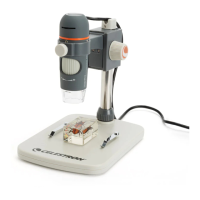
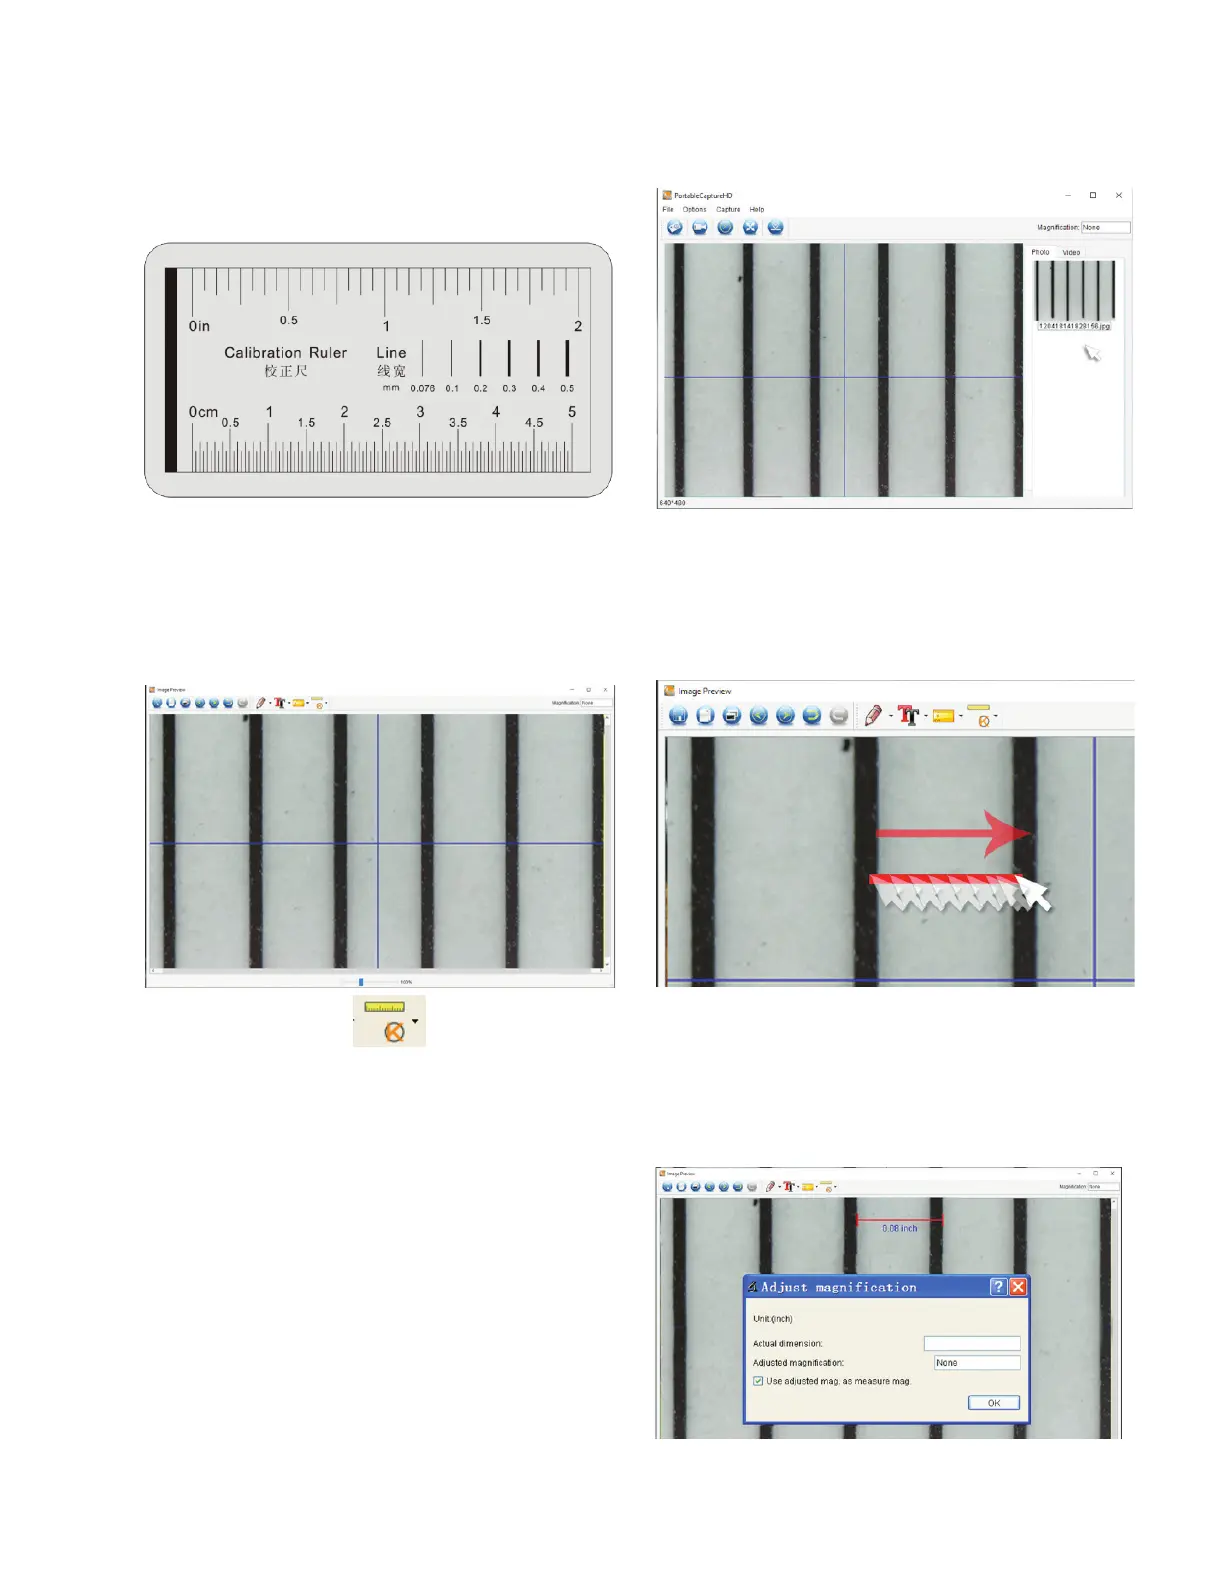
Make sure the X,Y Guide is ON (Options/XY Guide).
+
Place the included Calibration ruler on the stage under the
microscope lens and focus.
+
Take a still image making sure the X,Y Guide and the lines
on the calibration ruler are parallel.
+
Double-click on the image to enter into measurement
interface window.
A. CALIBRATION
4. CALIBRATION AND MEASUREMENT
+
A dimension line will appear and a dimension will be displayed
above the line and a dialogue box will appear.
+
Enter the “known” distance that you measured, based on the
calibration ruler.
+
The software will automatically calibrate the magnification rate.
+
Click ‘OK’ and the adjusted magnification rate will show in the
upper right corner.
NOTE: Save this magnification rate, so that you may use it for
future settings.
+
Now you can take measurements on the saved image.
+
Select the Calibration icon and using your cursor,
click on a start line on the calibration ruler, hold the mouse
button down and drag a dimension line across to the next
black line on the calibration ruler.
NOTE: The idea here is to measure a “known” distance on the
calibration ruler. For example 1mm or .5 mm.